Cascade Bouquet DIY Guide
Materials Needed
-
Sola flowers
-
Greenery
-
Wire stems
-
Glue sticks
-
Hot Glue Pot or Glue Gun
-
Scissors or wire cutters
-
Cardboard base [optional]
Step-by-step:
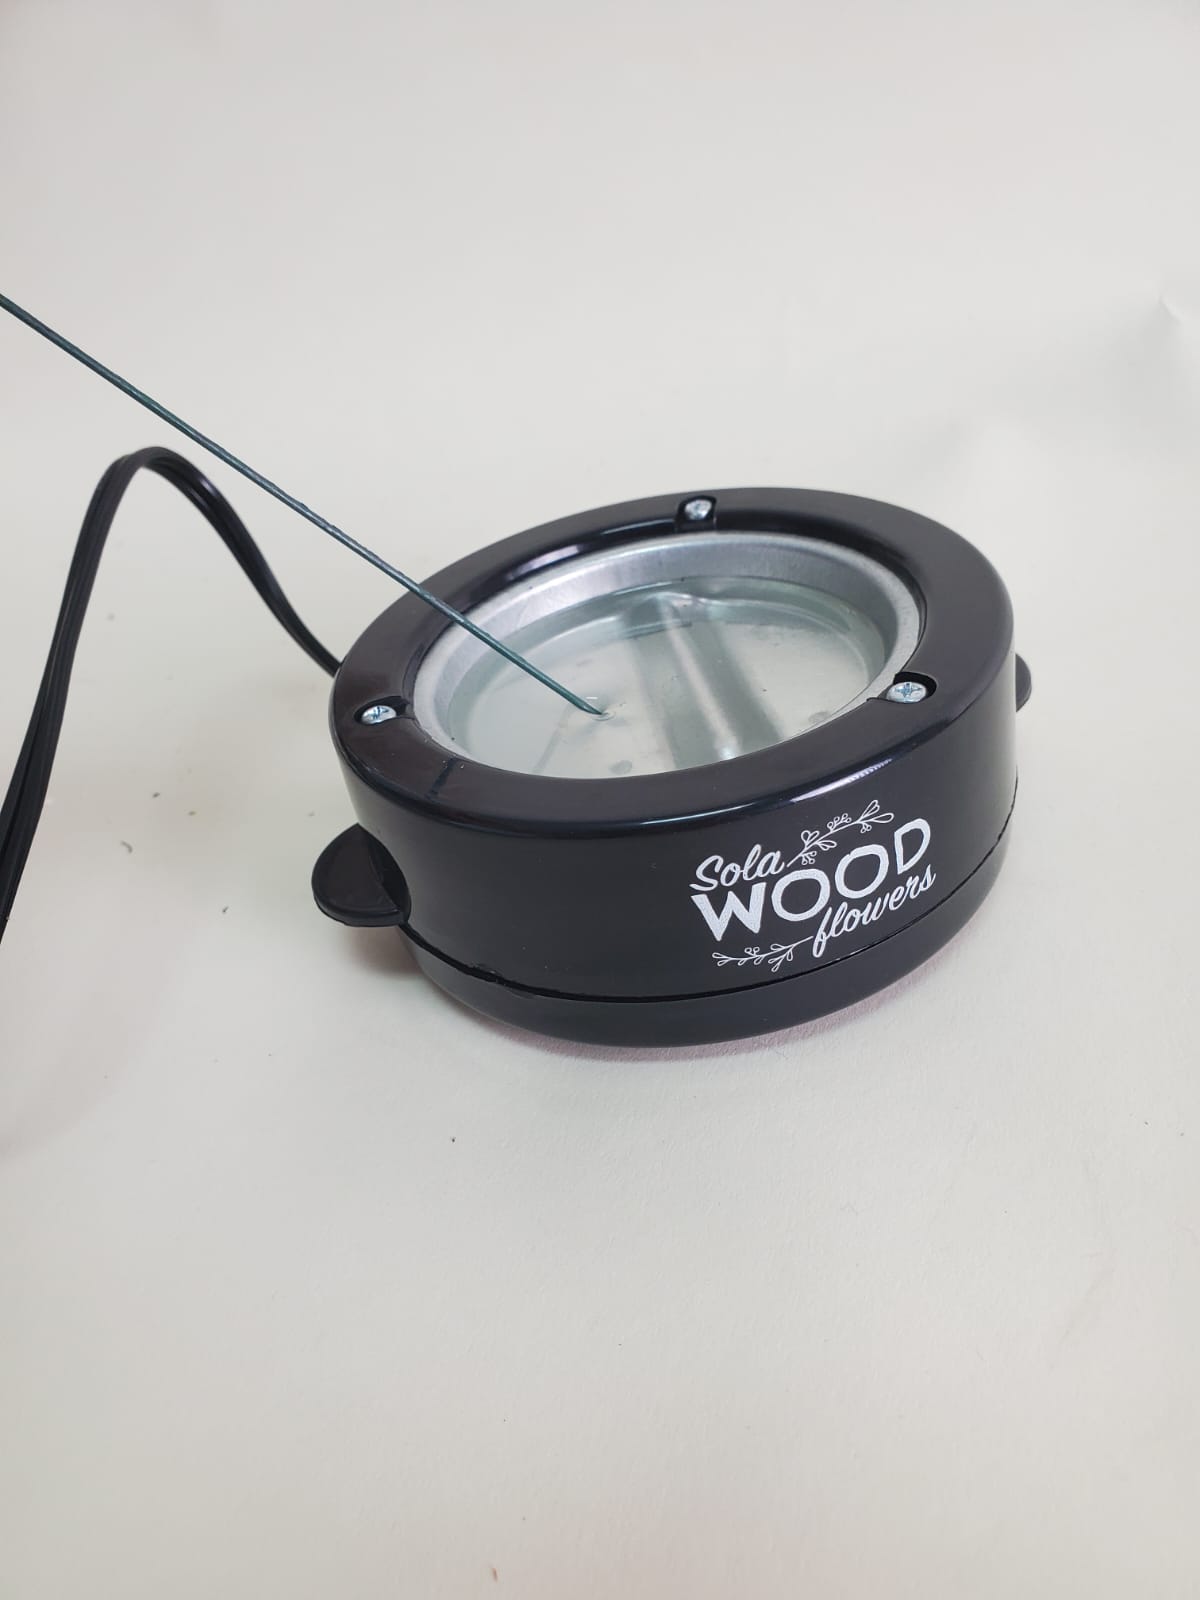
1. Hot Glue Prep
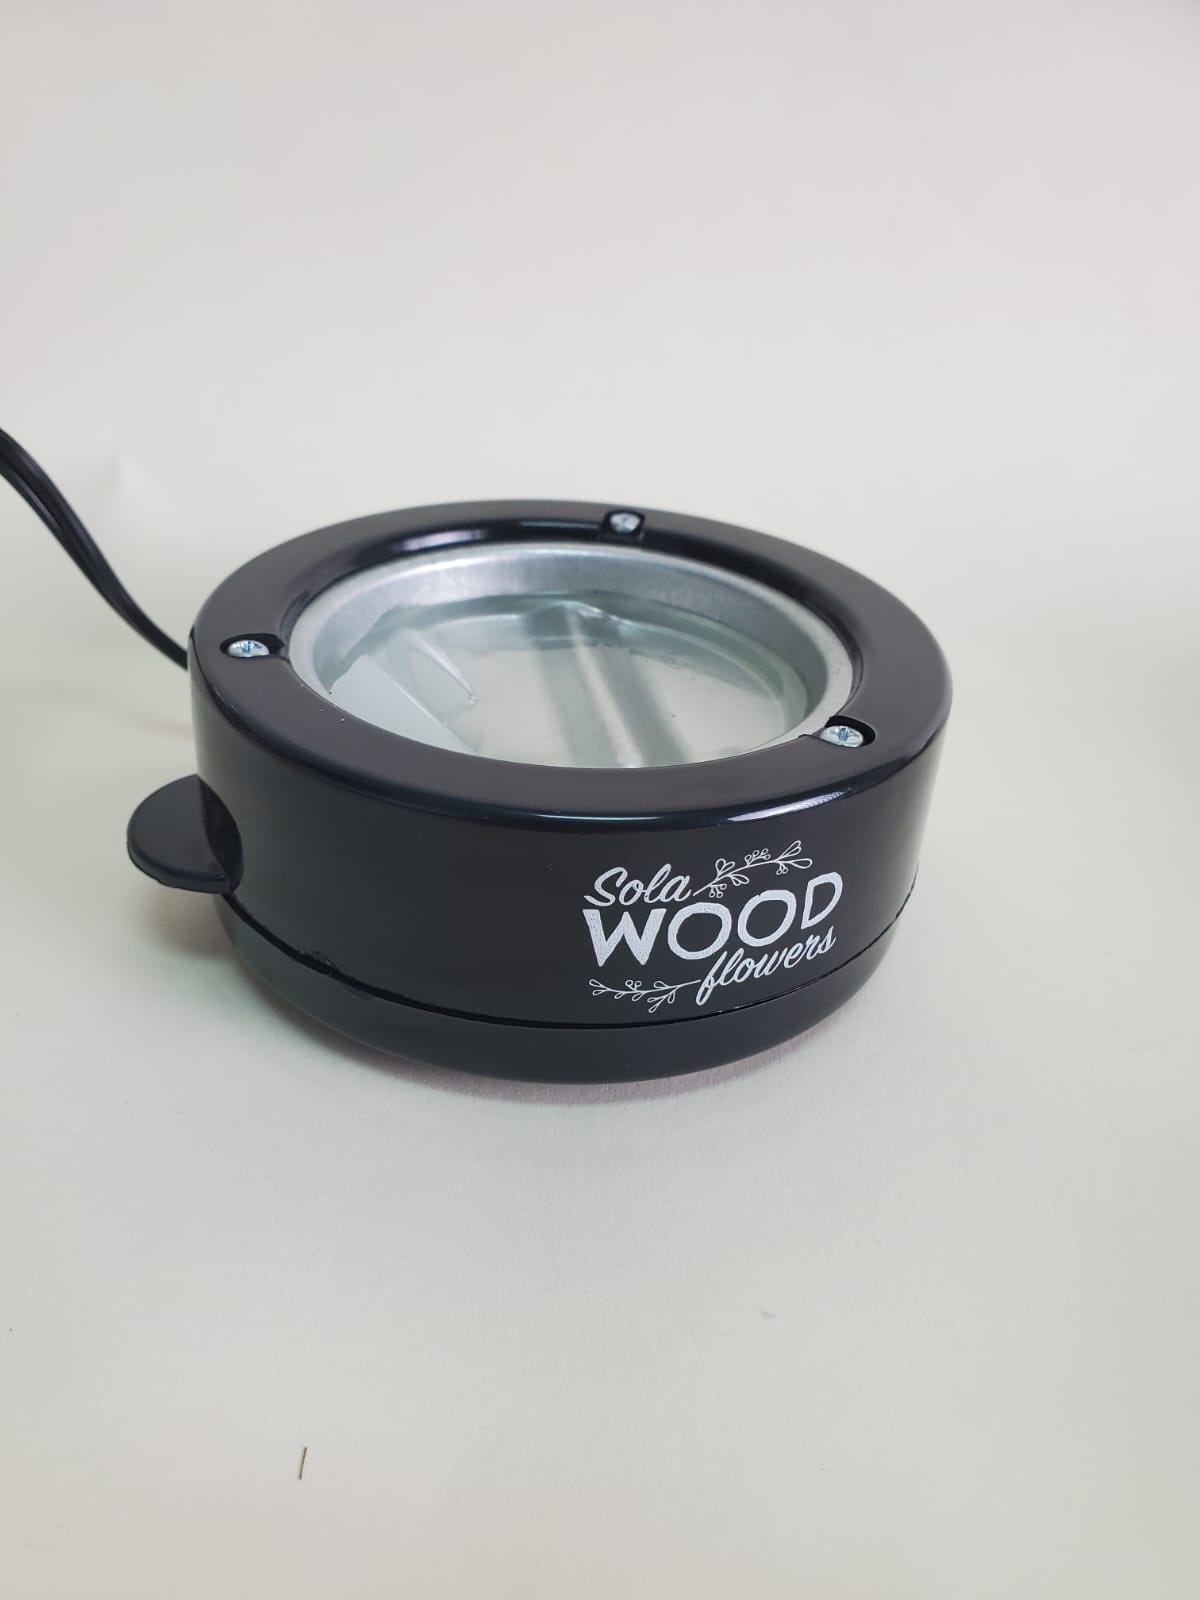
Hot Glue Pot:
Cut glue sticks into small pieces ~1” long.
Place pieces on the silver part of the glue pot.
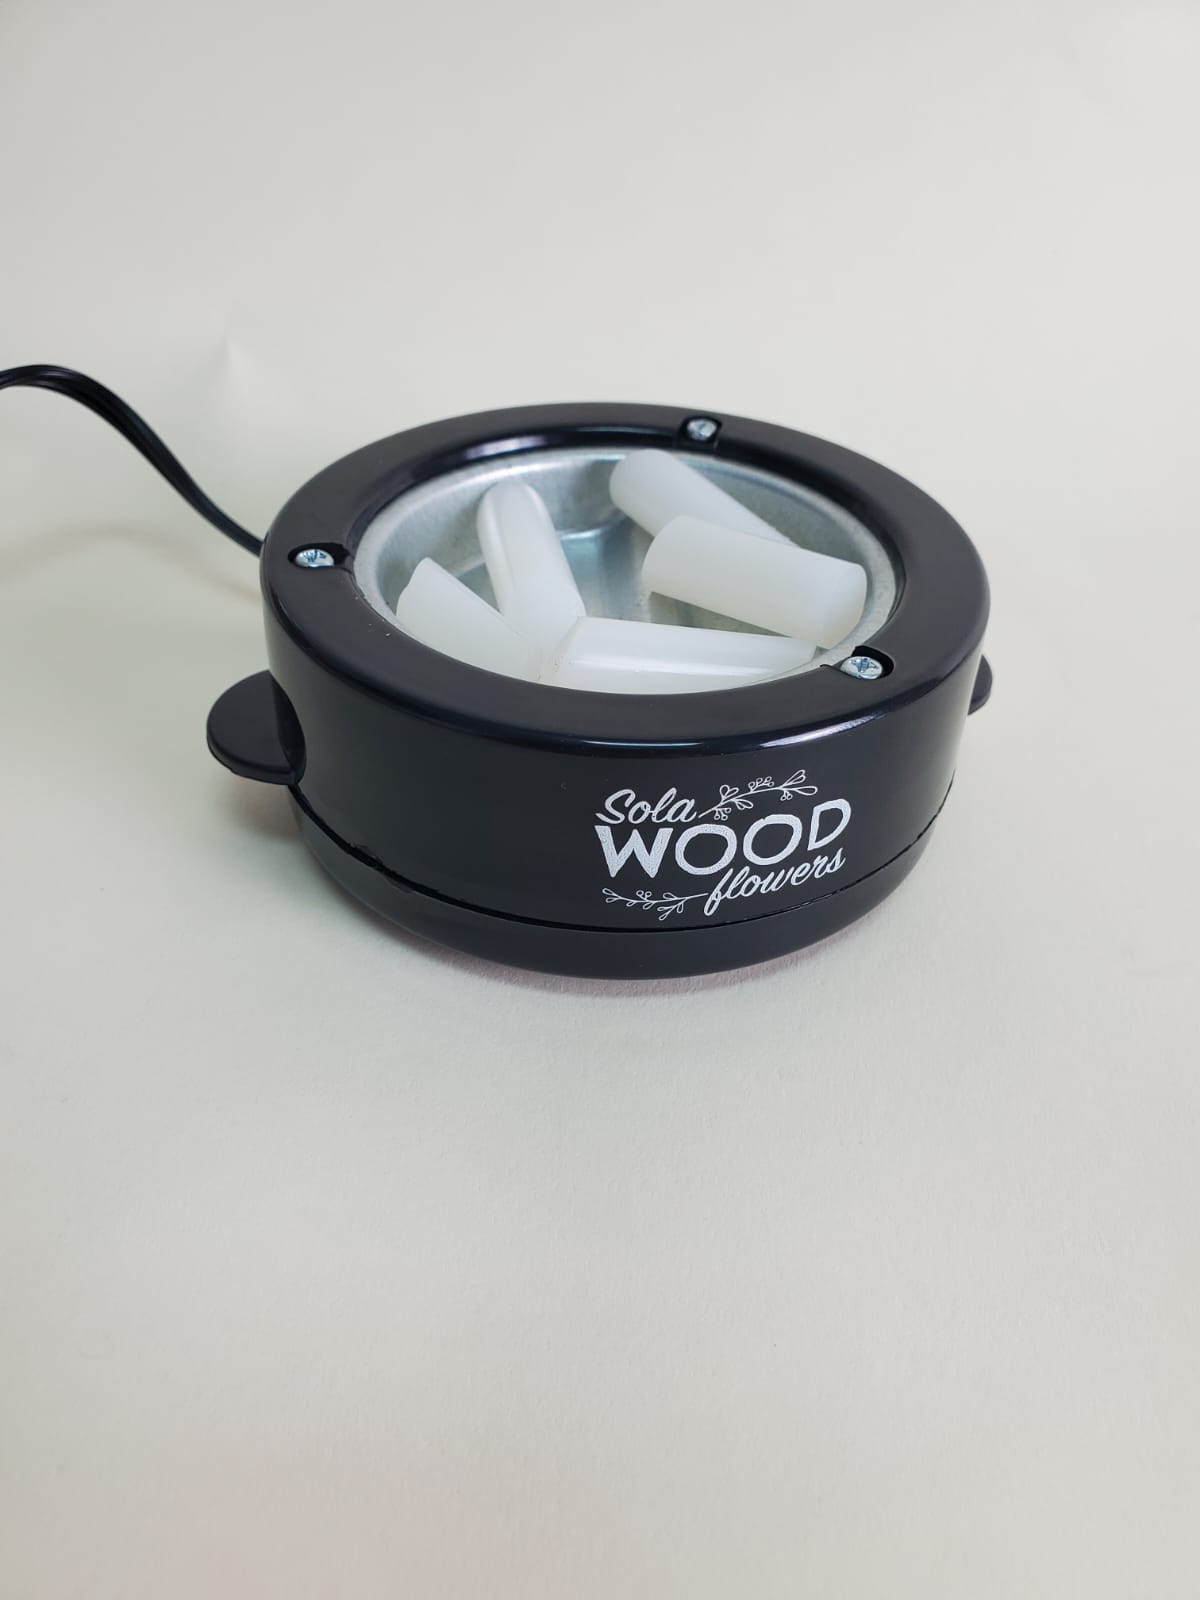
Plug in and turn on the glue pot.
Wait until the glue melts and looks clear.
Hot Glue Gun:
Insert a glue stick into the gun.
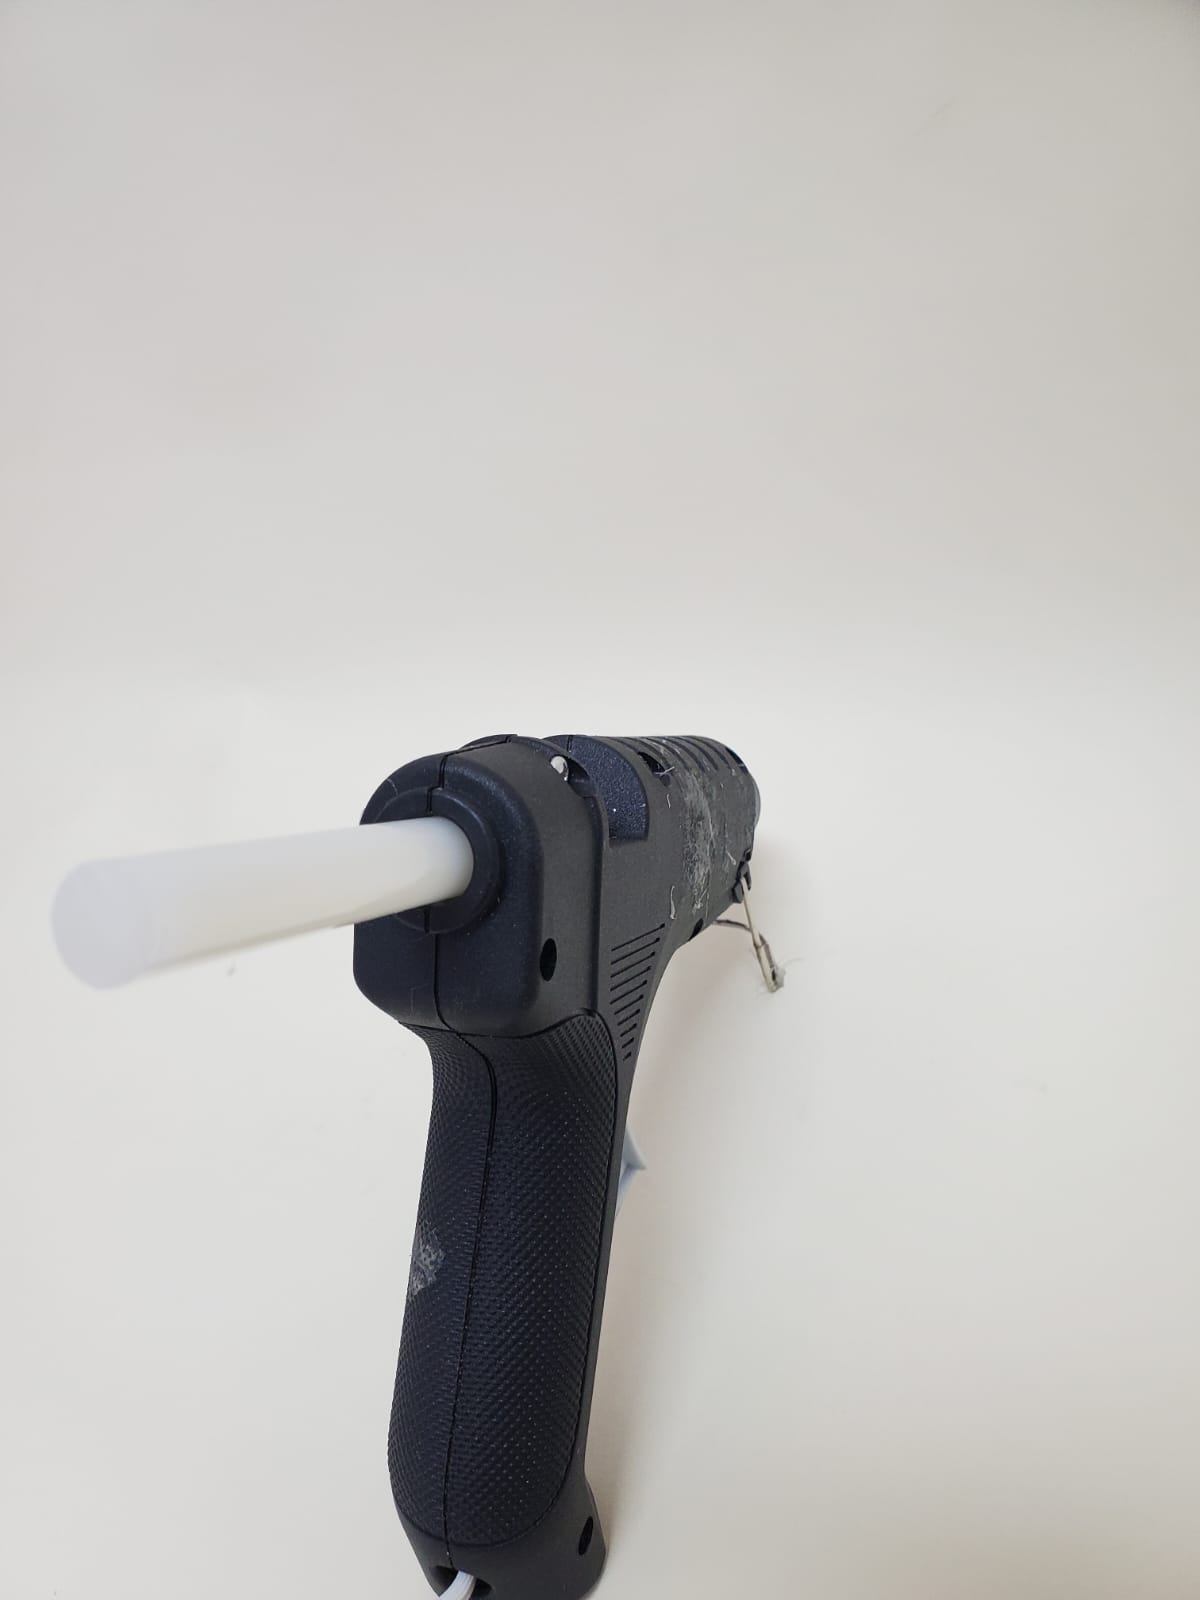
Plug in and turn on the glue gun
Wait until the gun heats up and is ready to use.
2. Flower Prep
Separate the flowers:
Gently separate flowers by type and size.
Organize the flowers however you like to create your bouquet.

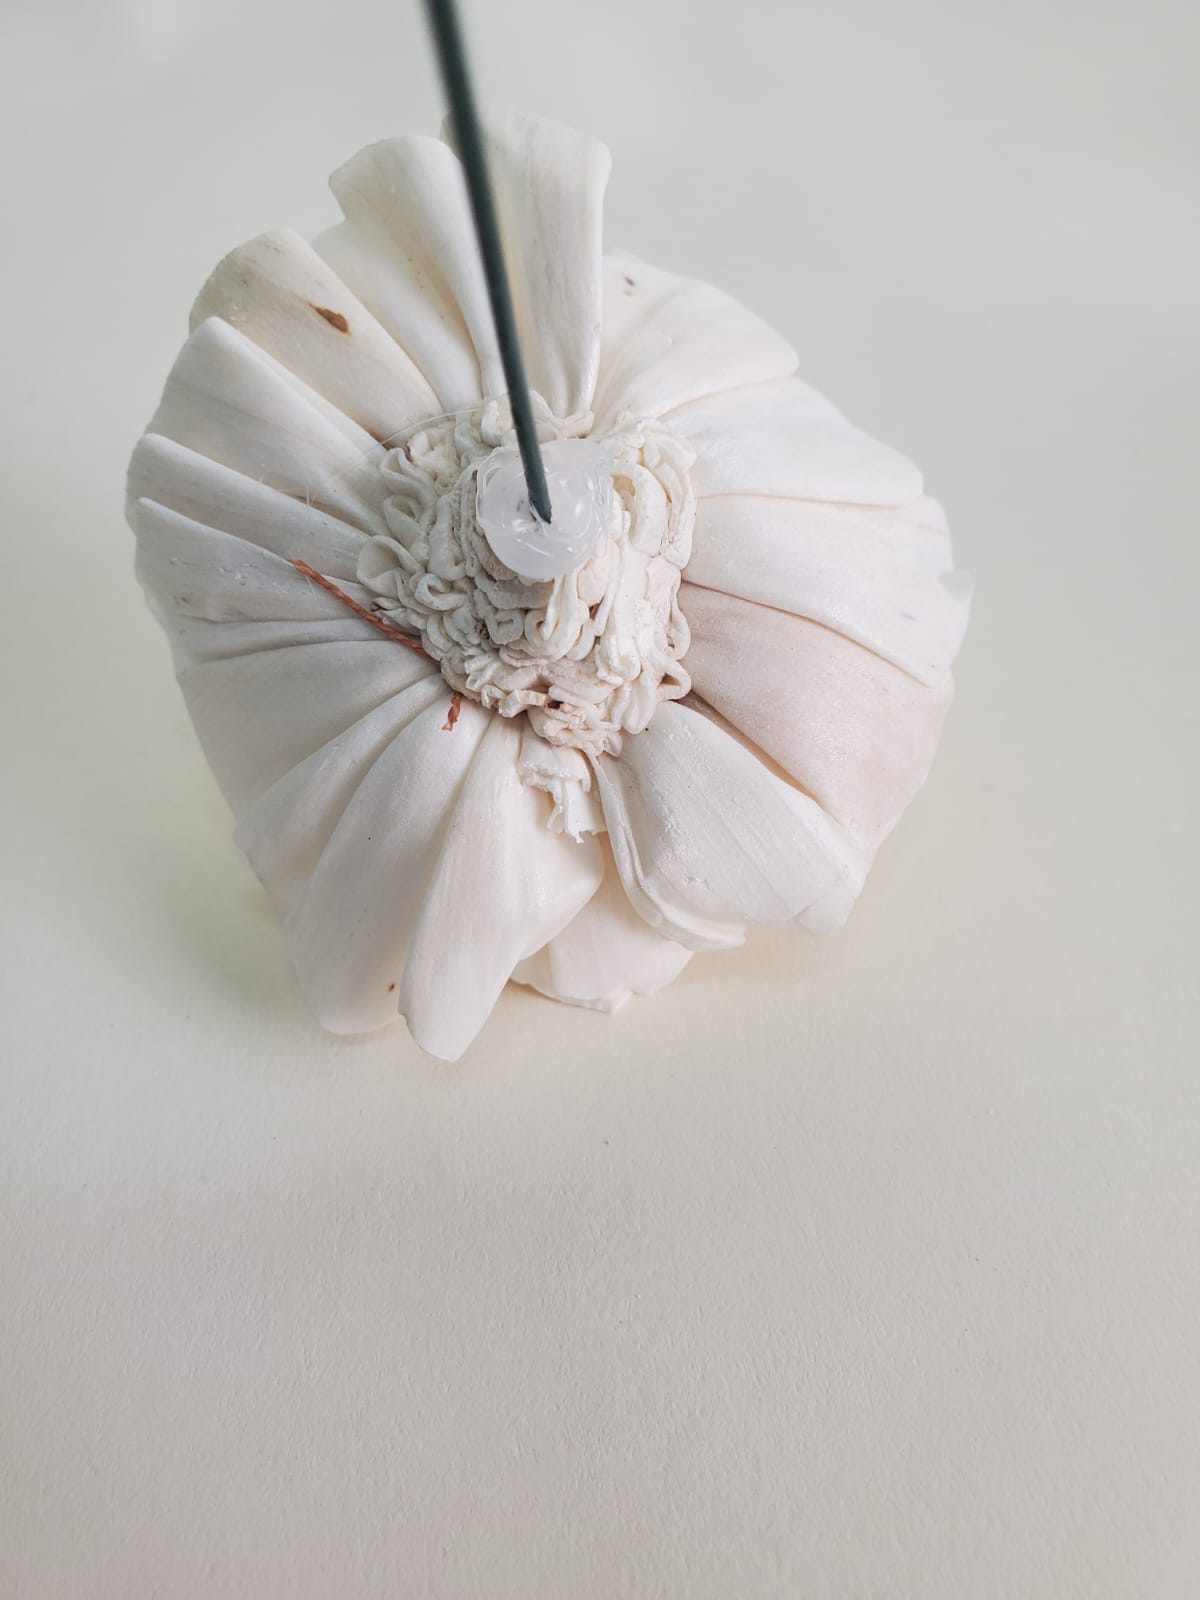
3. Stemming
Insert the Stem:
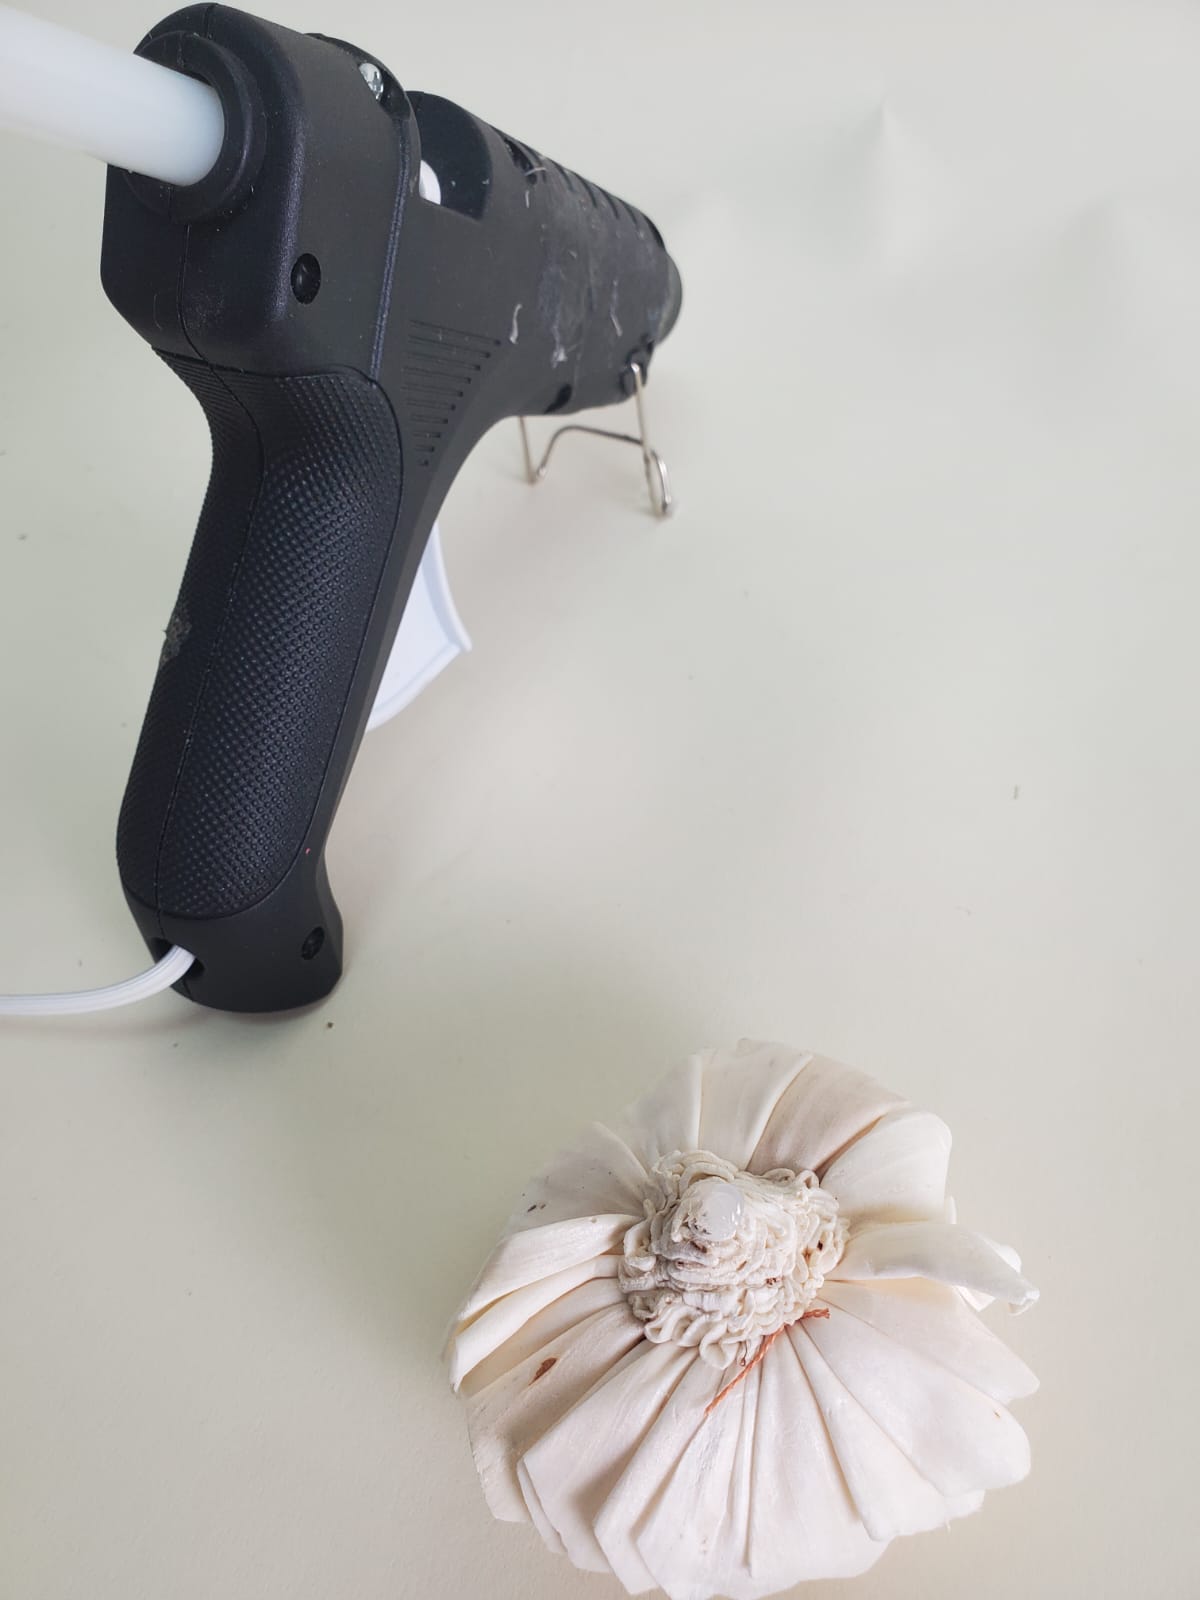
Hot Glue Gun:
Place a dot of hot glue in the center of the back of a flower, quickly insert the stem through the center of the glue, and hold it for a few seconds to let it dry.
Hot Glue Pot:
Dip the stem tip into the glue, then insert it into the back of the flower.
Gently place on a flat surface and let dry.
Repeat for each flower.
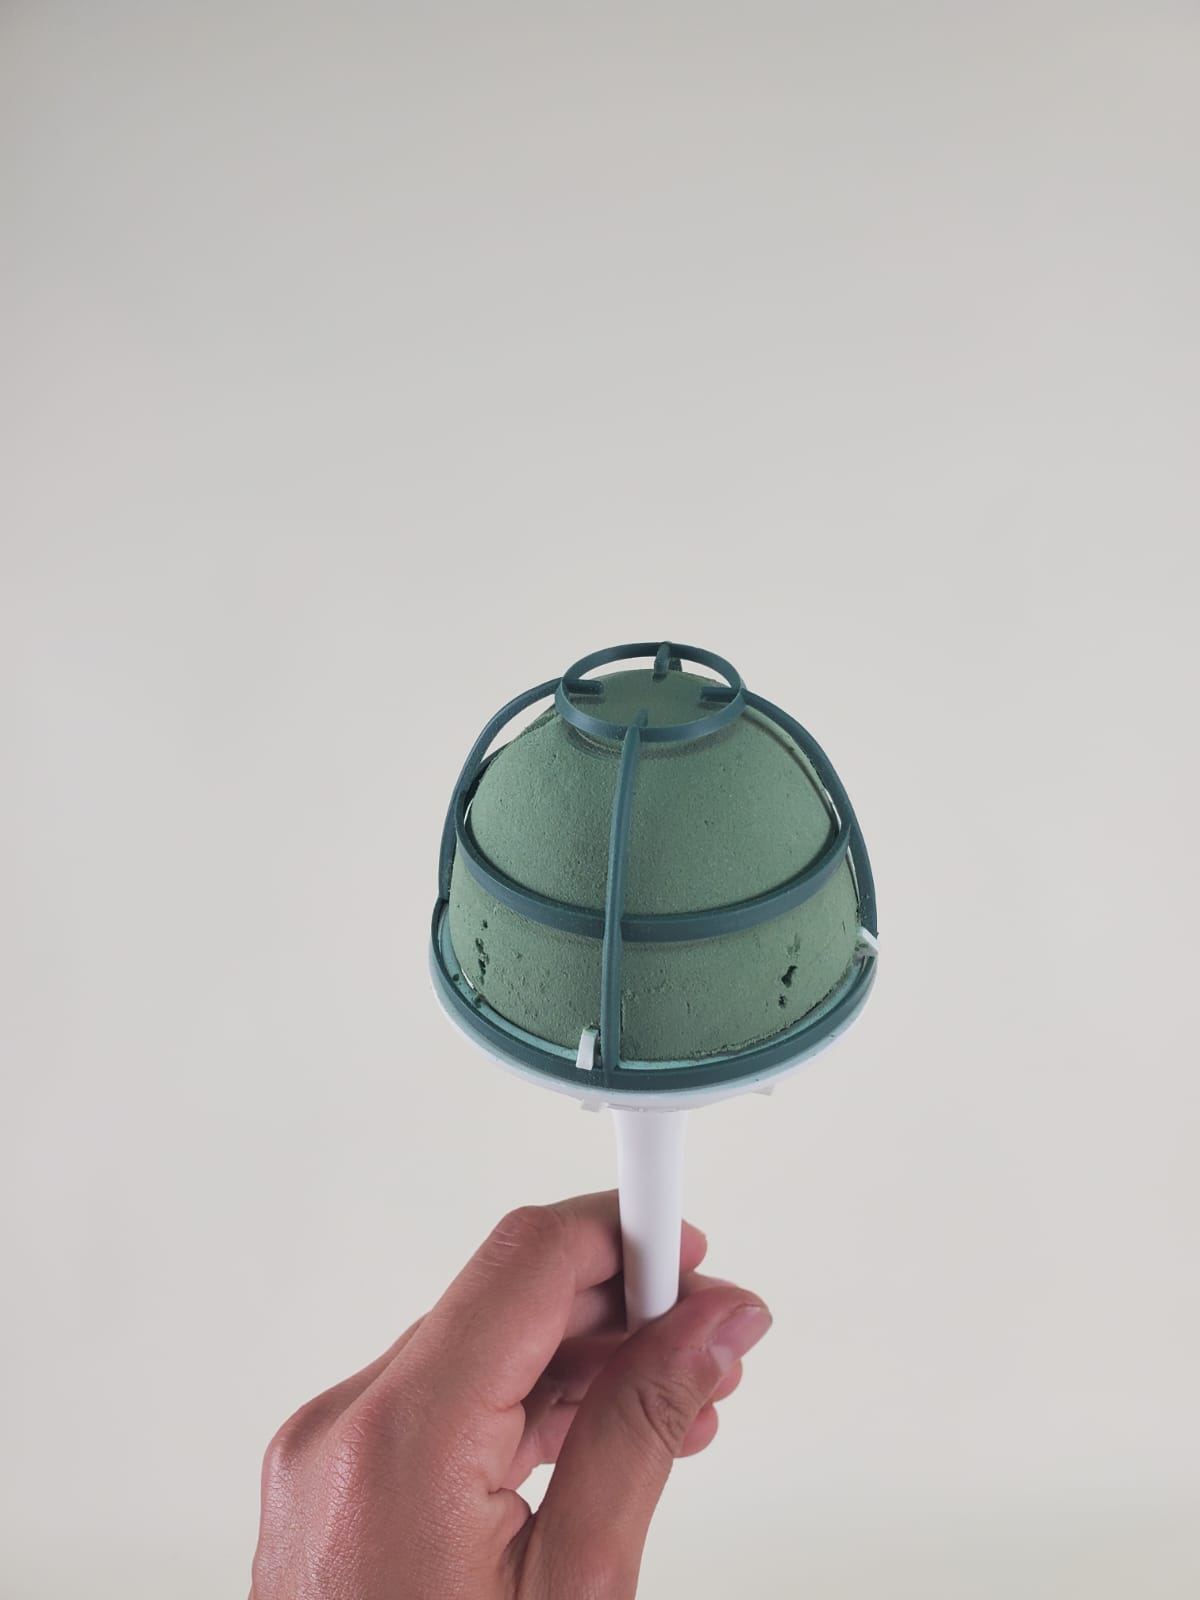
4. Assembling the Cascade
Flowers:
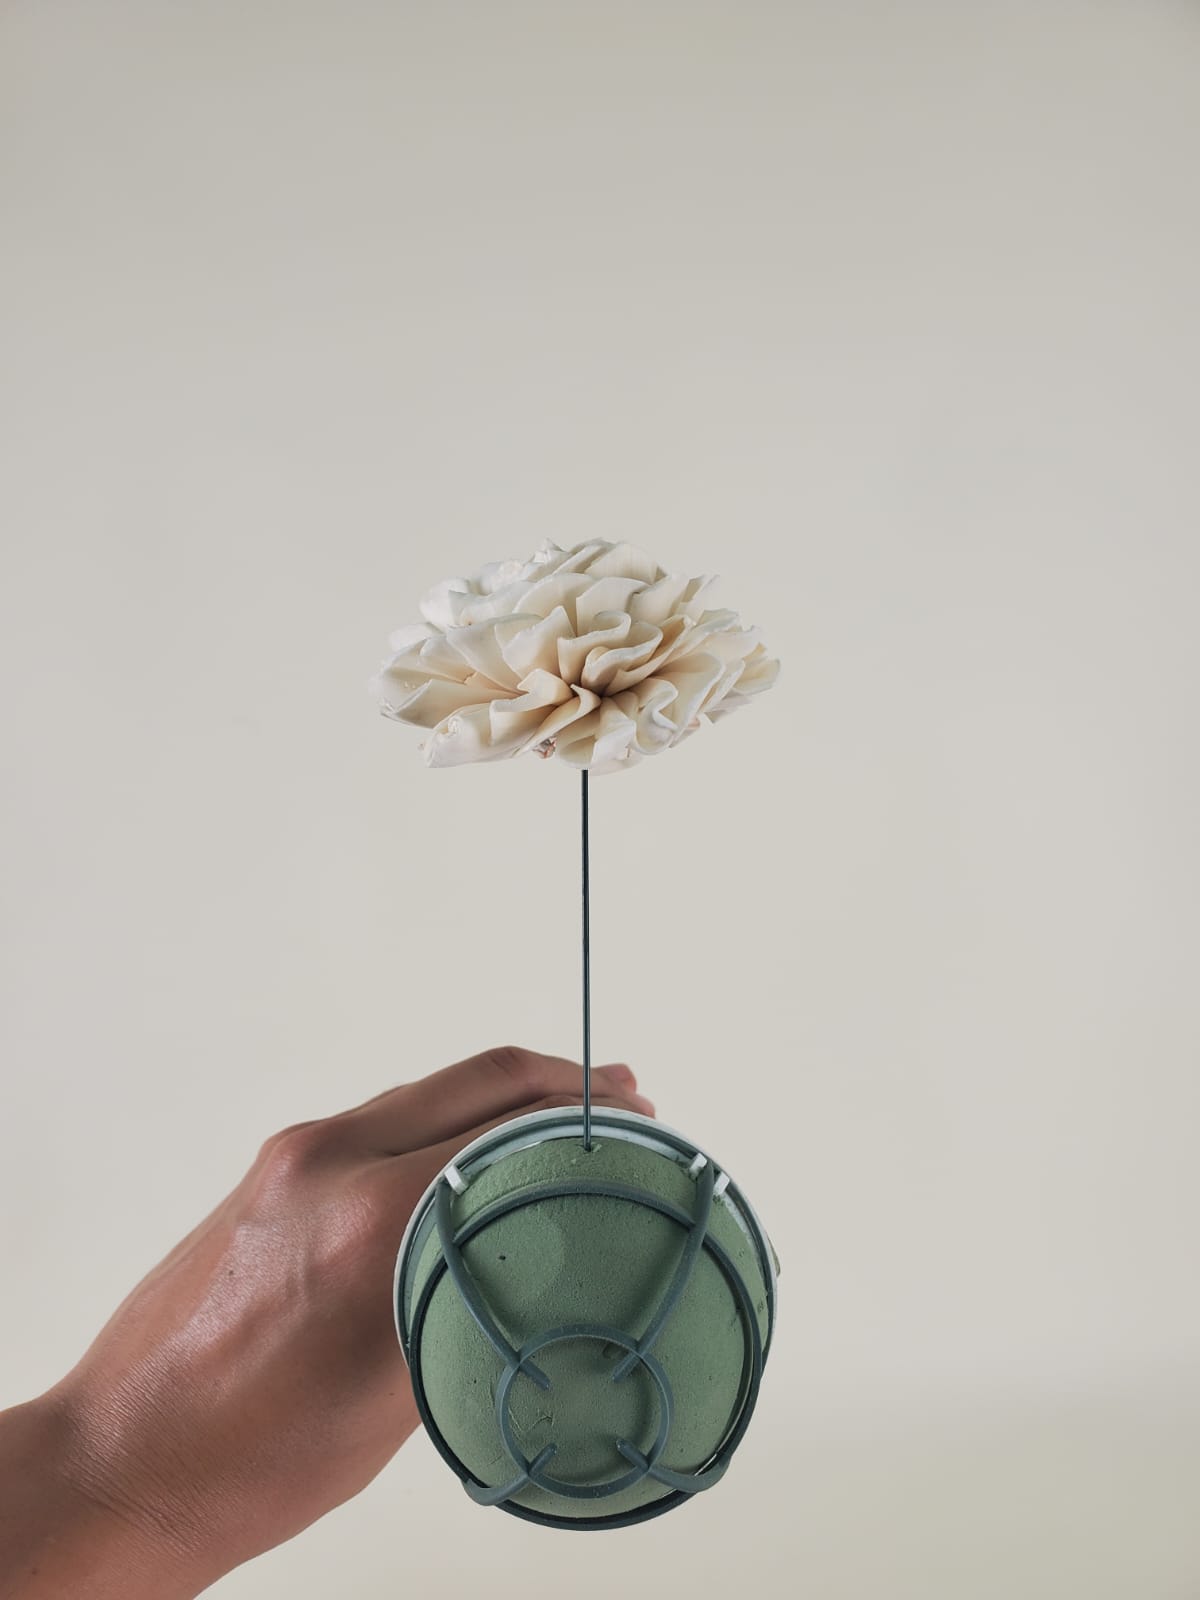
Start by positioning the first 4 flowers as the cardinal directions, always holding the holder like a microphone in front of you:
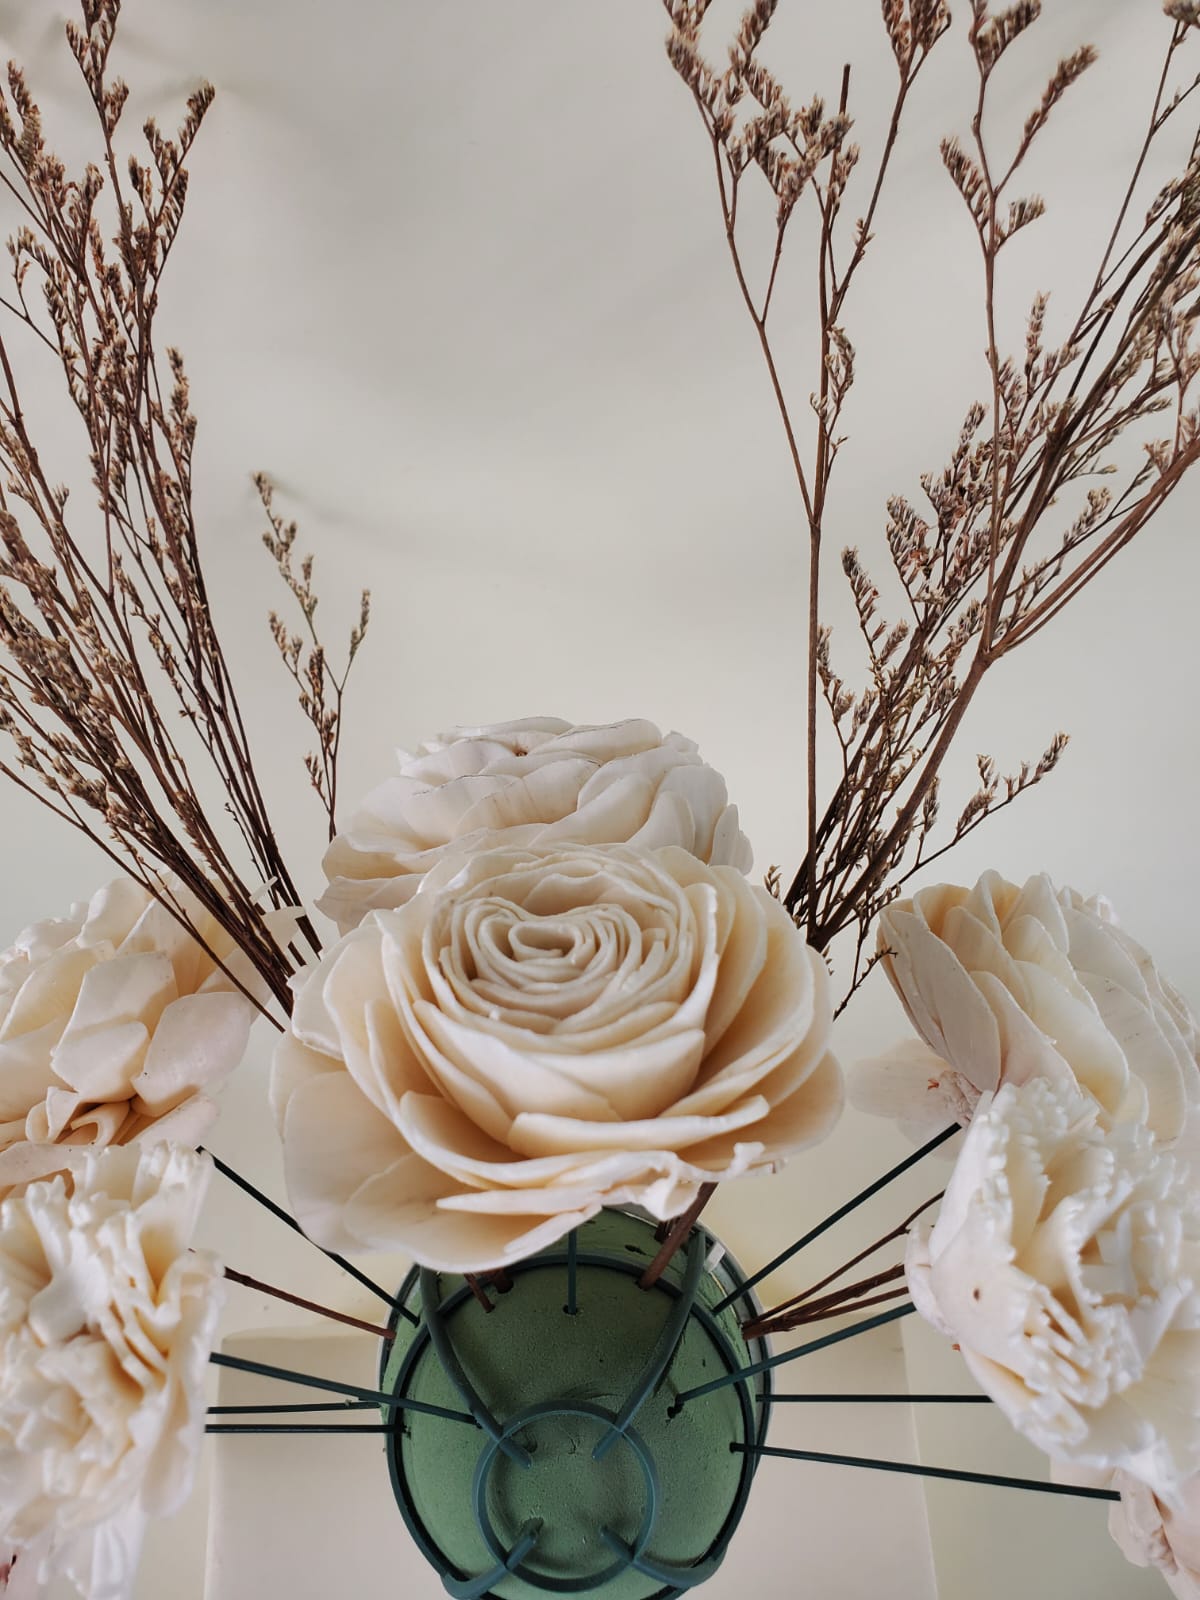
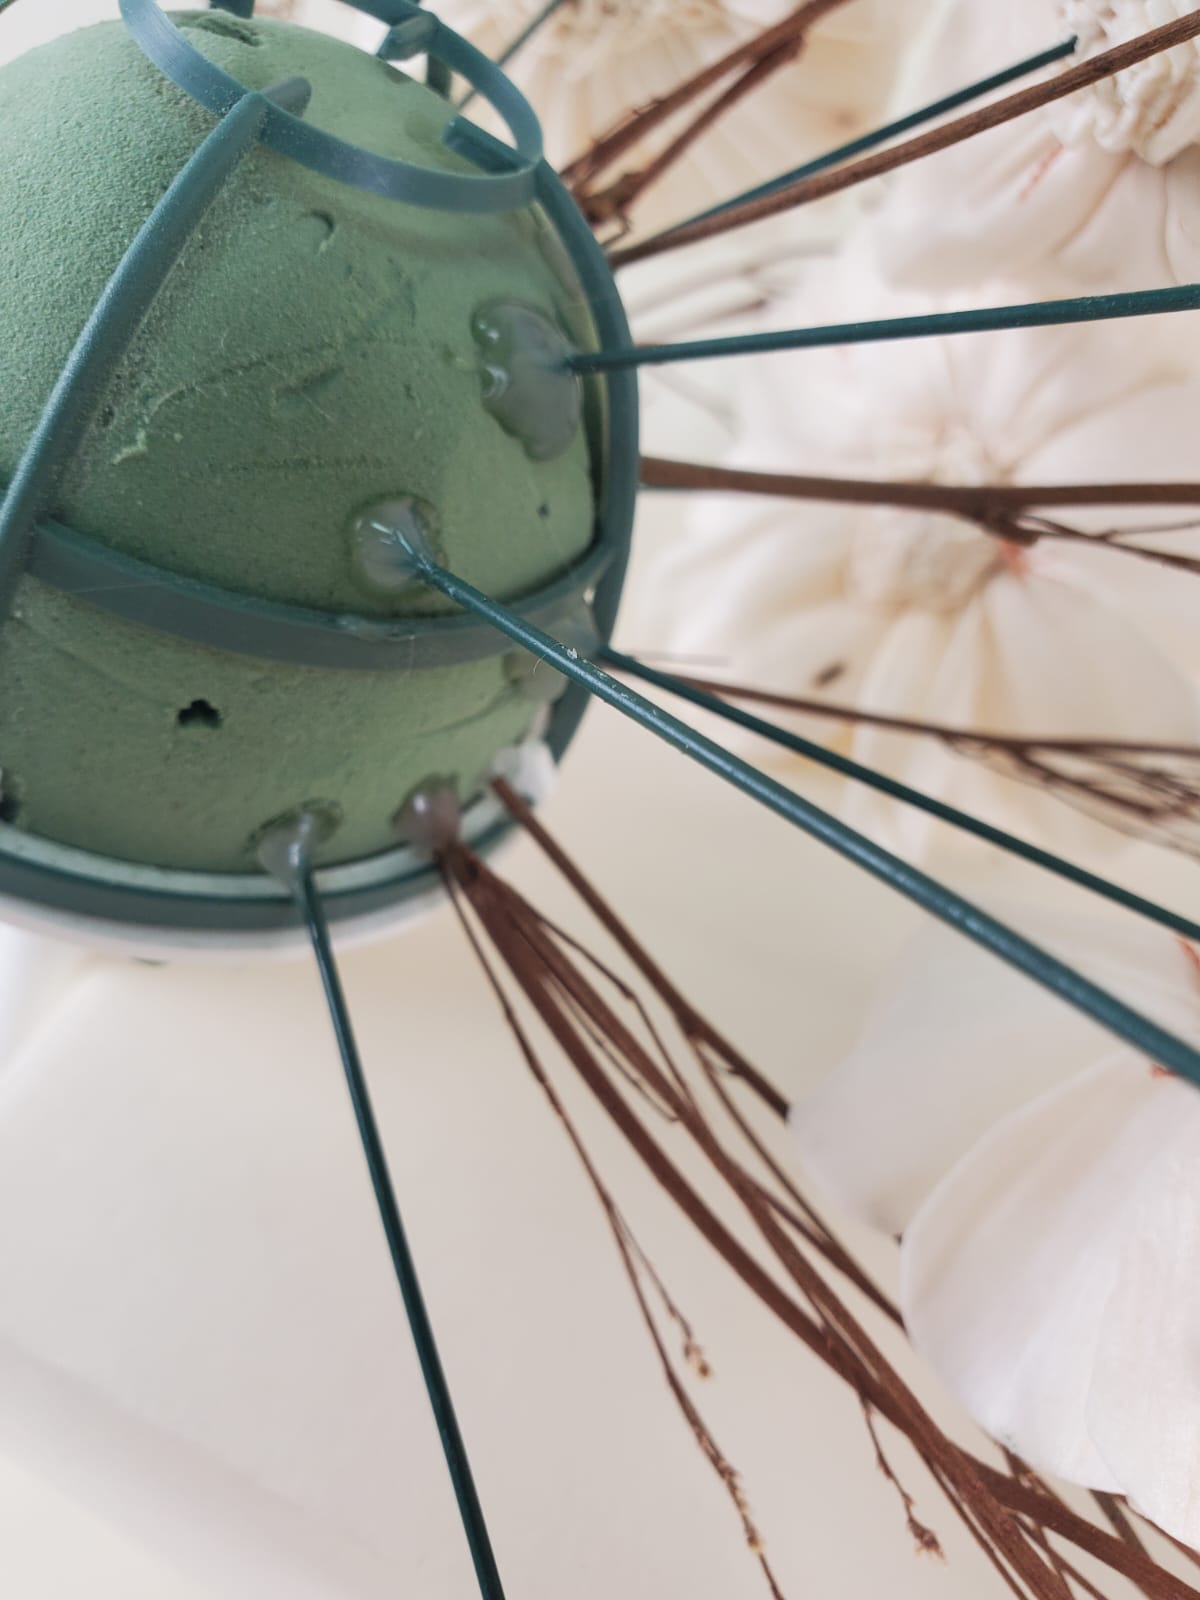
Use a 3” flower at the top (north). Place the flower facing the ceiling, leaving a 3.5” distance between the foam and the flower. Cut the wire, leaving about 1.5” extra from the exact middle to dip the end in silicone and then attach it to the foam in the holder’s back slit.
The second and third flowers will go on the sides (east and west). Position the flower facing the right and left sides (depending on which direction you’re working with), leaving a 3.5” distance between the foam and the flower (use a 3” or 2” flower here). Cut the wire, leaving 1.5” extra from the middle, dip the end in silicone, and attach it to the foam in the back slit.
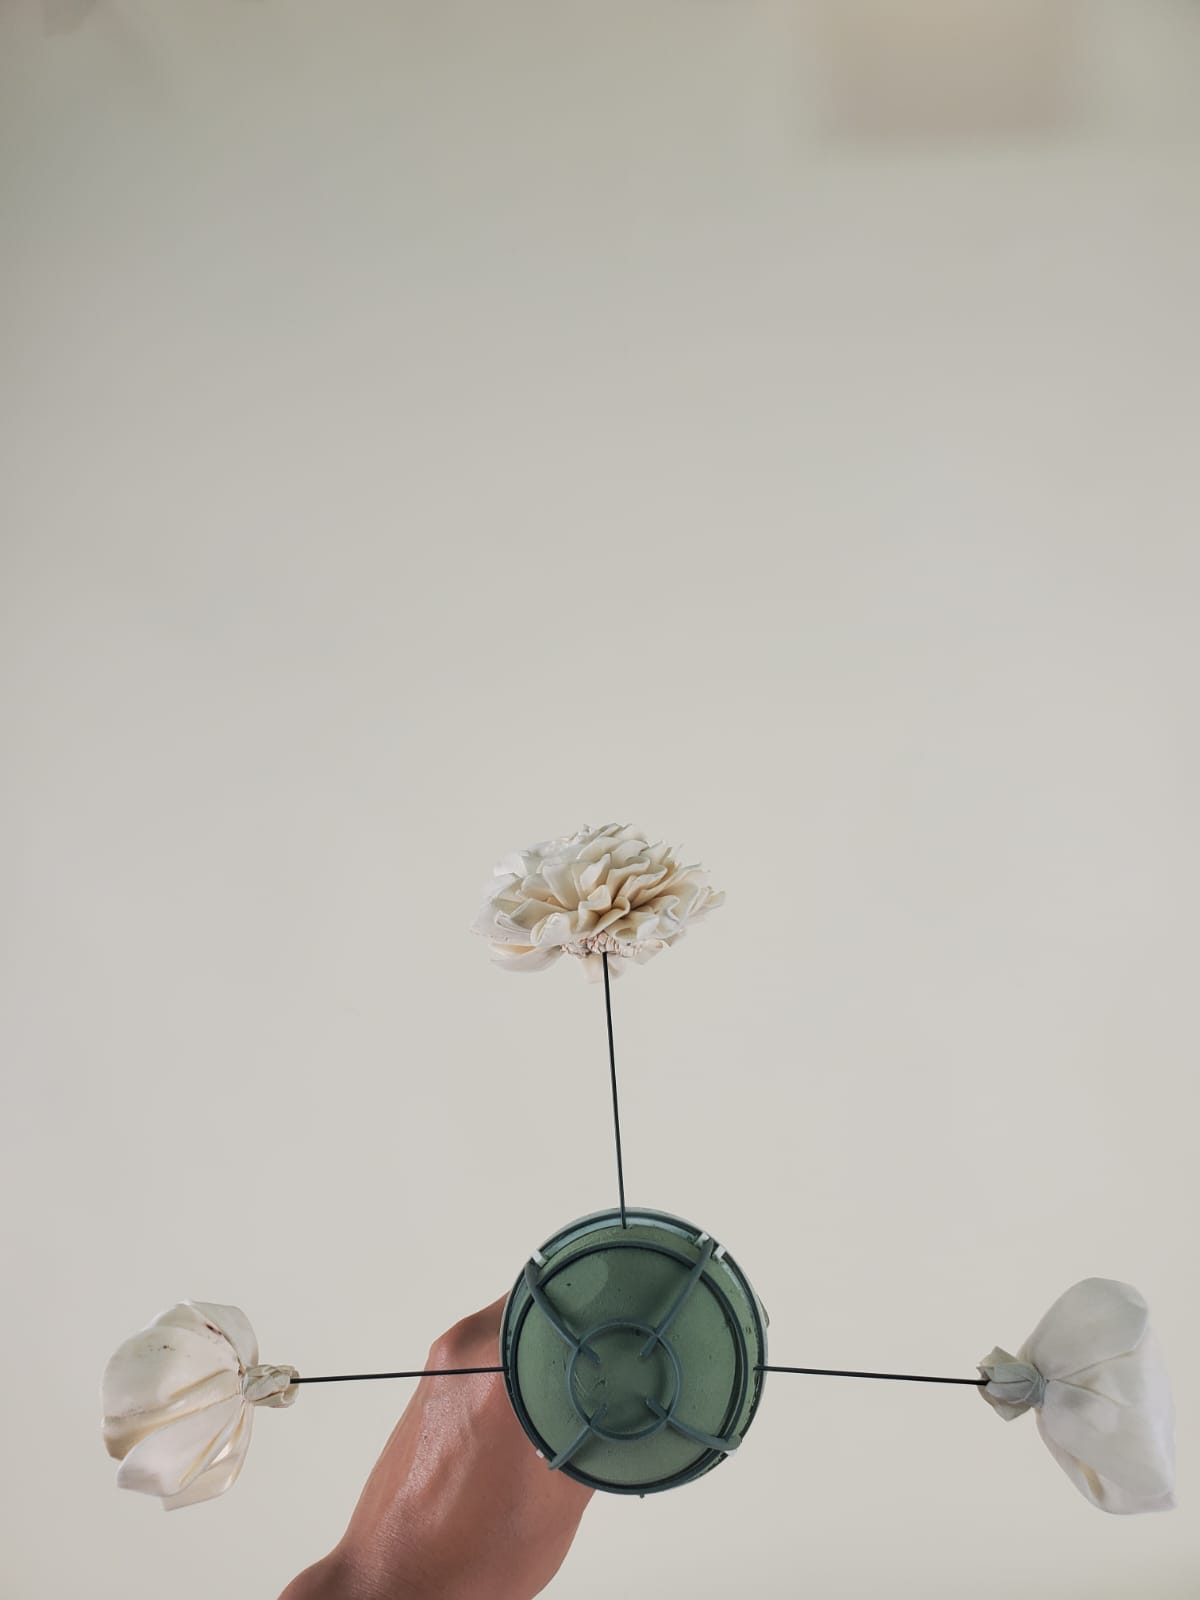
Finally, place the bottom flower (south), facing completely downward, with a 8” distance from foam to flower (try using a 2” flower for a better final result). Again, cut the wire leaving 1.5” extra from the middle, dip the end in silicone, and attach it to the foam in the back slit.

This perimeter marked by the first four flowers helps visually trace the shape of the cascade and makes it easier to build the cascade.
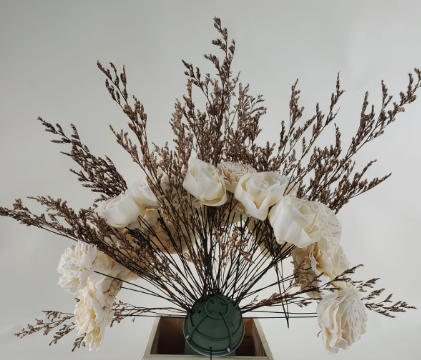
Now, with your cascade positioned horizontally, begin marking the volume of your cascade.
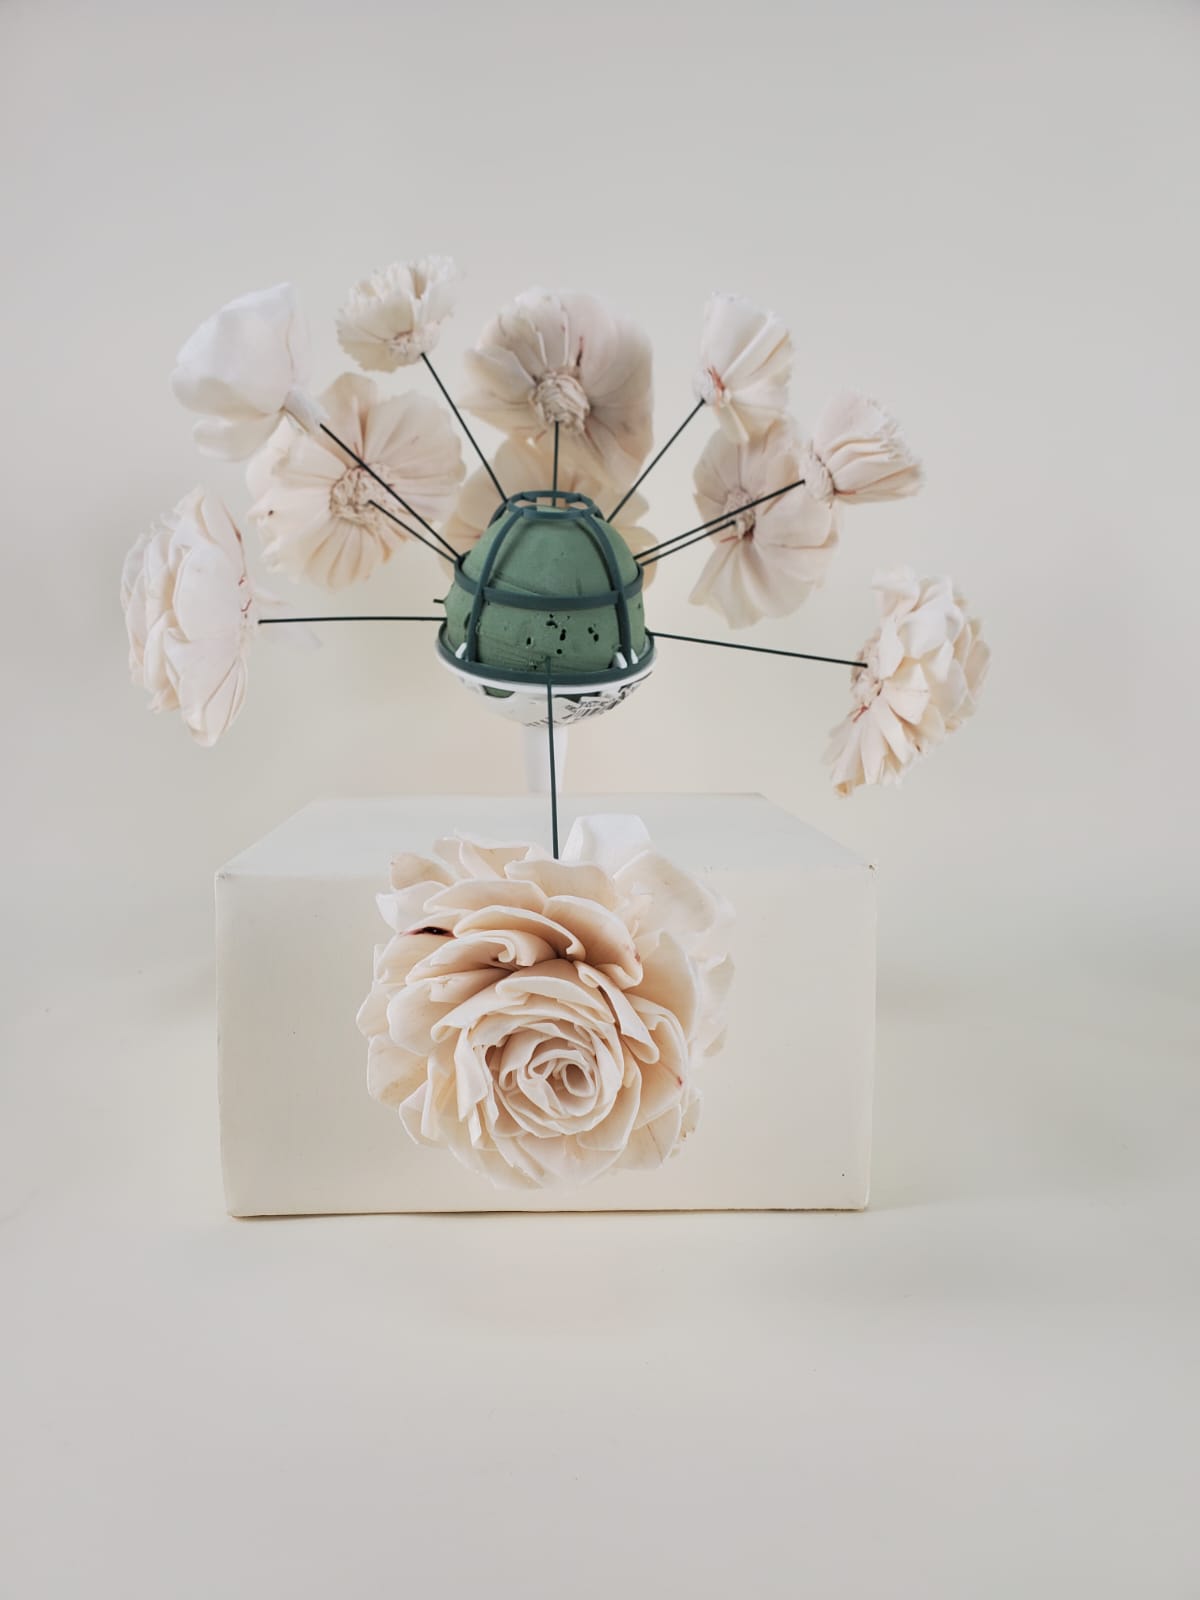
Create a curved line of flowers from the top to the bottom (north to south), starting with larger flowers (3”) and moving to smaller ones (2”), following the classic cascade shape as shown in the image.
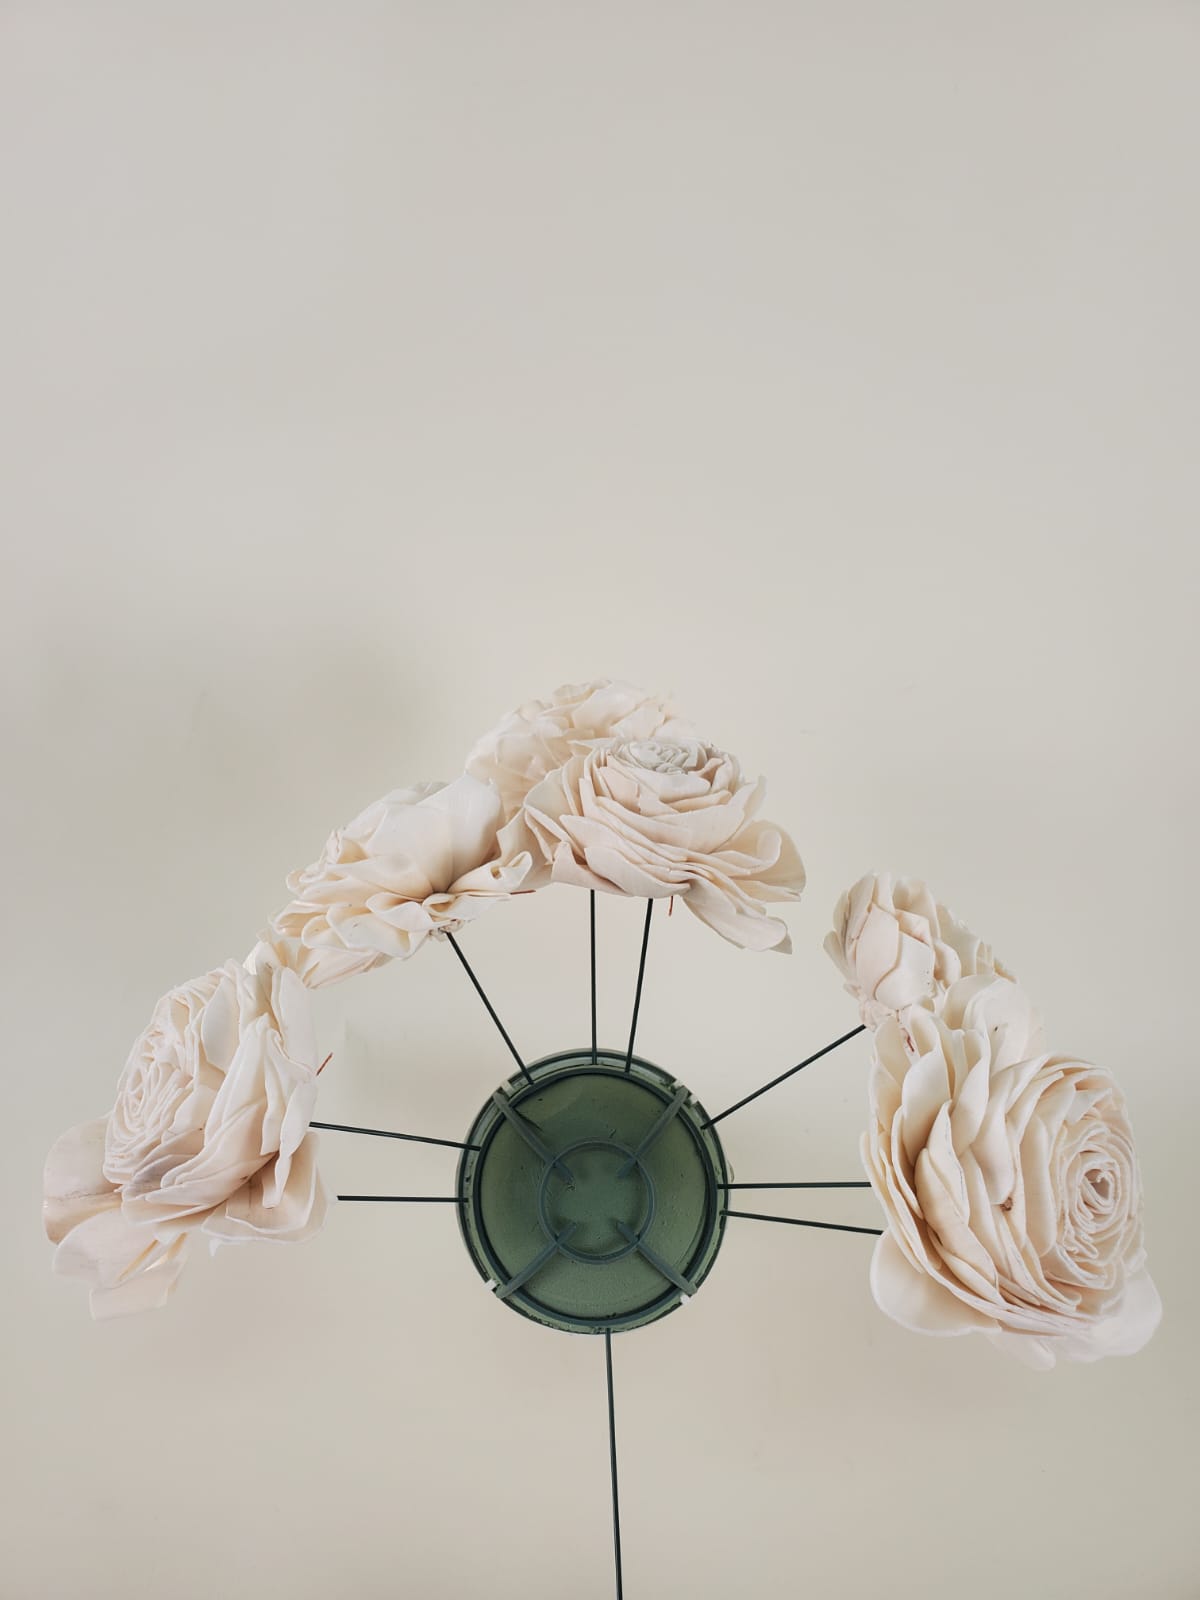
Once these two actions are completed, you can freely place the flowers around the remaining empty spaces in the foam, always following the imaginary lines you created.
Remember to firmly insert all the components into your Bouquet Holder, ensuring nothing moves out of place as you work on the following layers.
Greenery:
Gather into small bunches, considering how much density and volume you want in the cascade.
Don’t forget to add greenery alongside the flowers to better manipulate it and create a more integrated and cohesive design.
For each flower or filler stem added you will need to add a dab of hot glue to the end before inserting it to your bouquet holder.
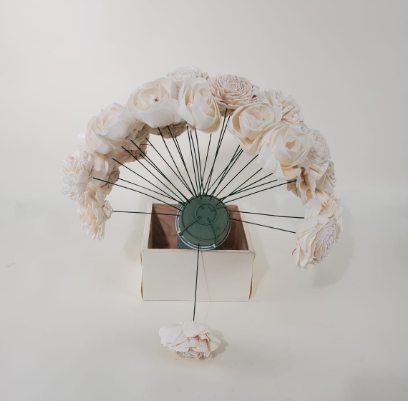
Once all the flowers and basic greenery are in place, take a step back, look at the cascade and tuck more greenery into any empty spaces to give the cascade a lush, full look if needed.
Once you're satisfied with the amount of greenery and flowers, now focus on beautifying the edges and the back.
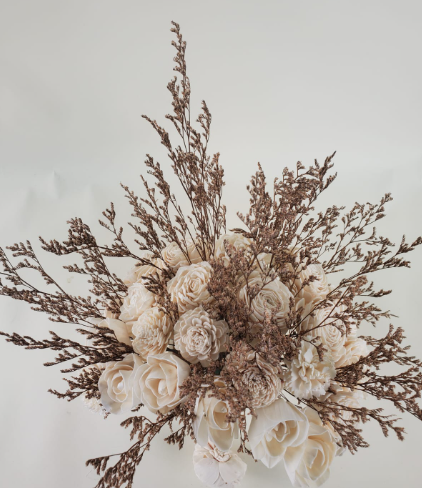
Create a light line of greenery covering all the flowers at the back, turning your cascade upside down to hide all the wires and create a cleaner, more professional, and natural finish.
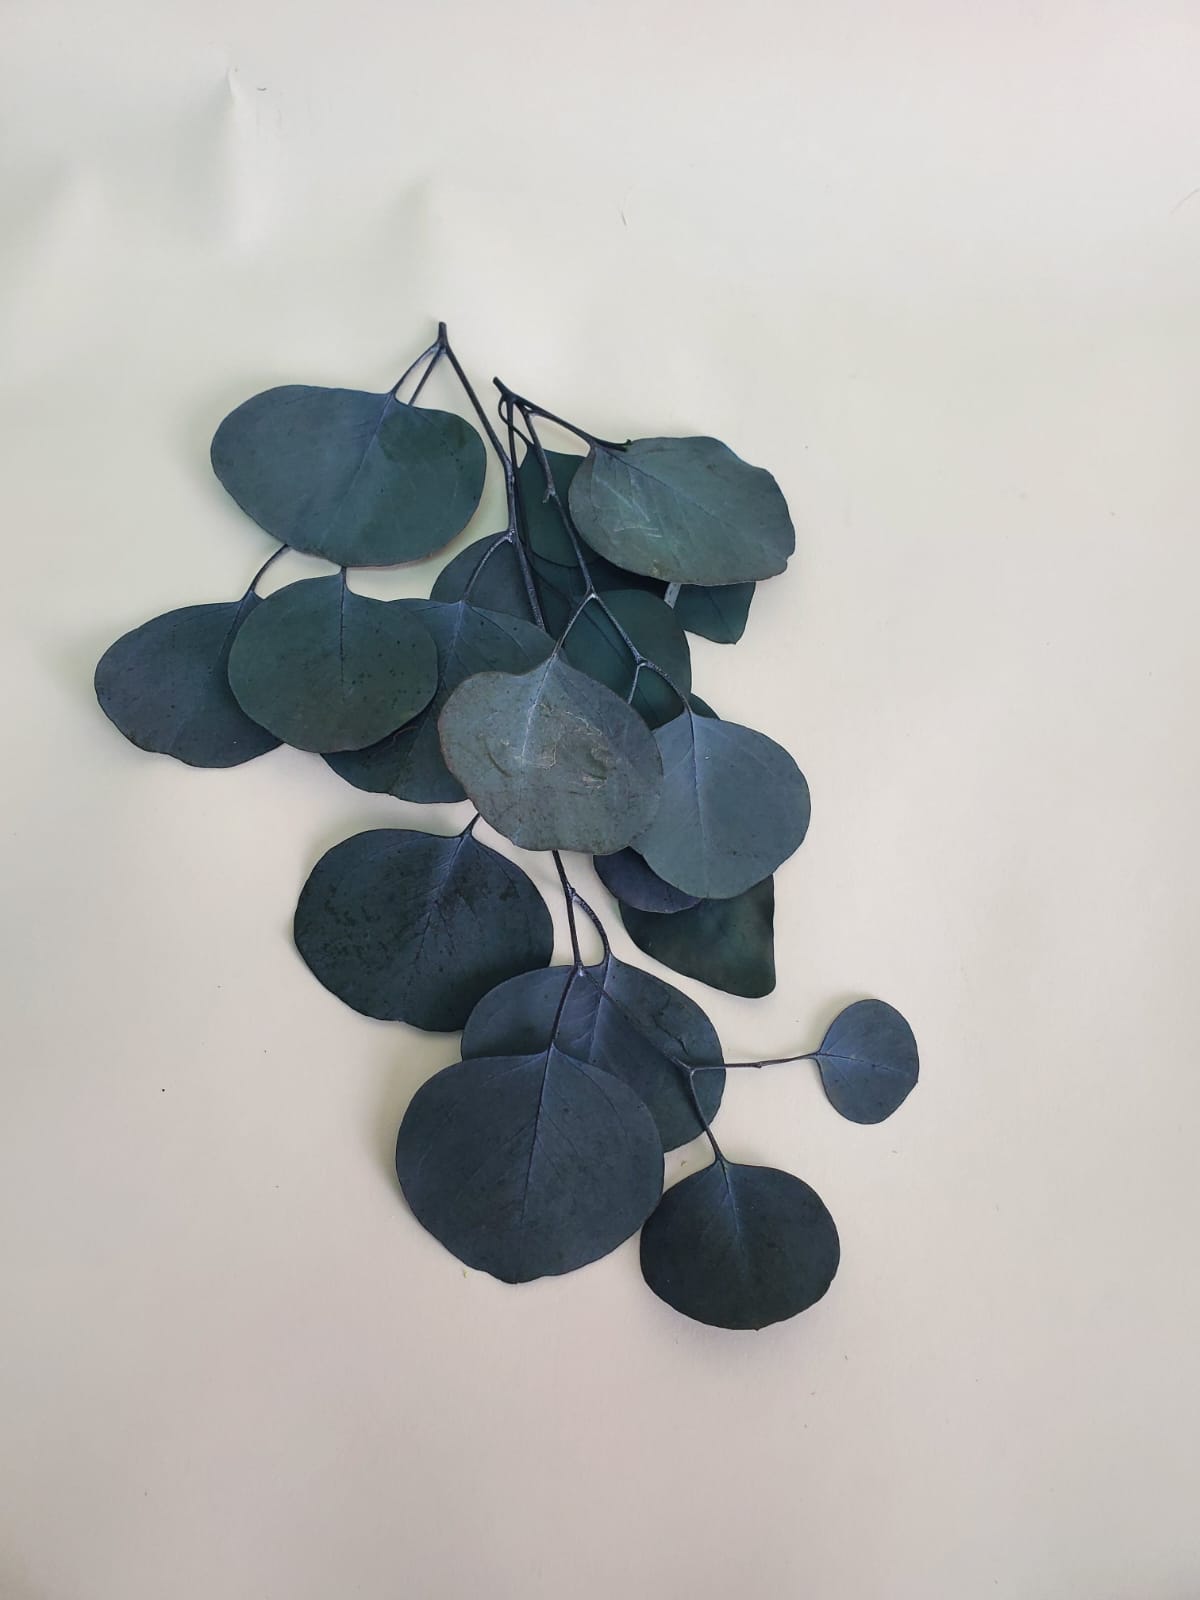
Greenery with leaves: Willow Eucalyptus, Silver Dollar Eucalyptus, Leather Leaf, and Salal. (It is recommended to focus on the branches from the bottom up. Separating from the bottom will help divide more easily, and then start breaking down the pieces that have a lot of greenery at the top.)
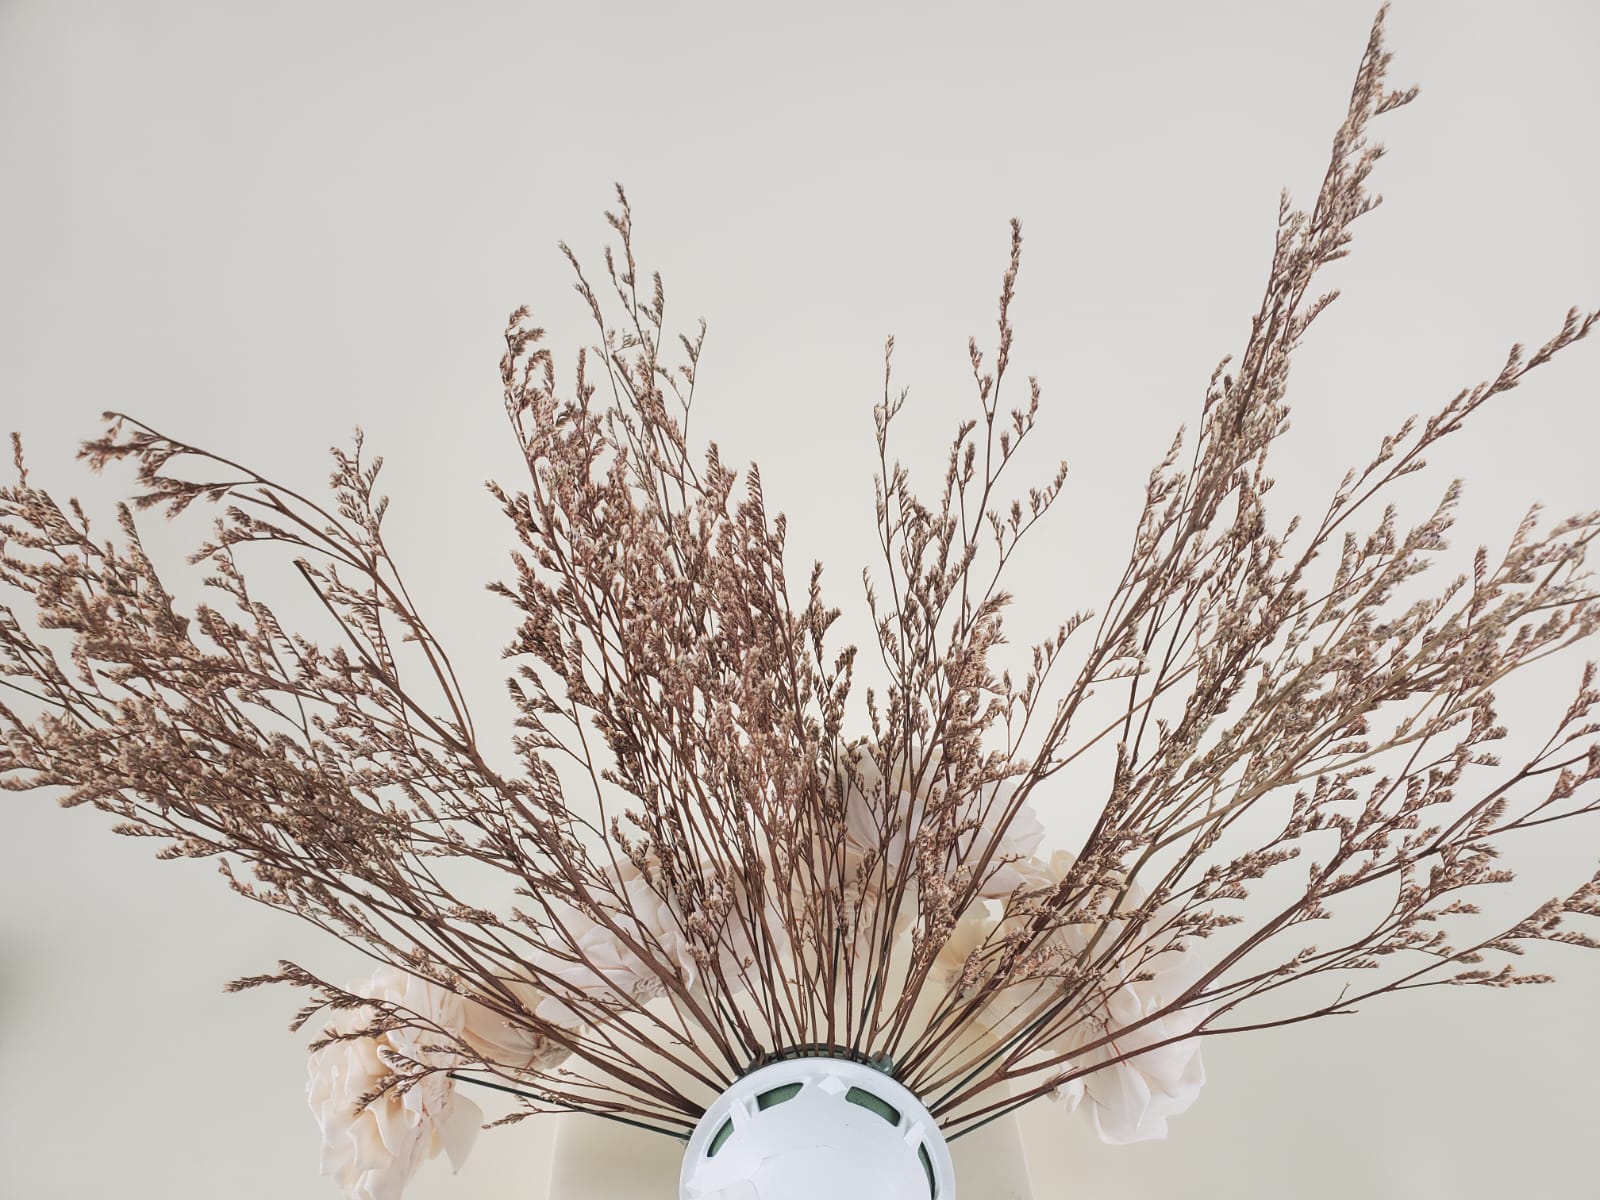
Spike greenery: Bunny Tails, Lavender, Triticum Wheat Grass, and Mini Pampas. (It is recommended to position one or three stems together in each space to decorate with this greenery. It separates easily.)

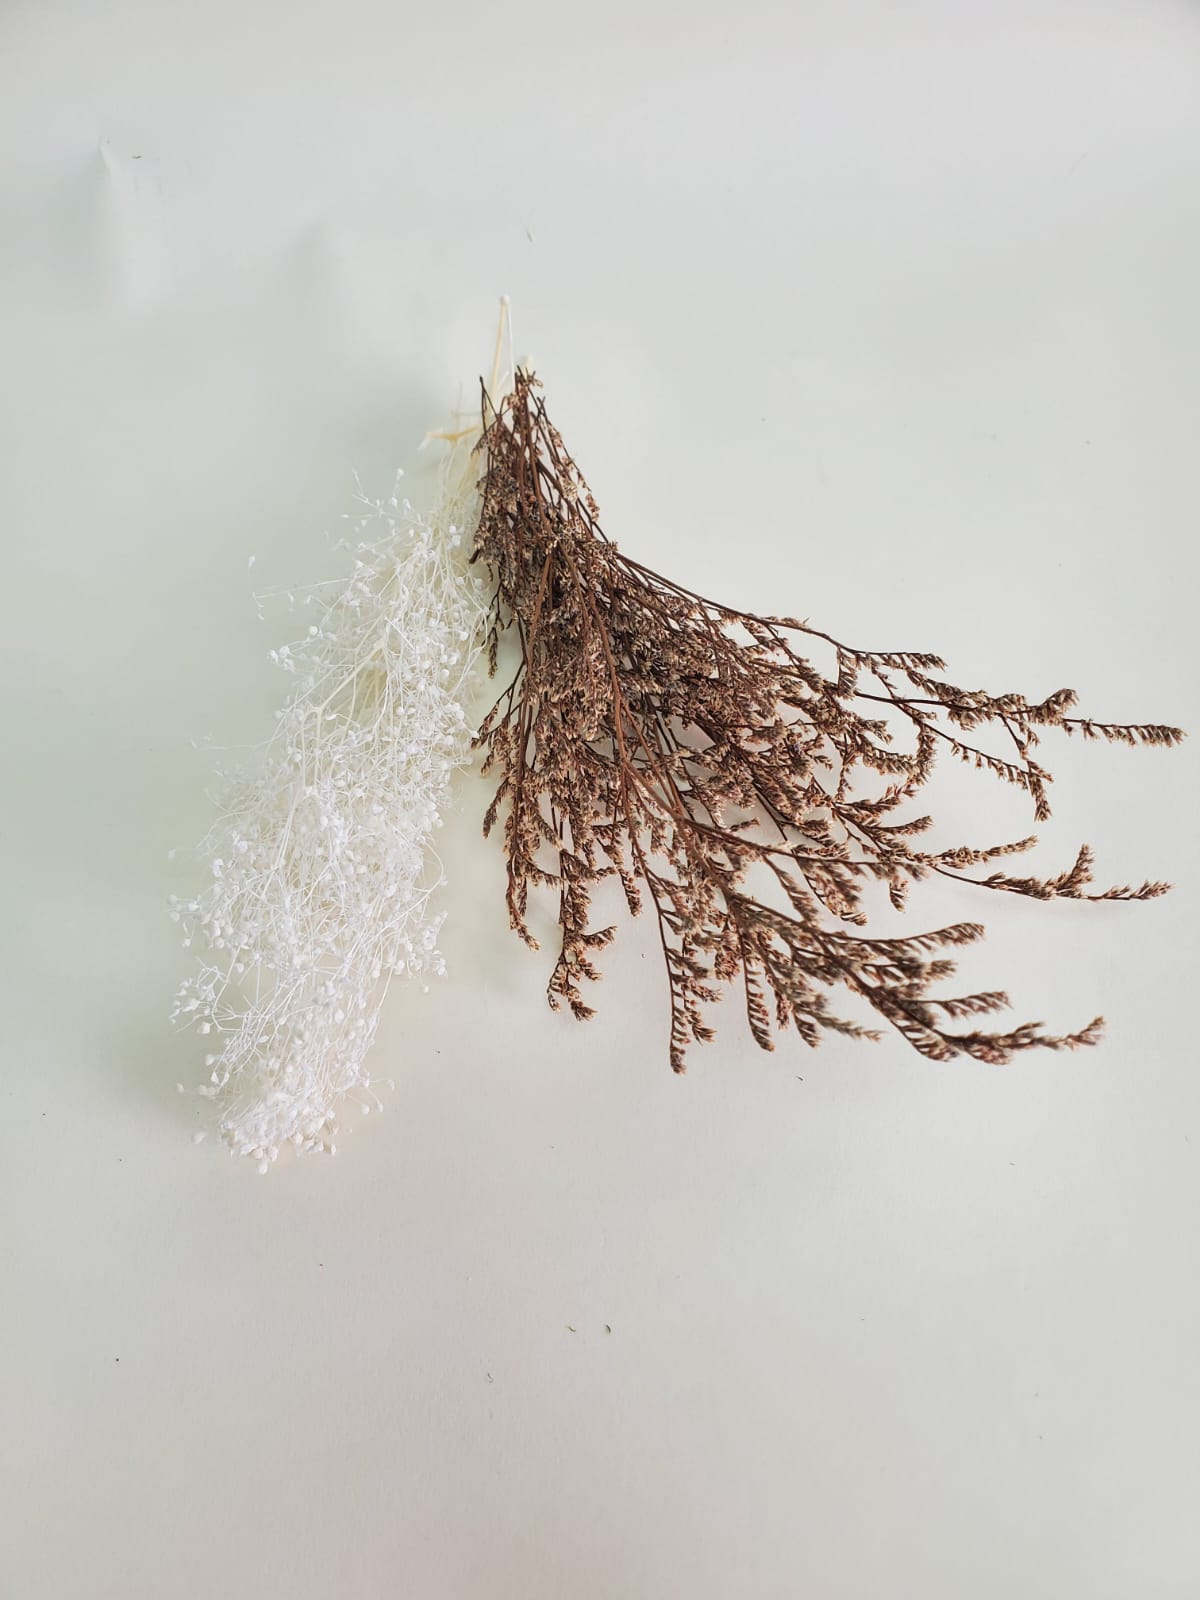
Fluffy greenery: Baby Breath Sparkle, Baby Breath, Preserved Caspia, and Mini Gyp. (It is recommended to position a bundle about the width of a finger in each space to decorate with this greenery. It takes more time to separate.)
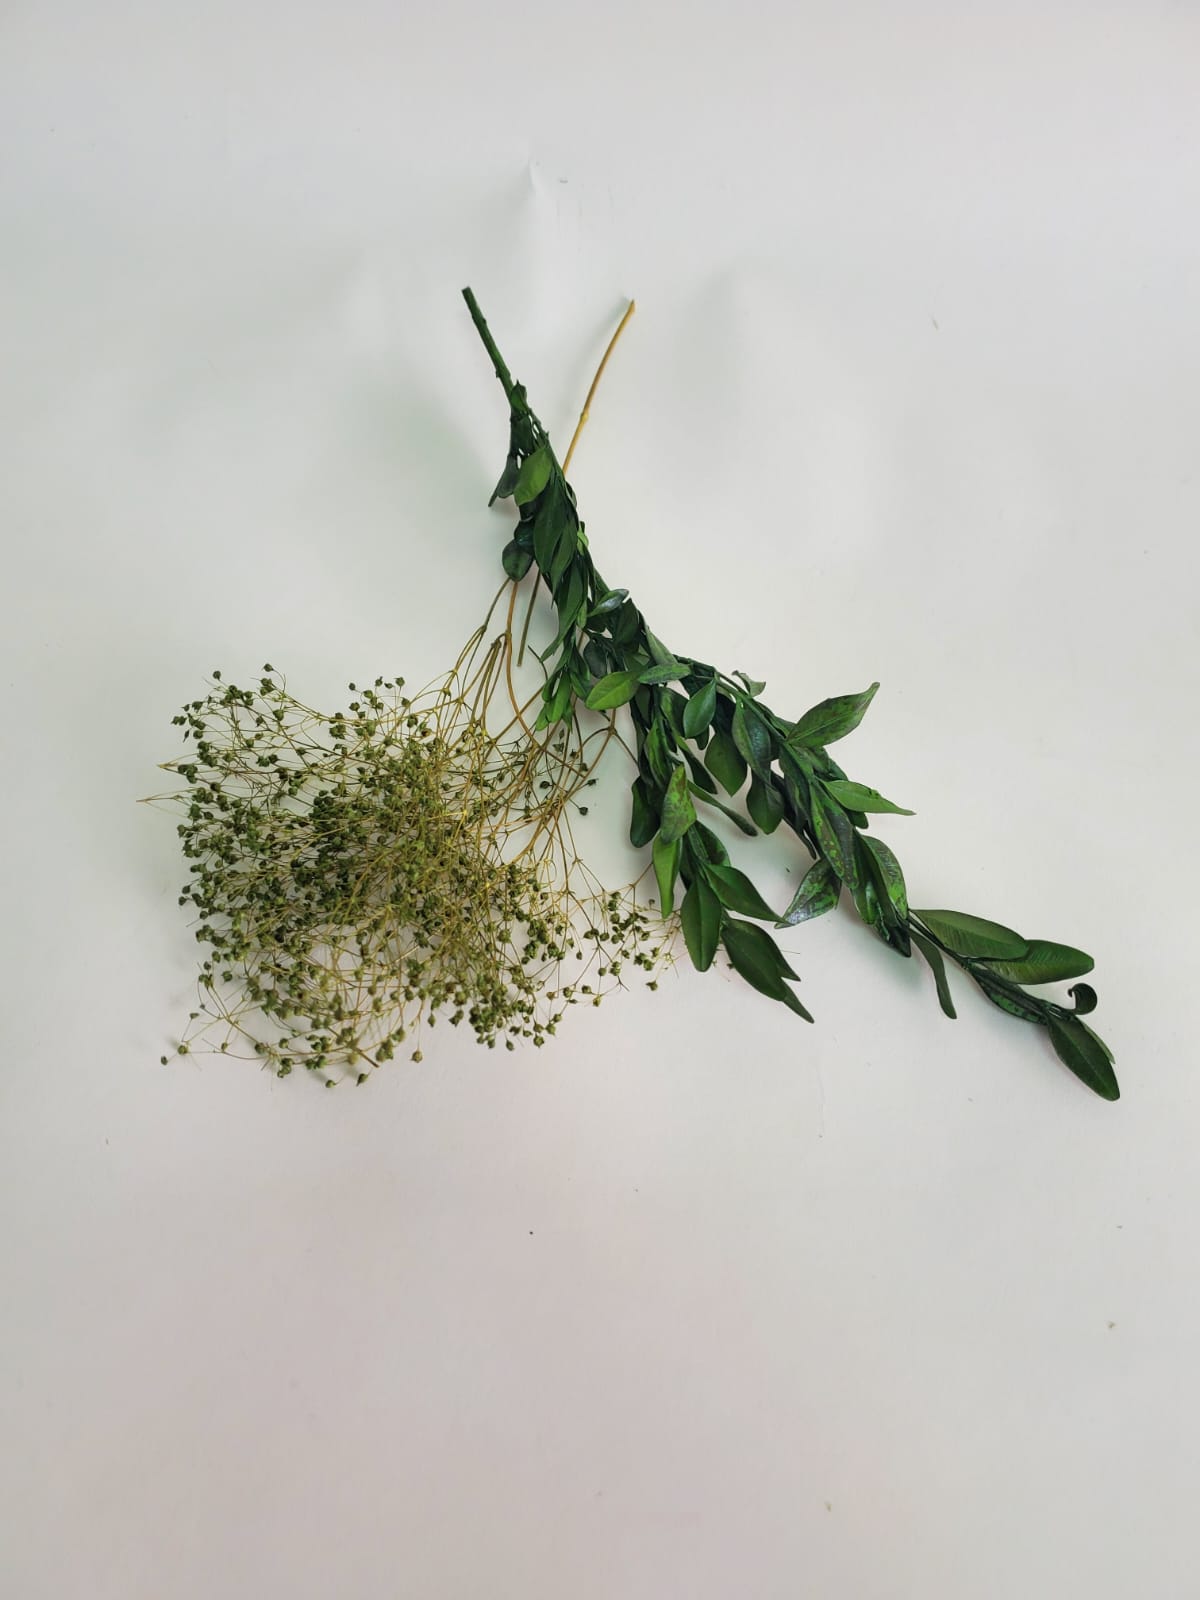
Stiff greenery: Boxwood Greenery, and Satin Washed Eucalyptus - Kelly Green. (It is recommended to follow the same advice as for greenery with leaves and spikes, as this greenery has a very stiff trunk, and the leaves grow individually on each of these trunks.)
5. Final details
Check stability:
Make sure all the flowers are securely attached to the bouquet holder and the cascade has the shape and volume you want.
Adjust any details as needed.

6. Optional: Presentation
For a more elaborated and personal look, you can also add extra touches like pearls, bows, butterflies, or personalized decorations to make it as unique as you.
Tips:
Ask for help: If you have any questions, the Sola Wood Flowers Team is always here to help.
Patience: If it's your first time, remember that, like any skill, it gets better with practice. Repeat the steps as many times as needed to get the result you want. You’ve got this!
Structural Support: Spend time creating the cardboard base we suggested in the step-by-step. Although it may seem like a step you can skip, it will make the entire process of building the cascade much easier, less tiring, and more enjoyable. Plus, you'll have the opportunity to see your creation from a distance as many times as necessary in the process since it will have a base to rest on.
Additional decoration: The great thing about sola flowers is that your creativity has no limits—feel free to add as many colors, textures, and elements as you like to make the bouquet truly reflect you and this special moment. Add leaves, twigs, glitter, bows, feathers or any other details to make the bouquet yours.
Plus for realism: You can even add your favorite scent to the flowers, making them smell just how you want. The sola flowers material acts like a diffuser because of how absorbent they are, so adding a scent can make you enjoy your florals even more.