Boutonniere DIY Guide
Materials Needed
-
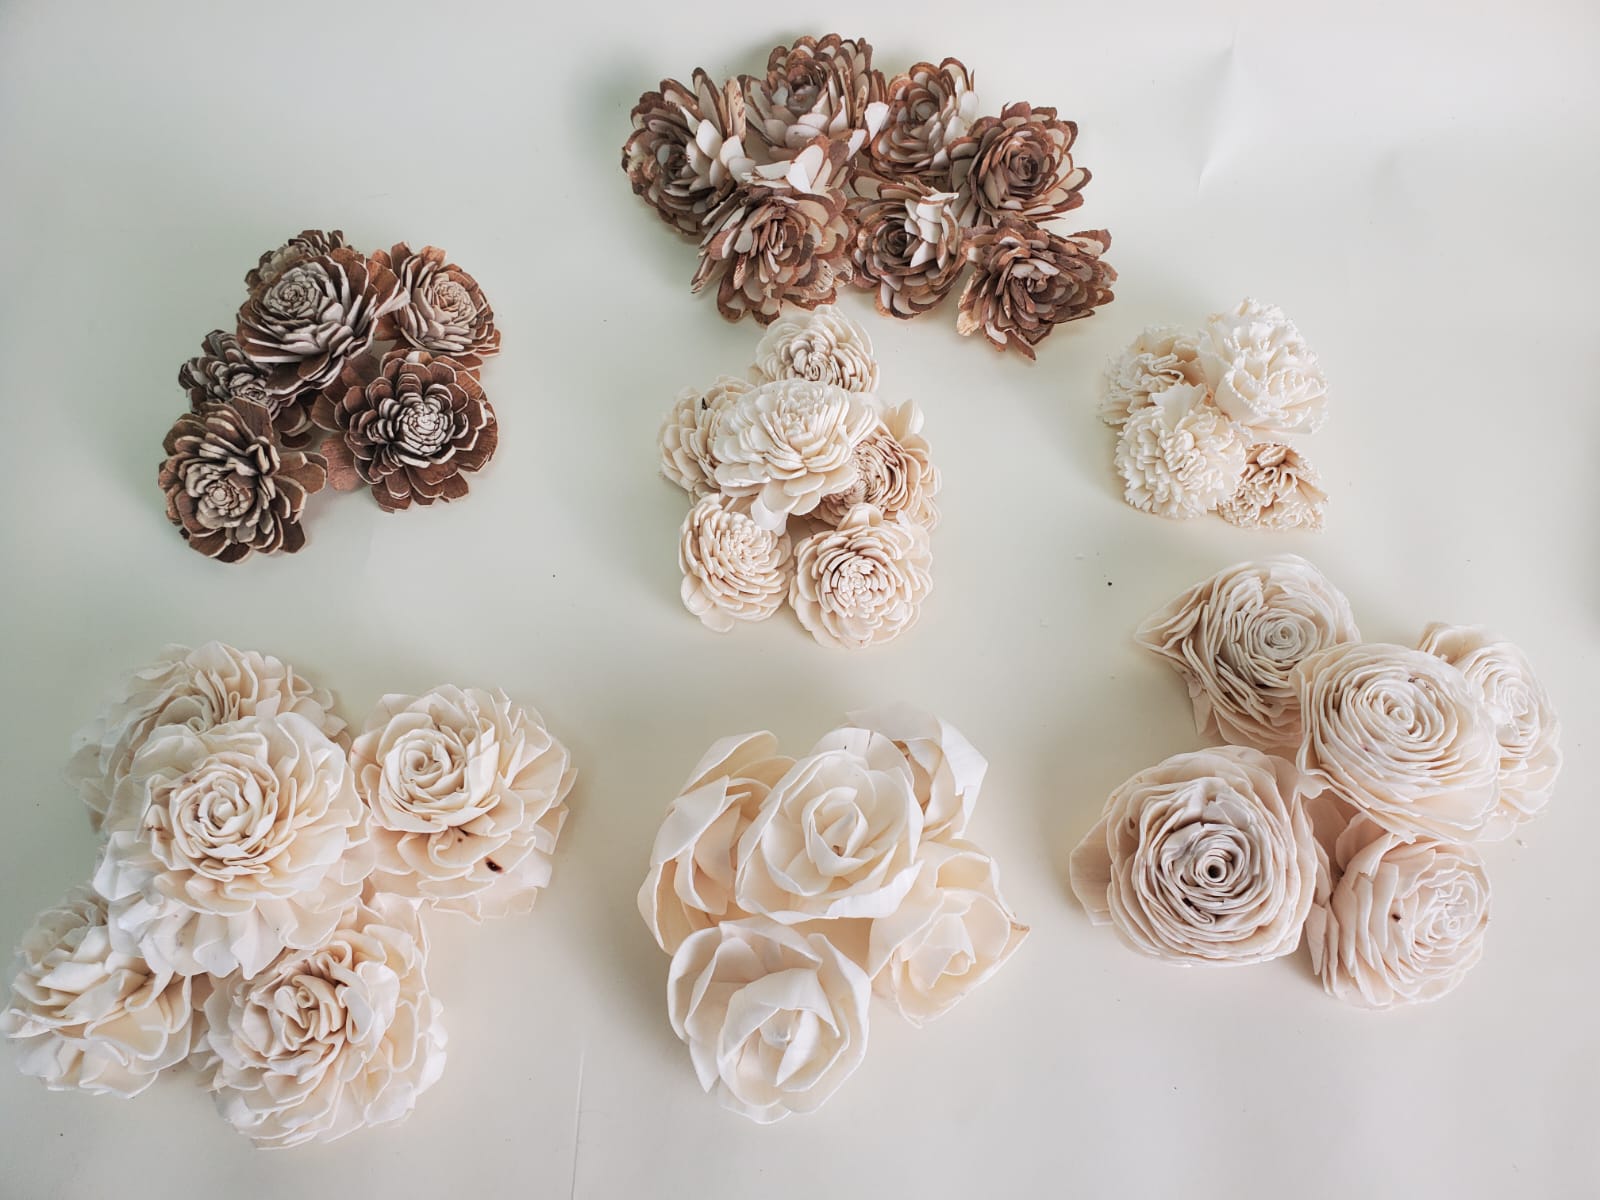
Sola flowers
-
Greenery
-
⅓ Wire stems
-
Glue sticks
-
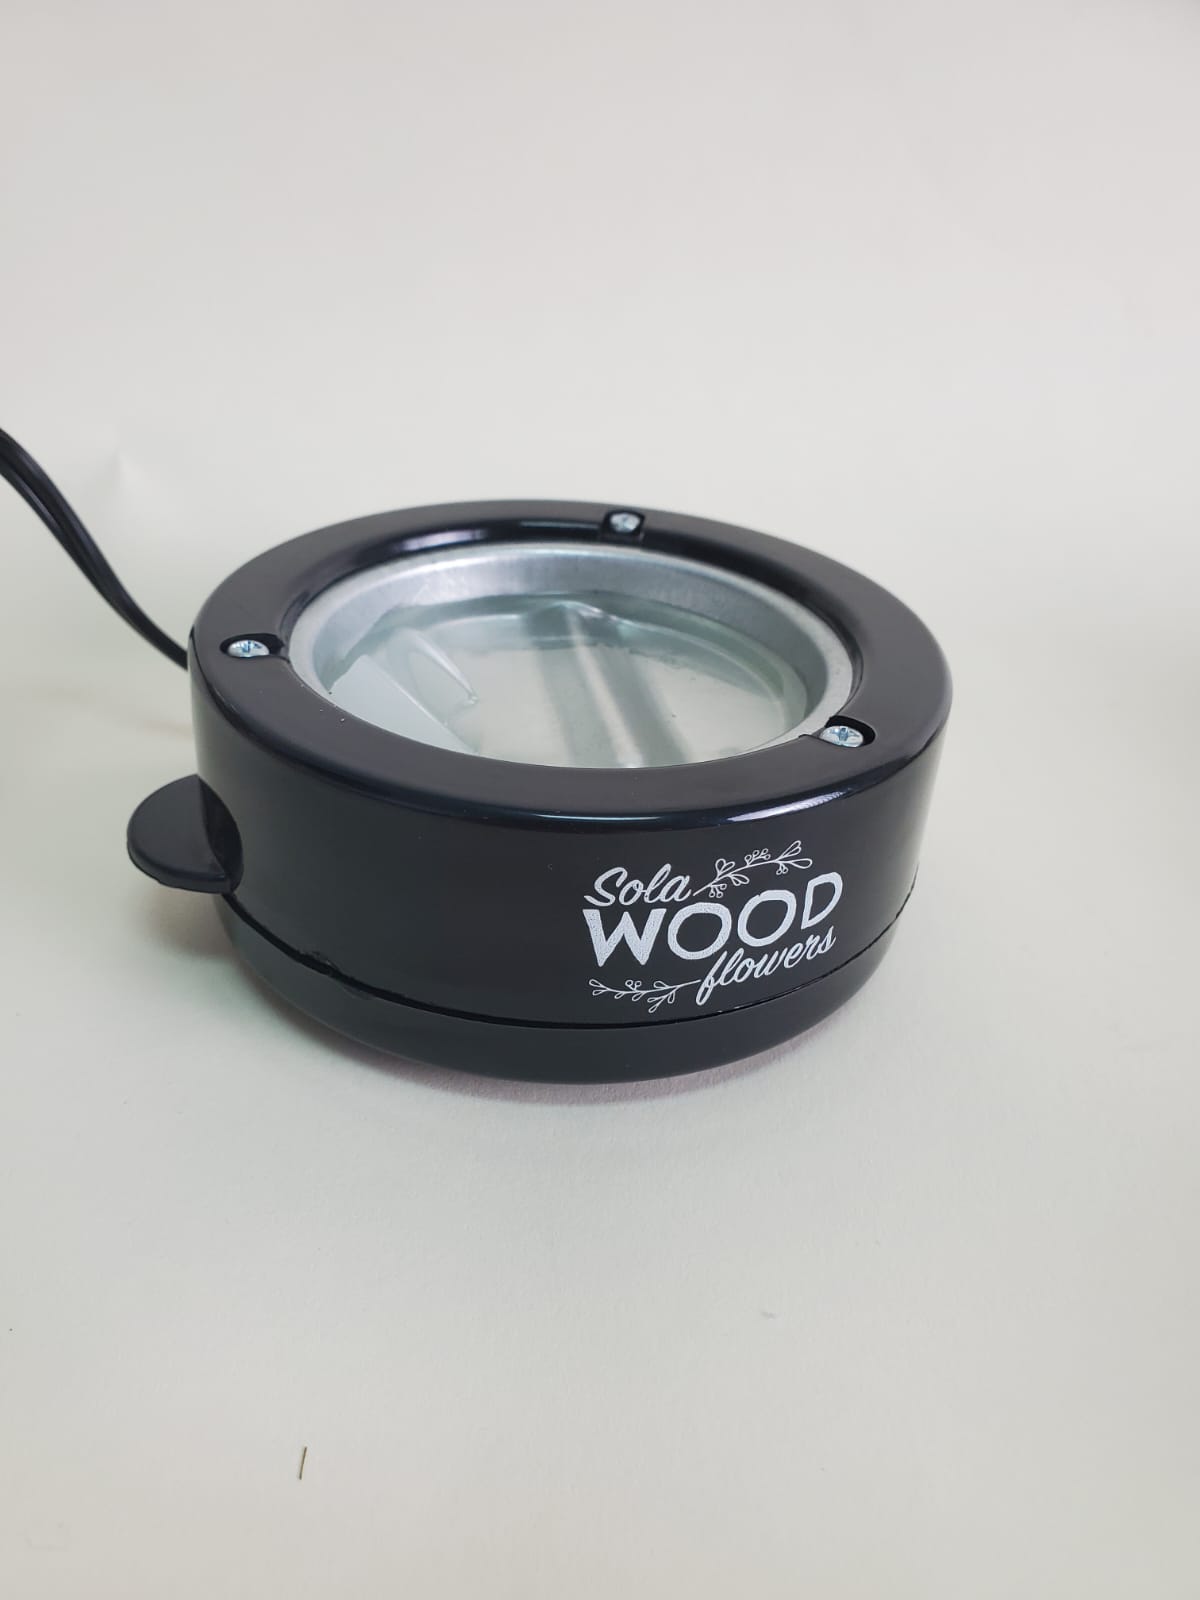
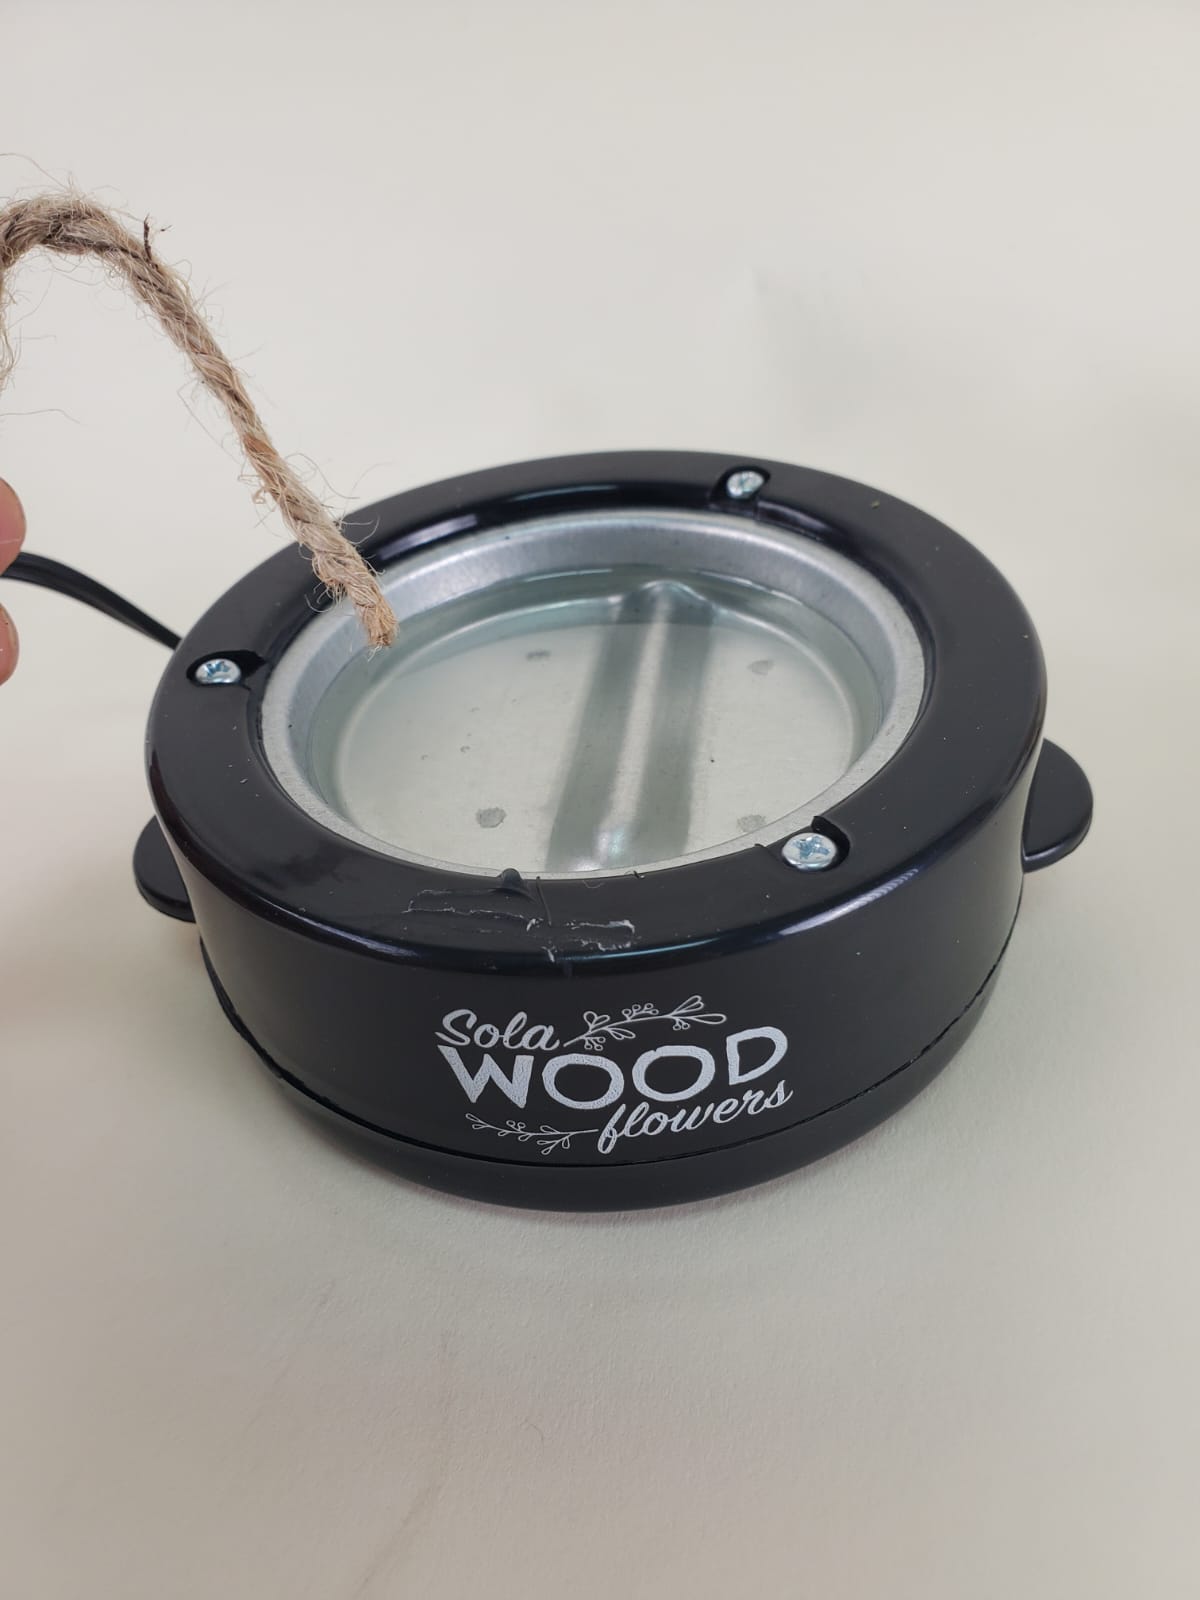
Hot Glue Pot or Glue Gun
-
Floral tape
-
Scissors or wire cutters
-
Jute Twine [optional]
-
Chiffon Ribbon [optional]
Step-by-step:
1. Hot Glue Prep
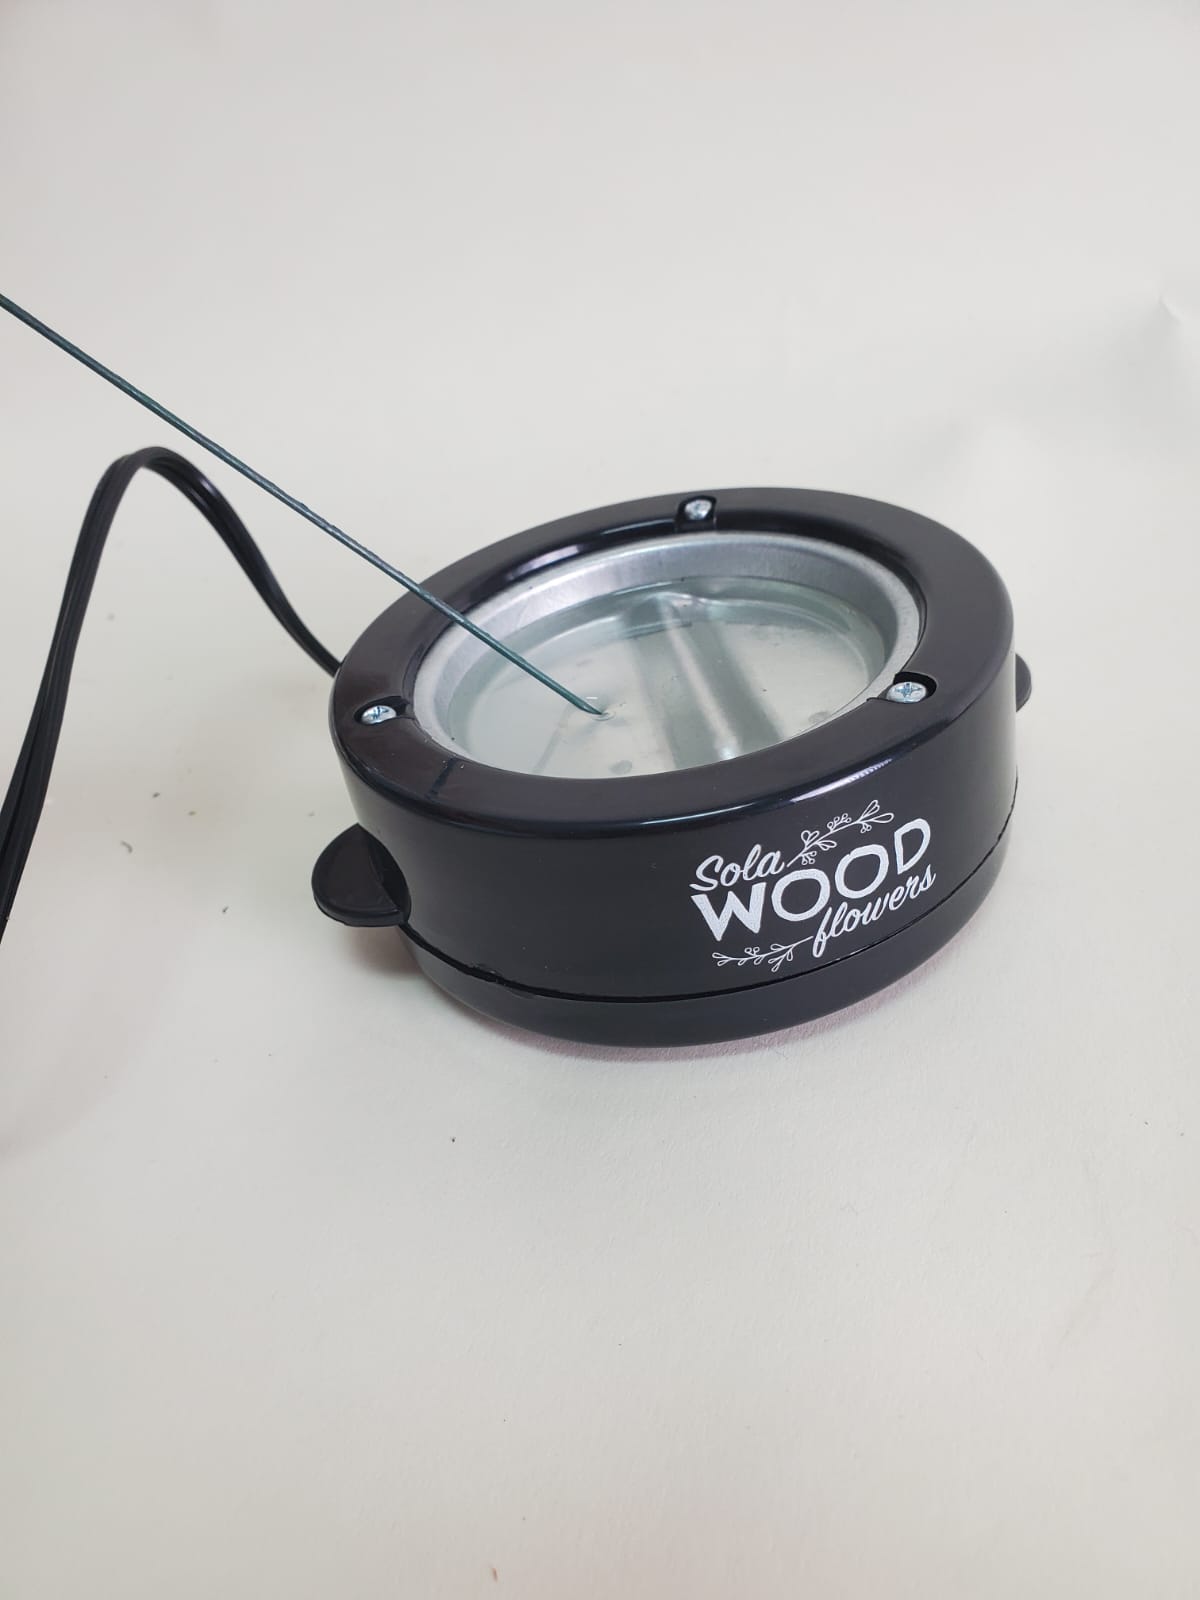
Hot Glue Pot:
Cut glue sticks into small pieces ~1” long.
Place pieces on the silver part of the glue pot.
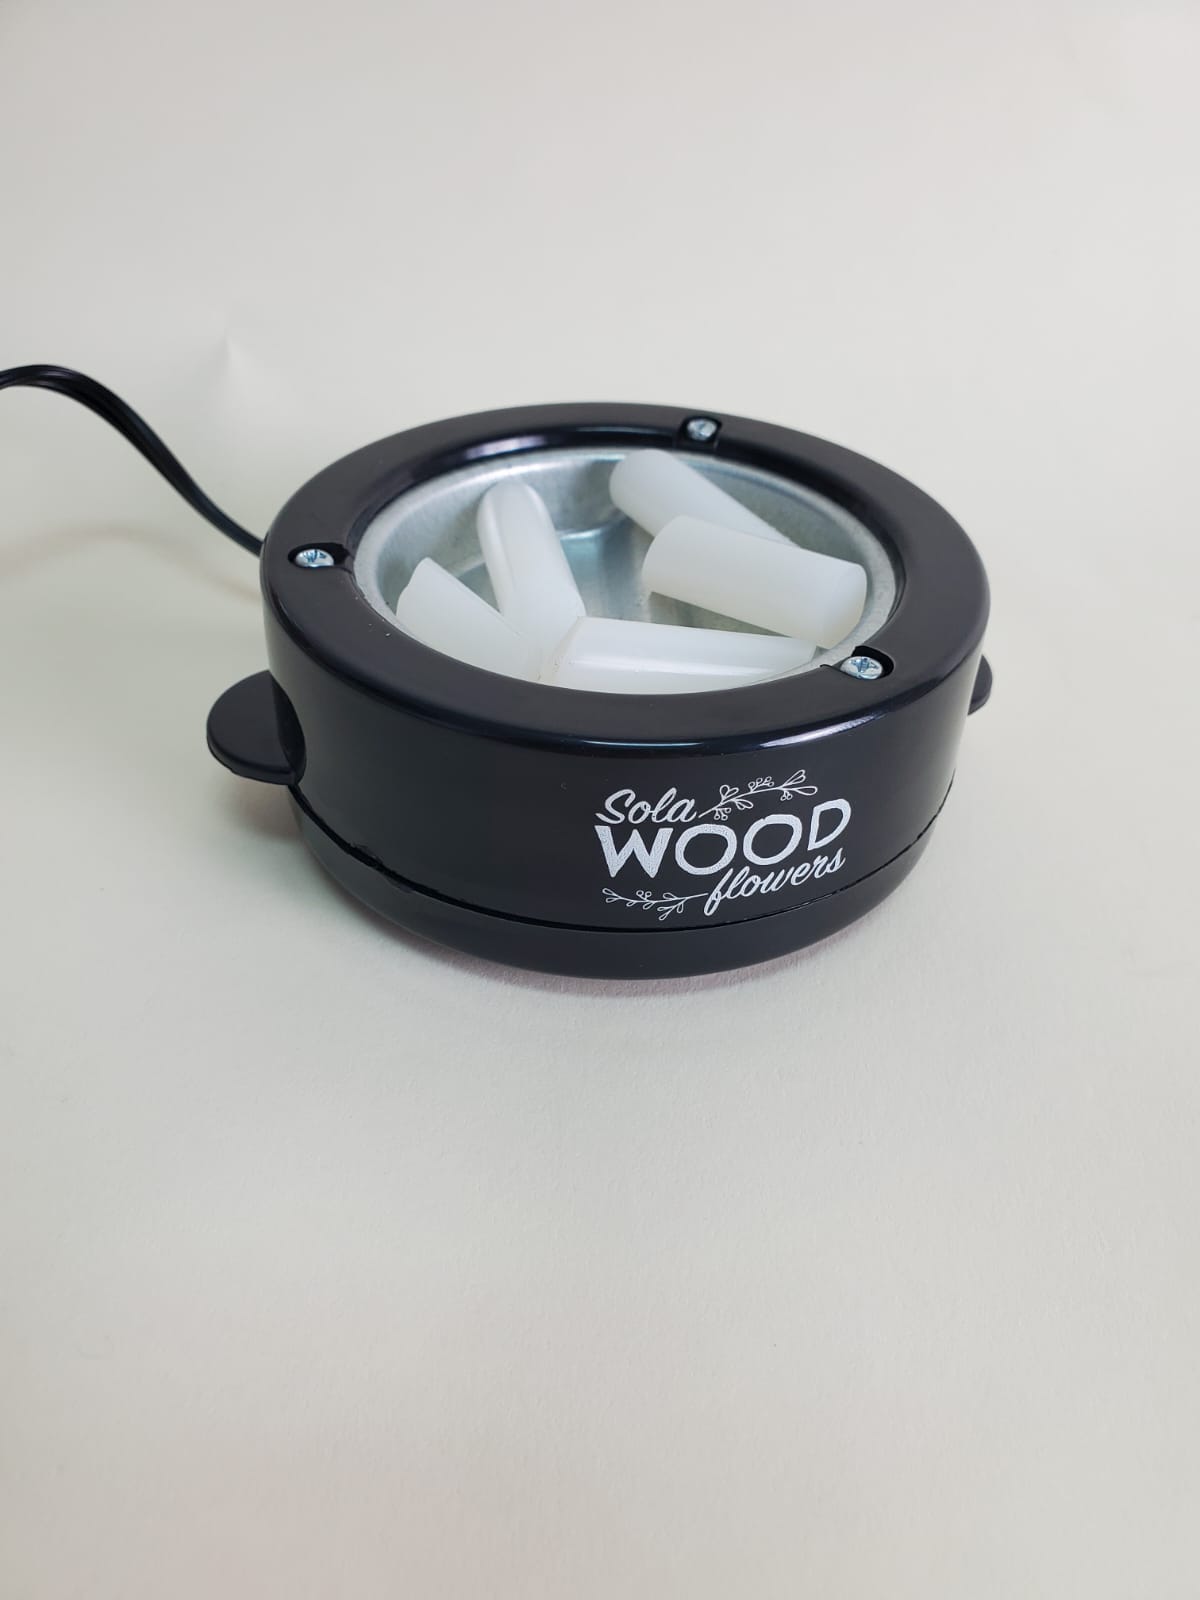
Plug in and turn on the glue pot.
Wait until the glue melts and looks clear.
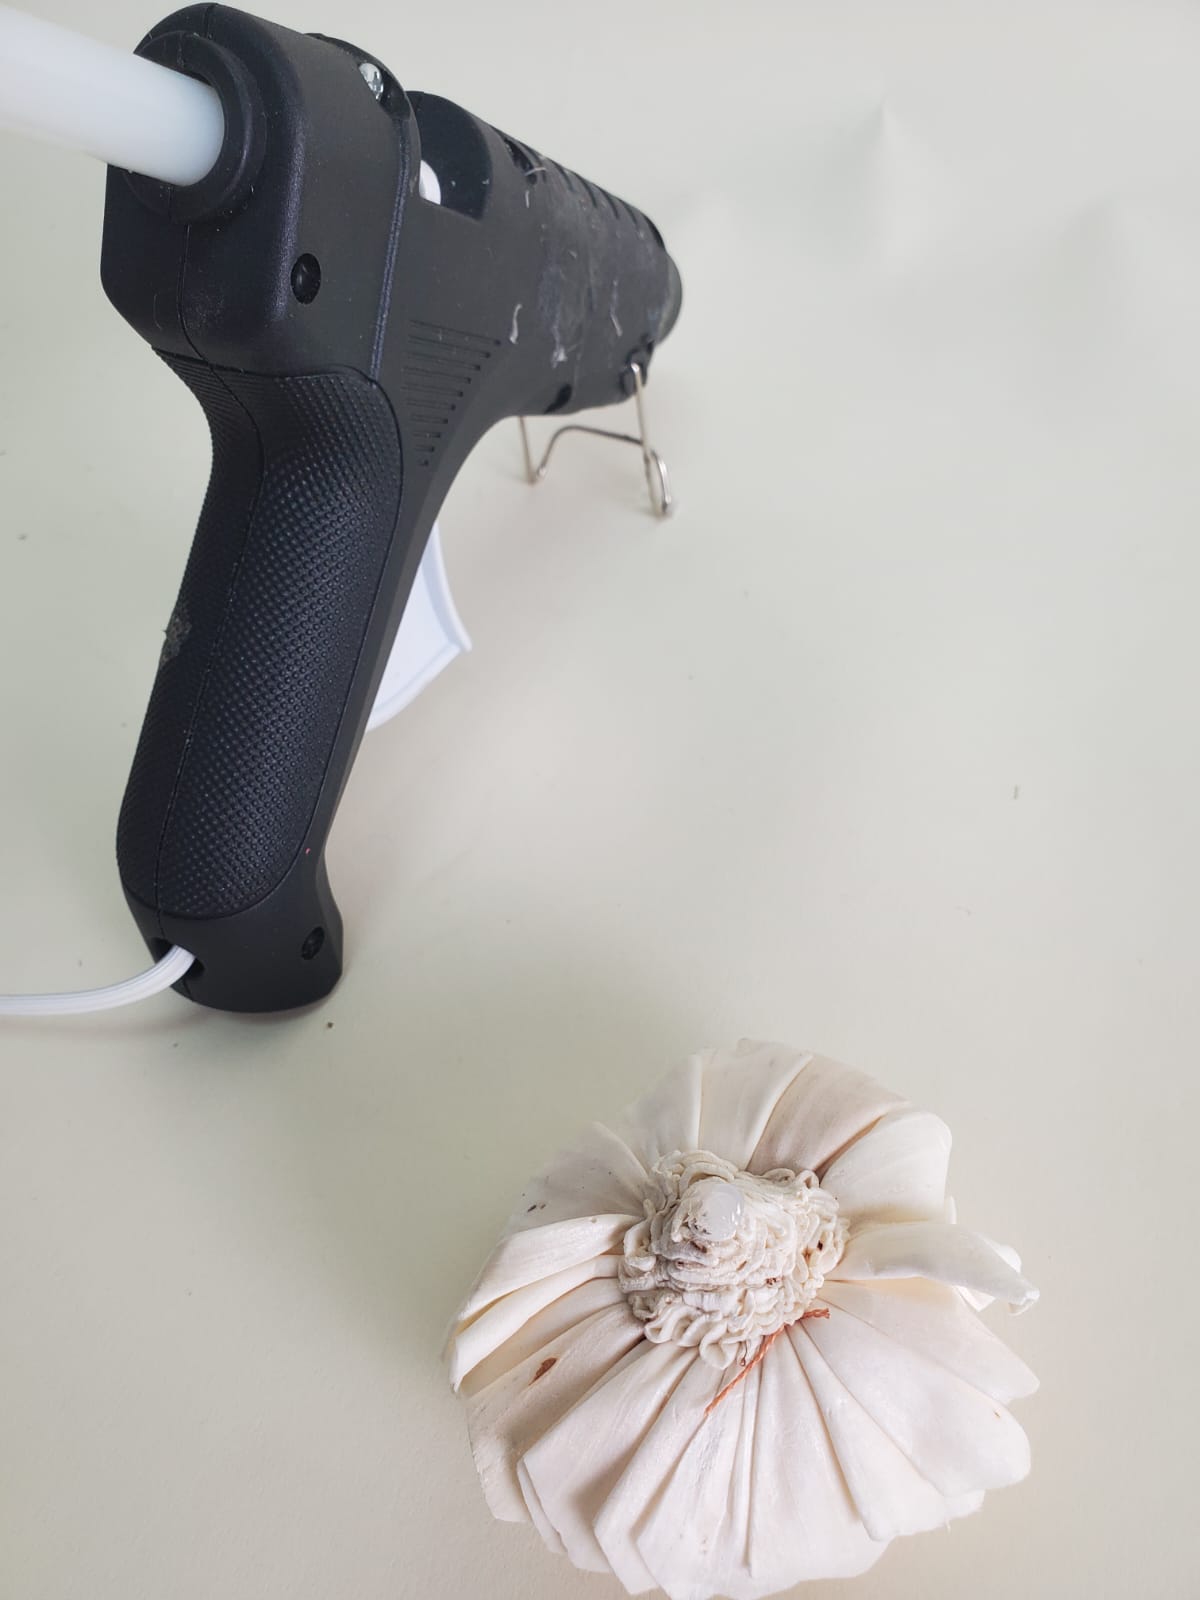
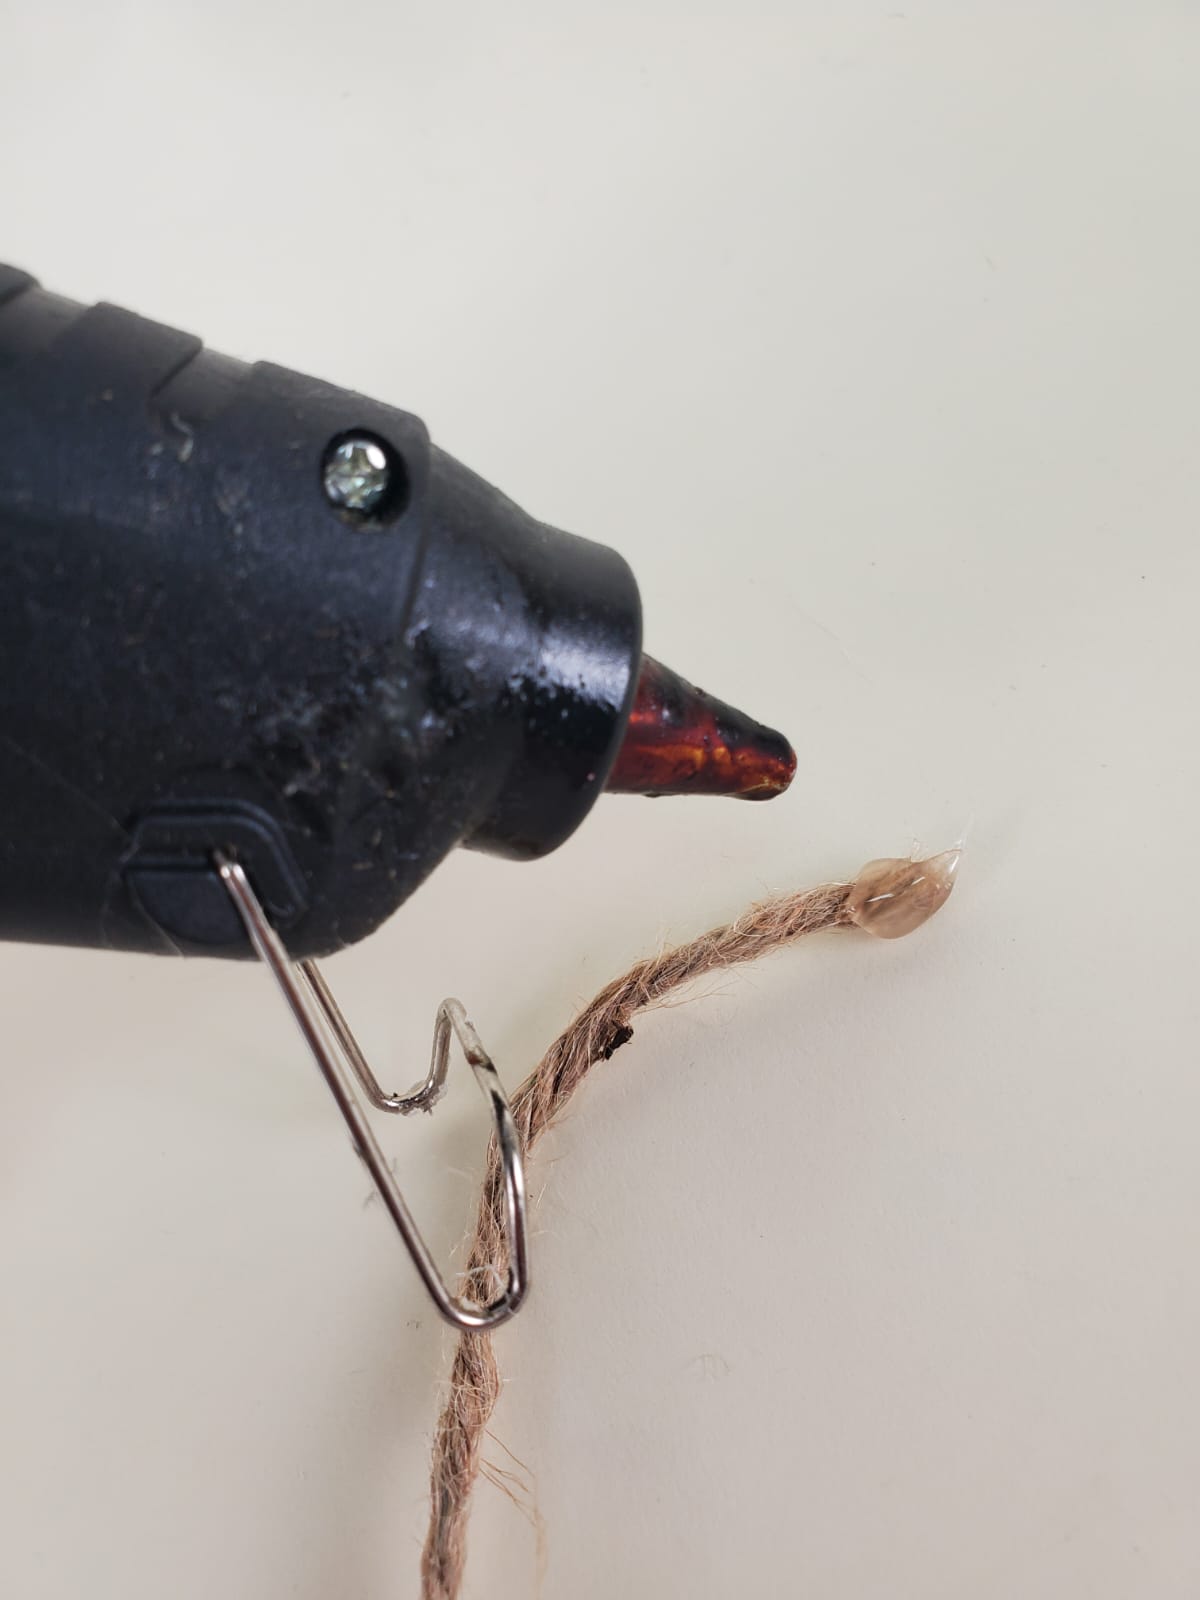
Hot Glue Gun:
Insert a glue stick into the gun.
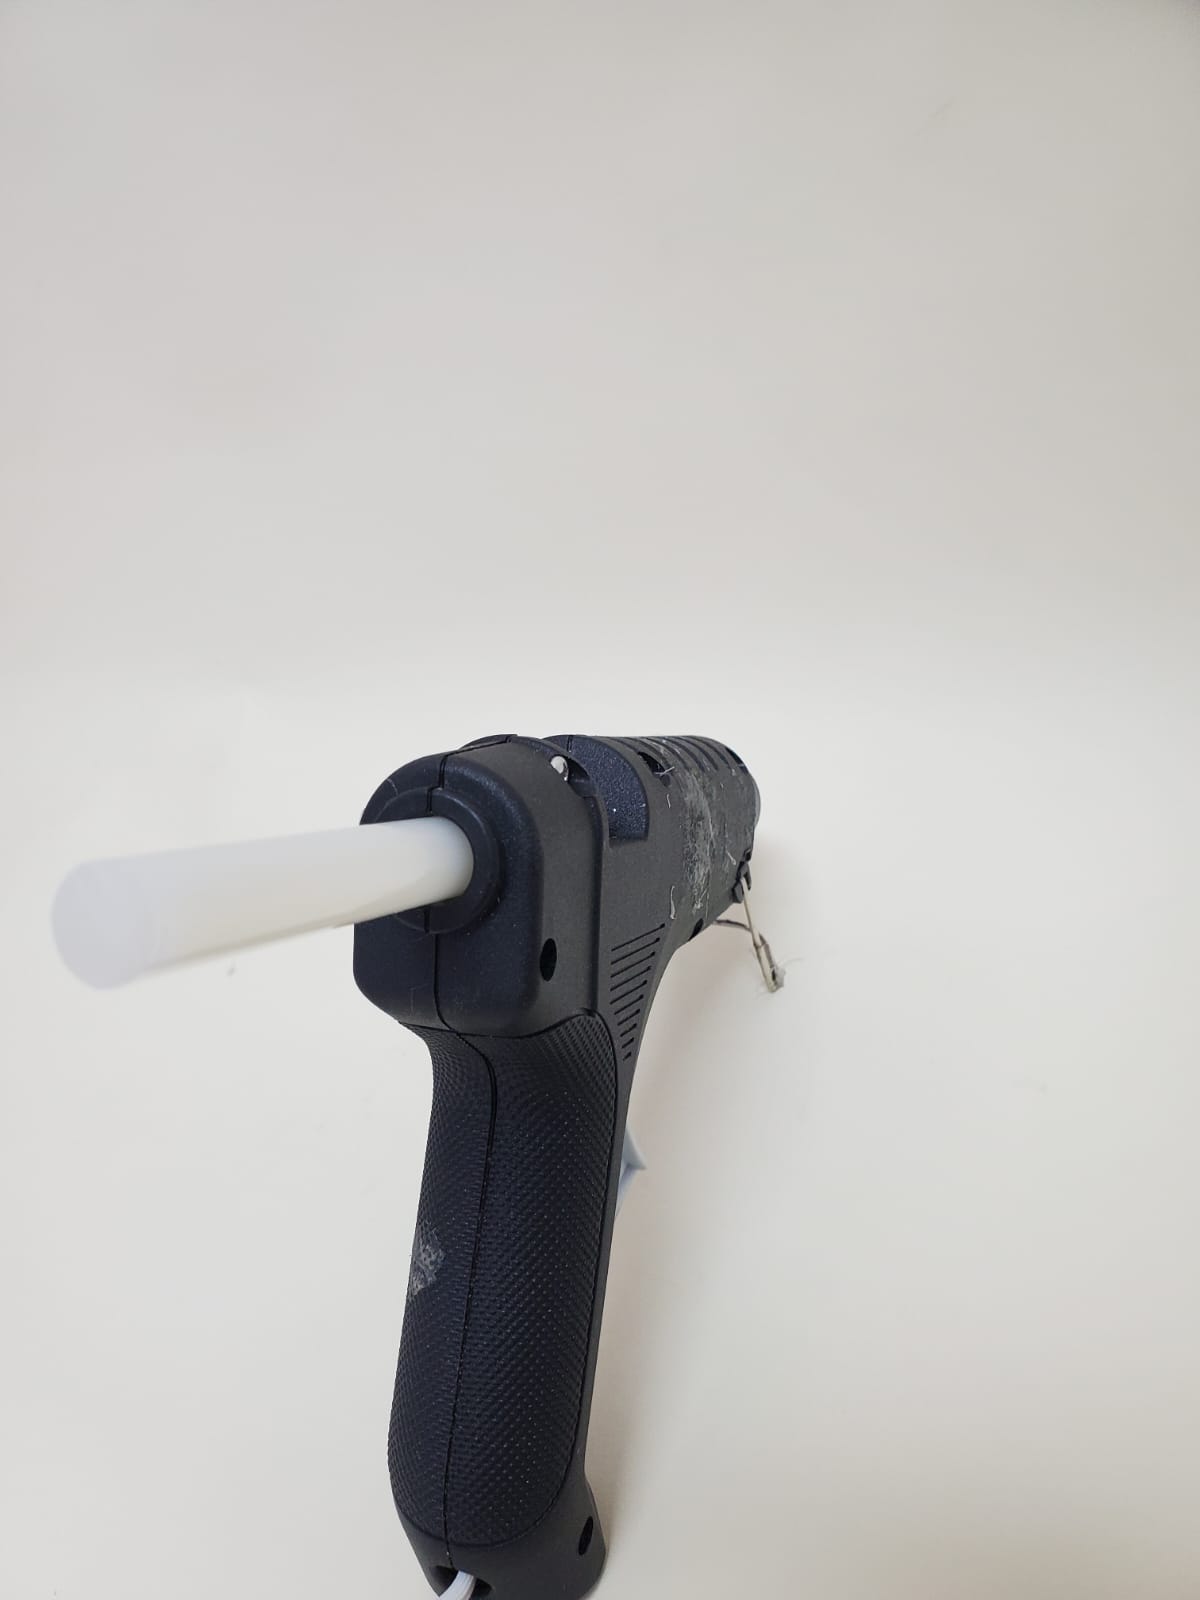
Plug in and turn on the glue gun
Wait until the gun heats up and is ready to use.
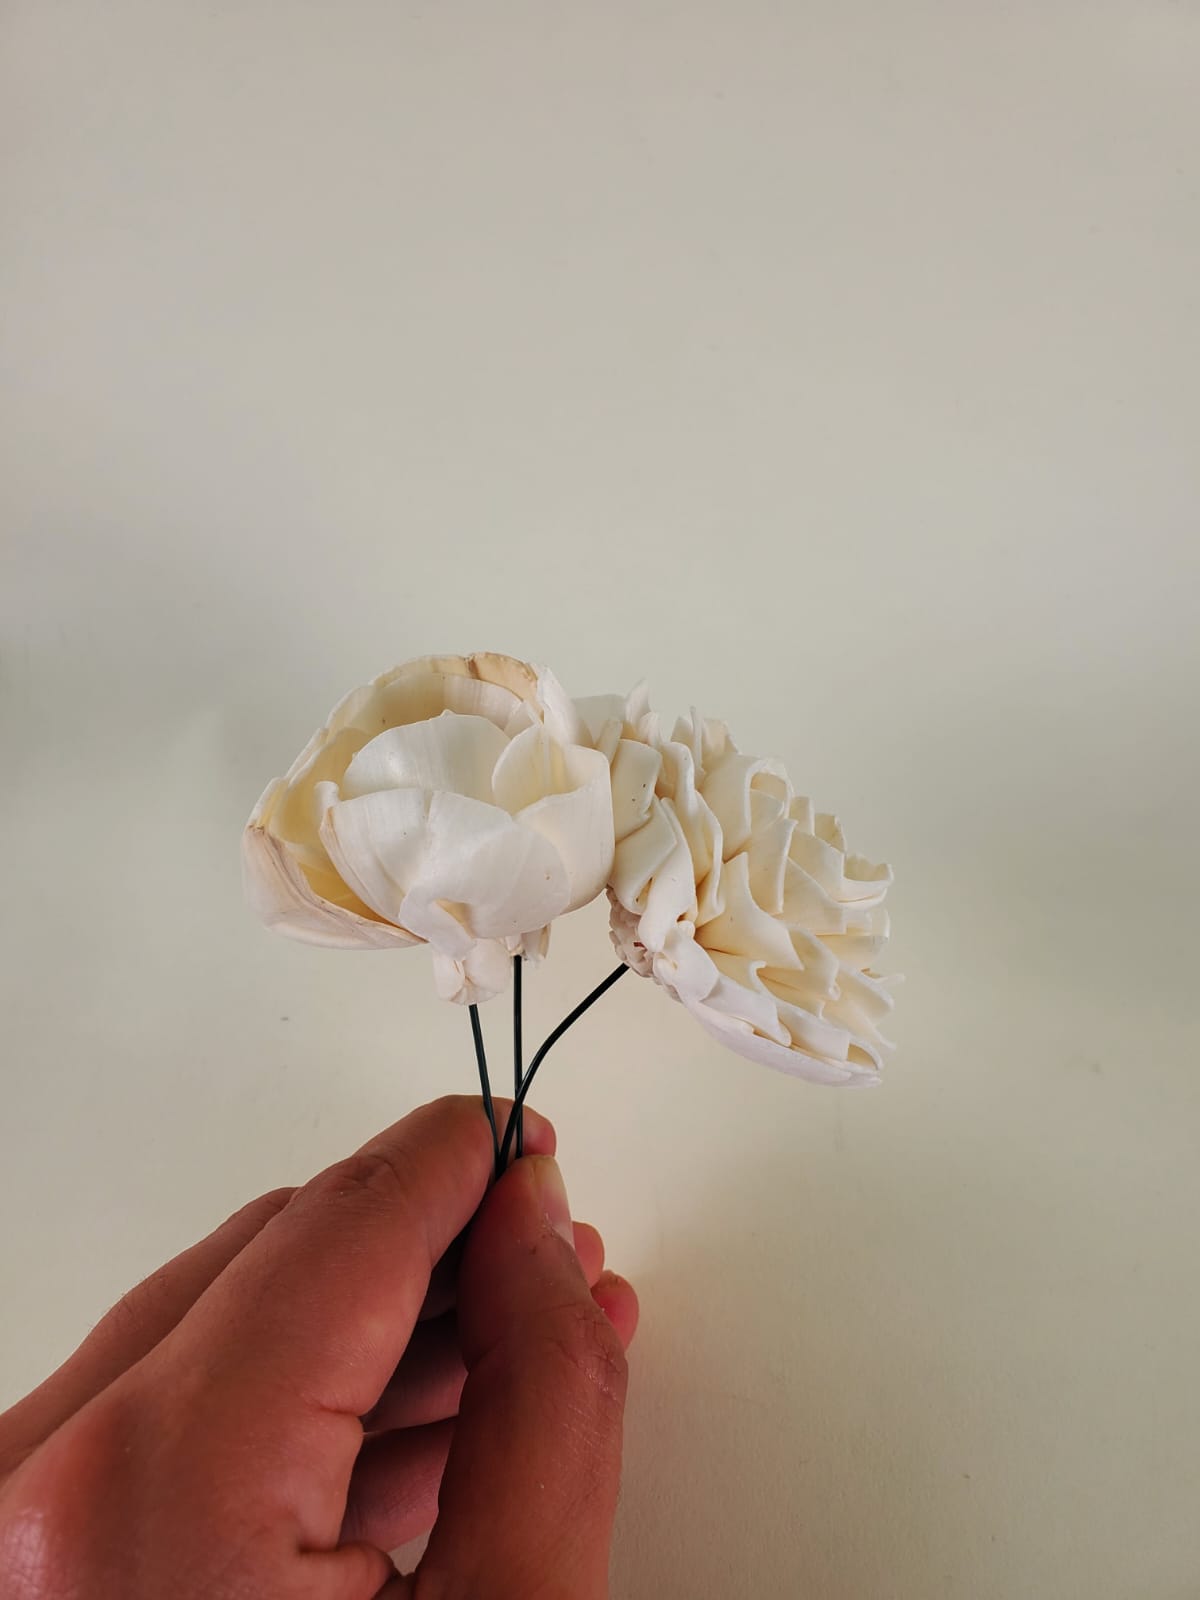
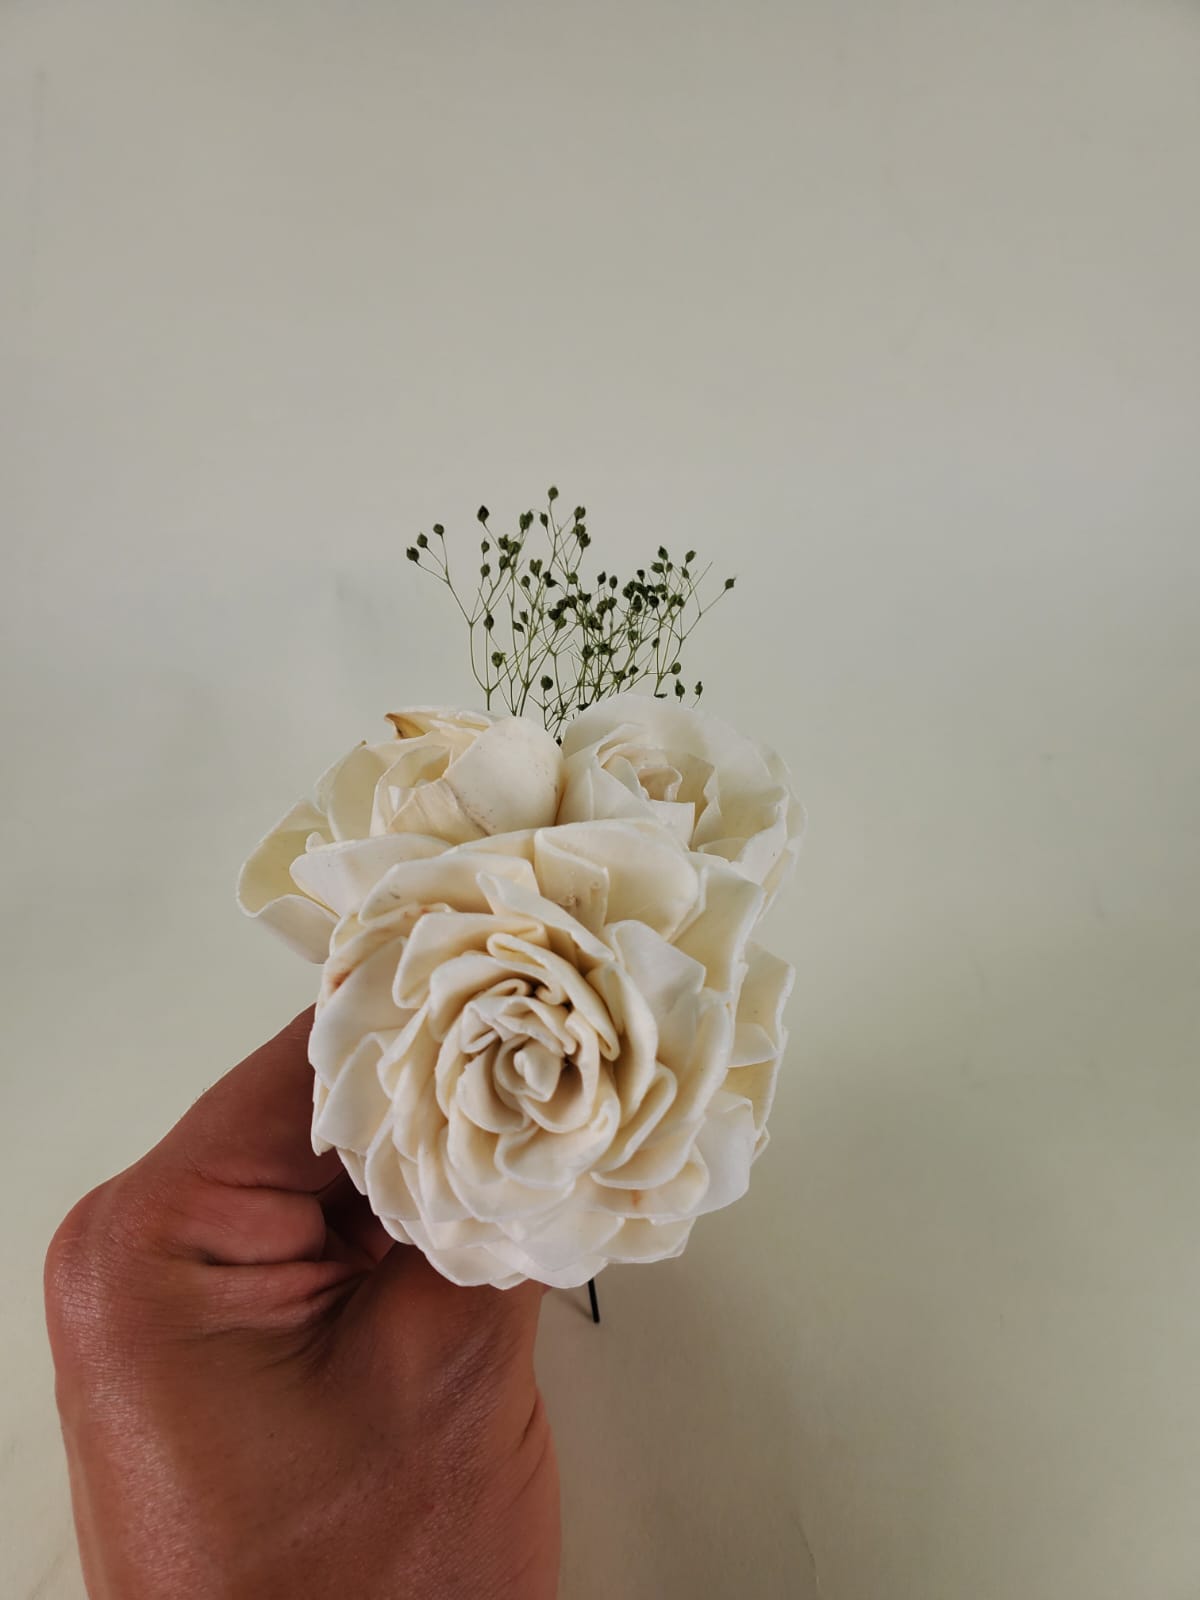
2. Flower Prep
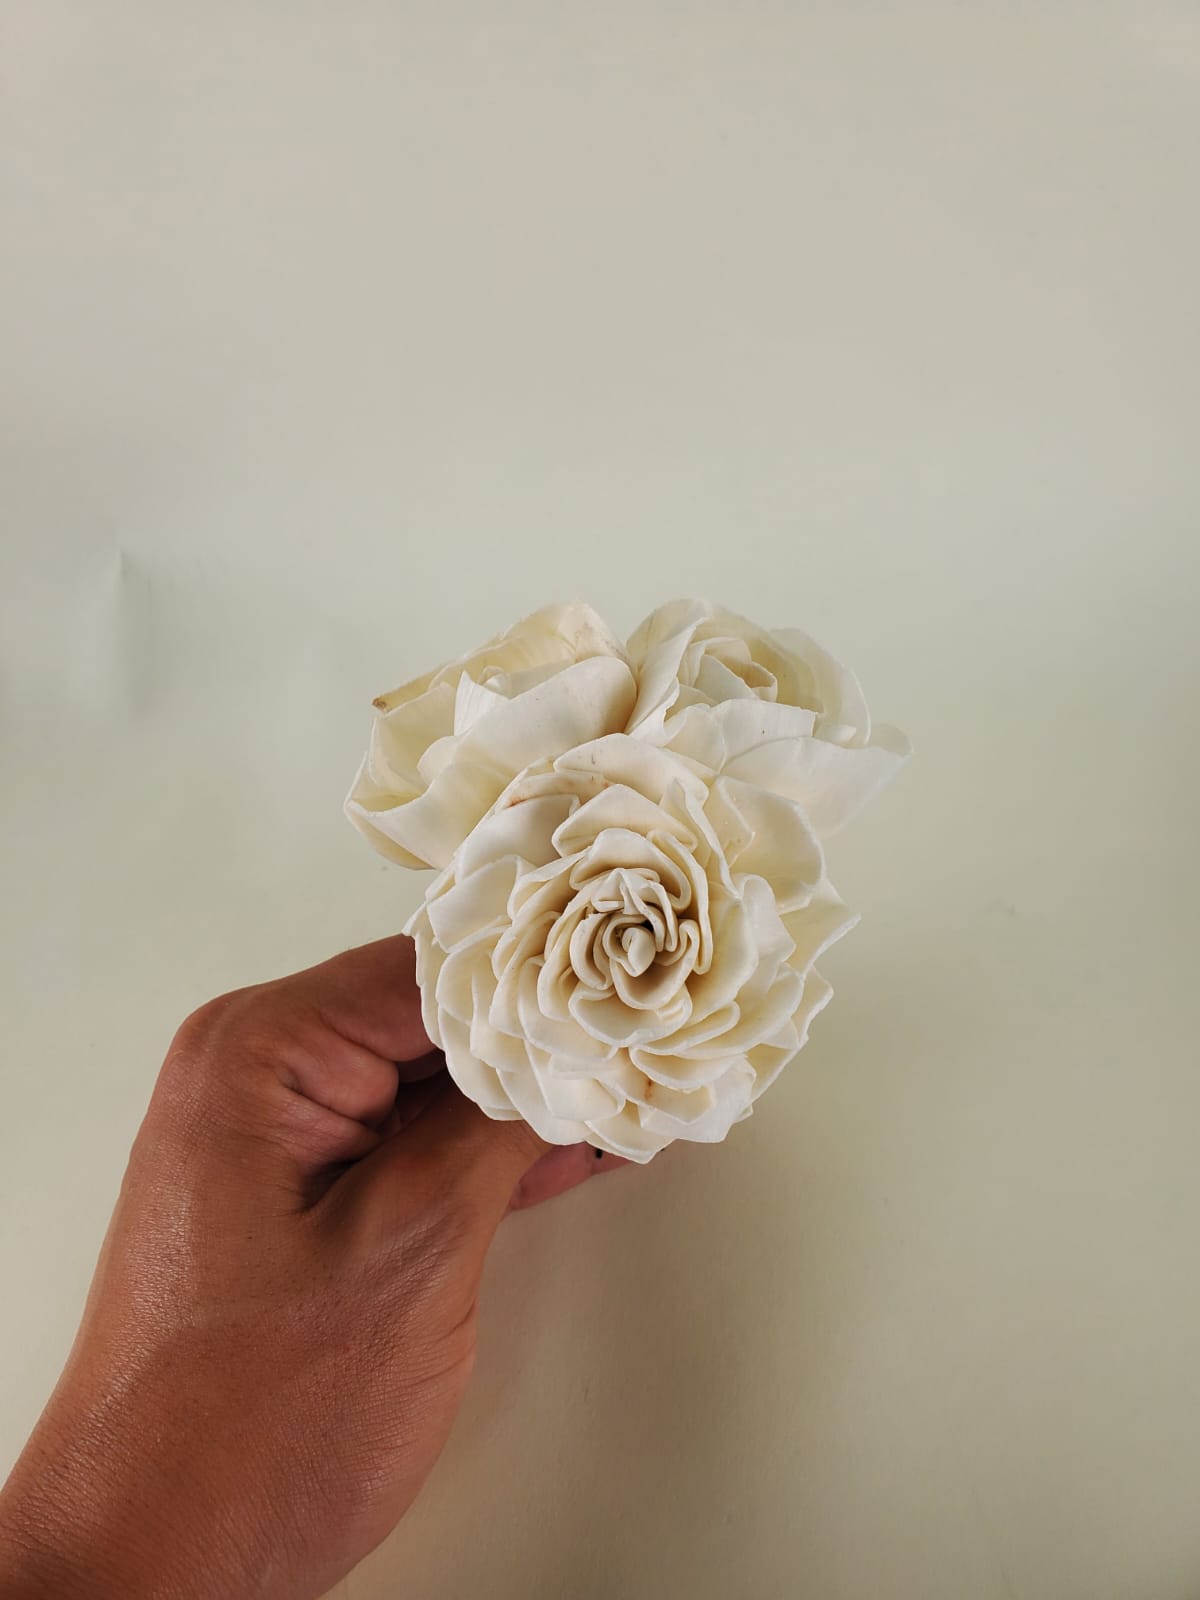
Separate the flowers:
Gently separate flowers by type and size.
Organize the flowers however you like to create your Boutonniere.
3. Stemming
Insert the Stem:
Hot Glue Gun:
Place a dot of hot glue in the center of the back of a flower, quickly insert the stem through the center of the glue, and hold it for a few seconds to let it dry.
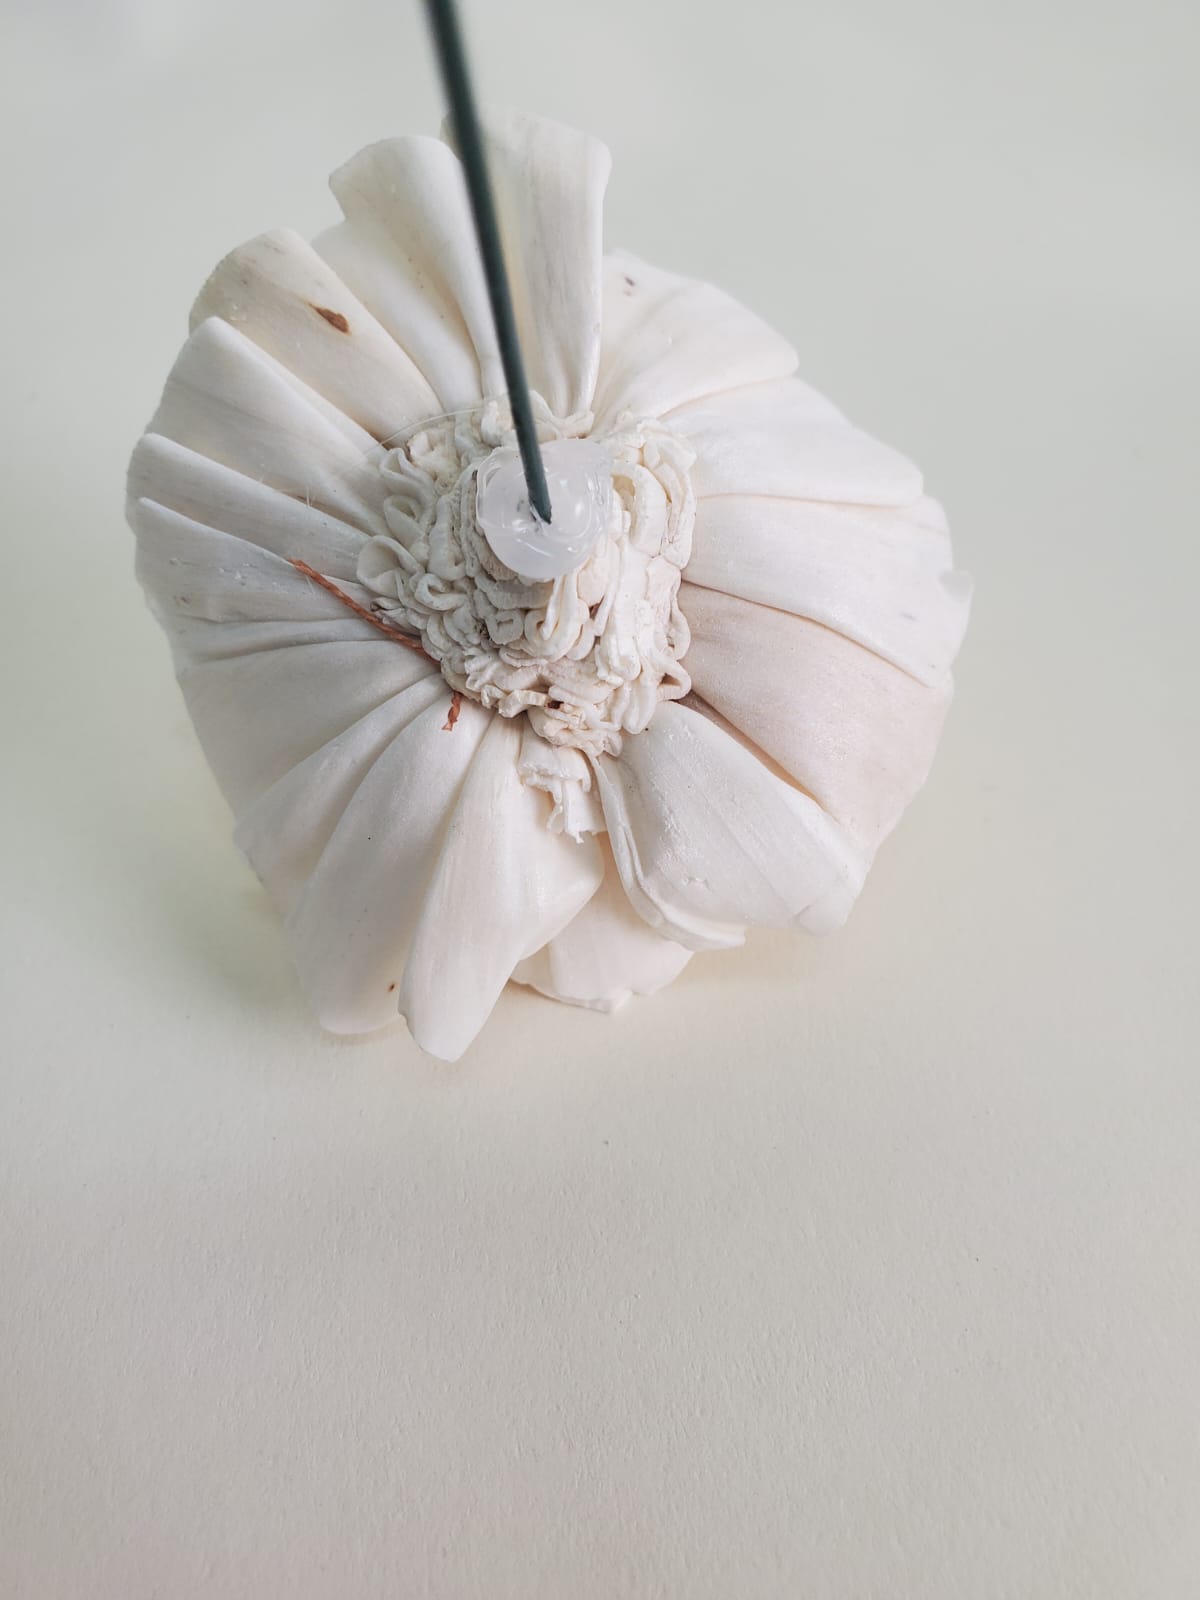
Hot Glue Pot:
Dip the stem tip into the glue, then insert it into the back of the flower.
Gently place on a flat surface and let dry.
Repeat for each flower.
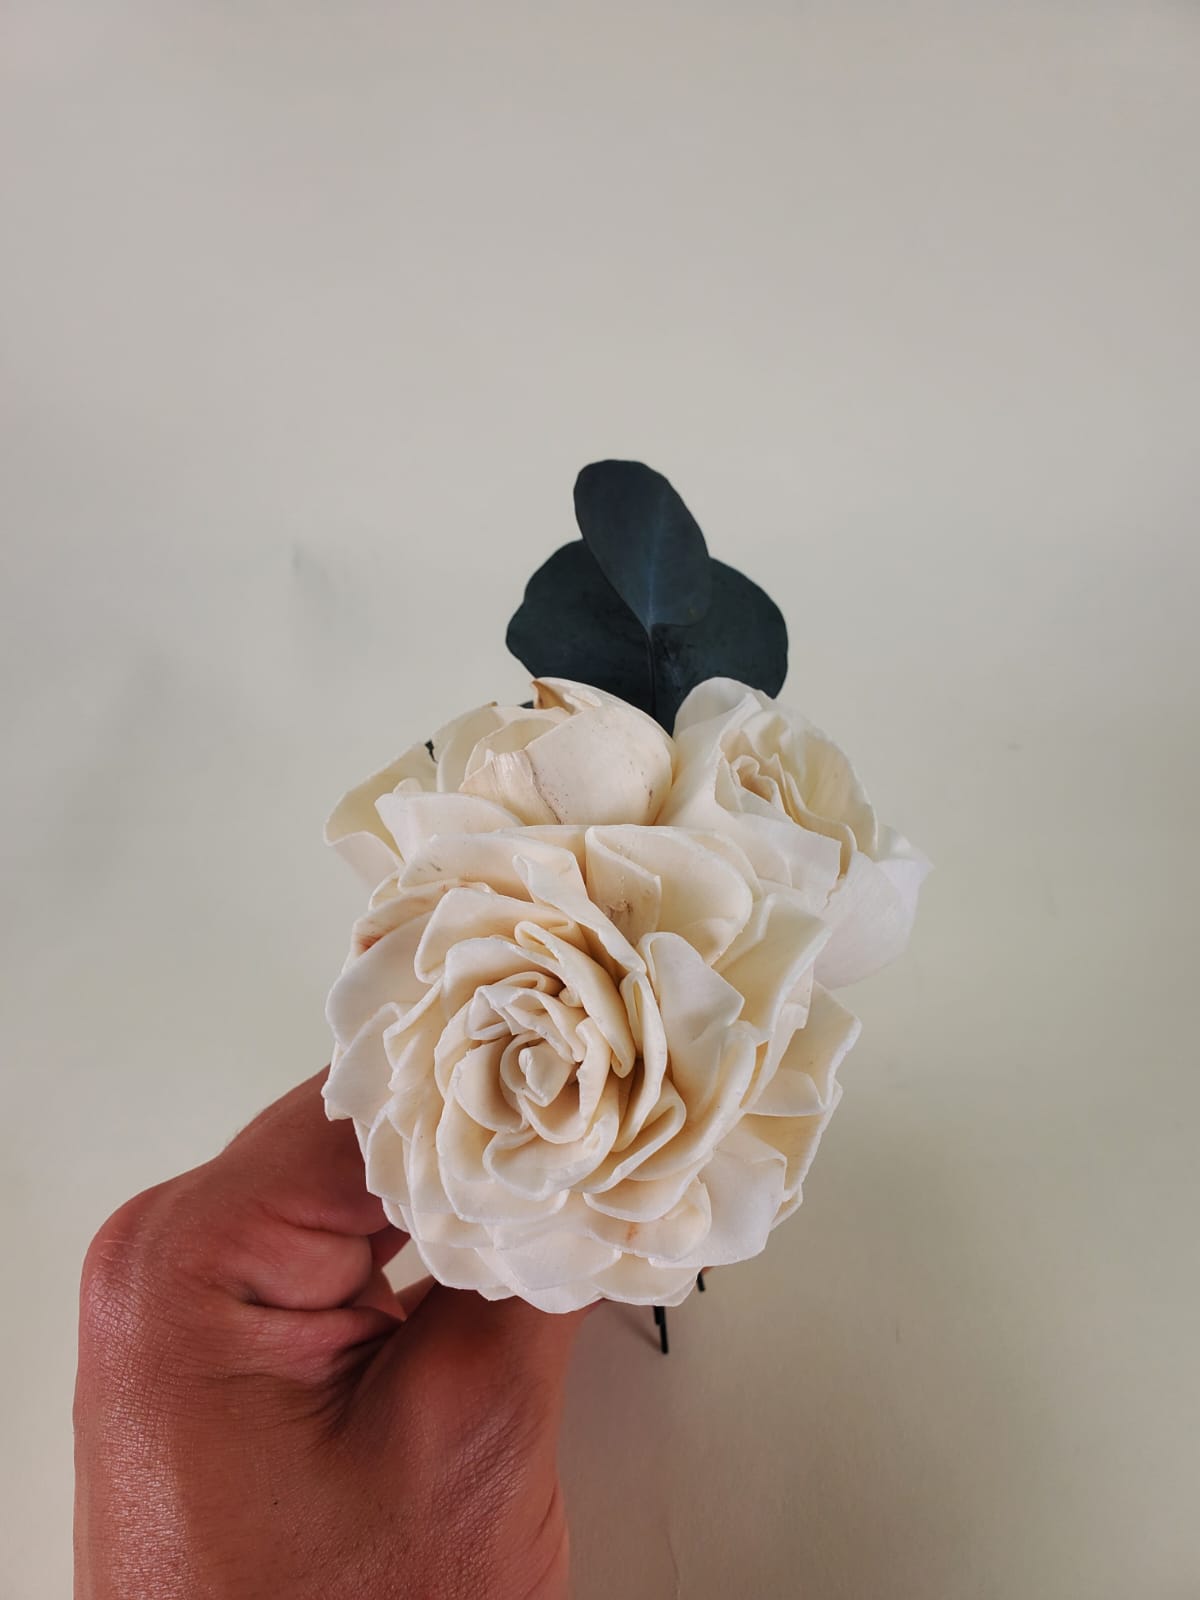
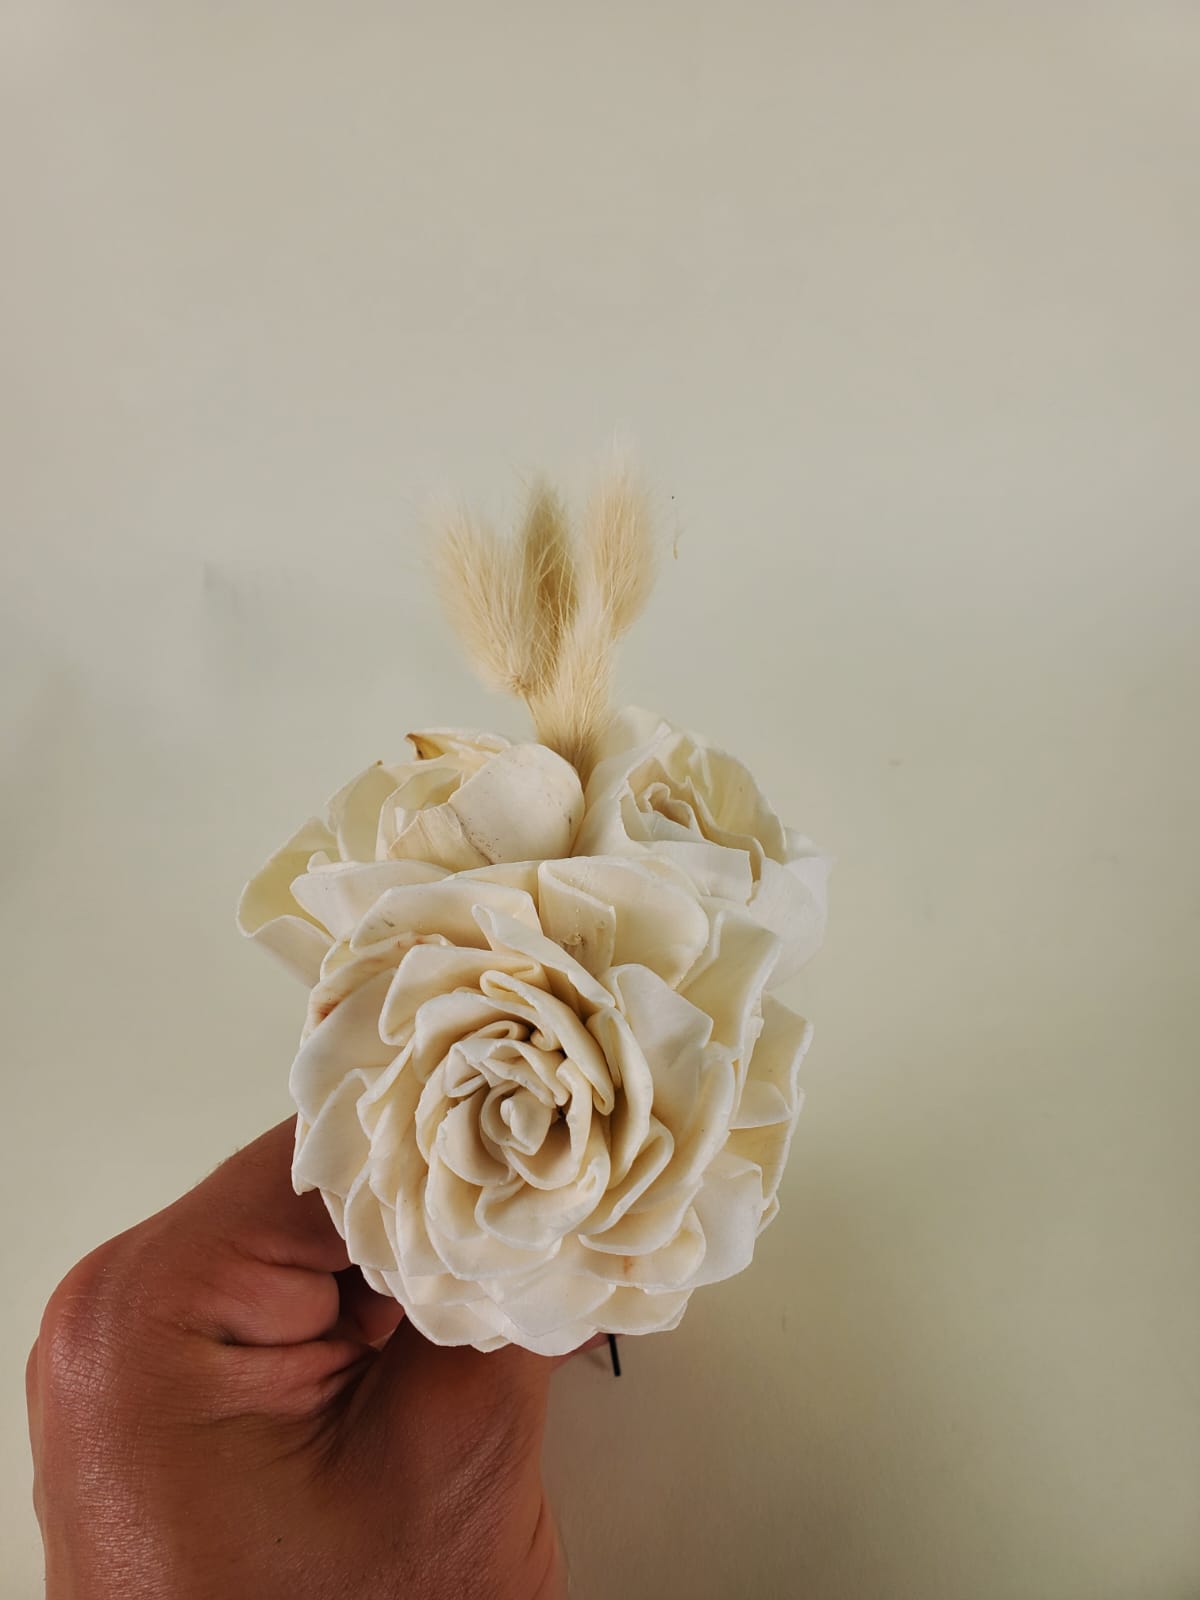
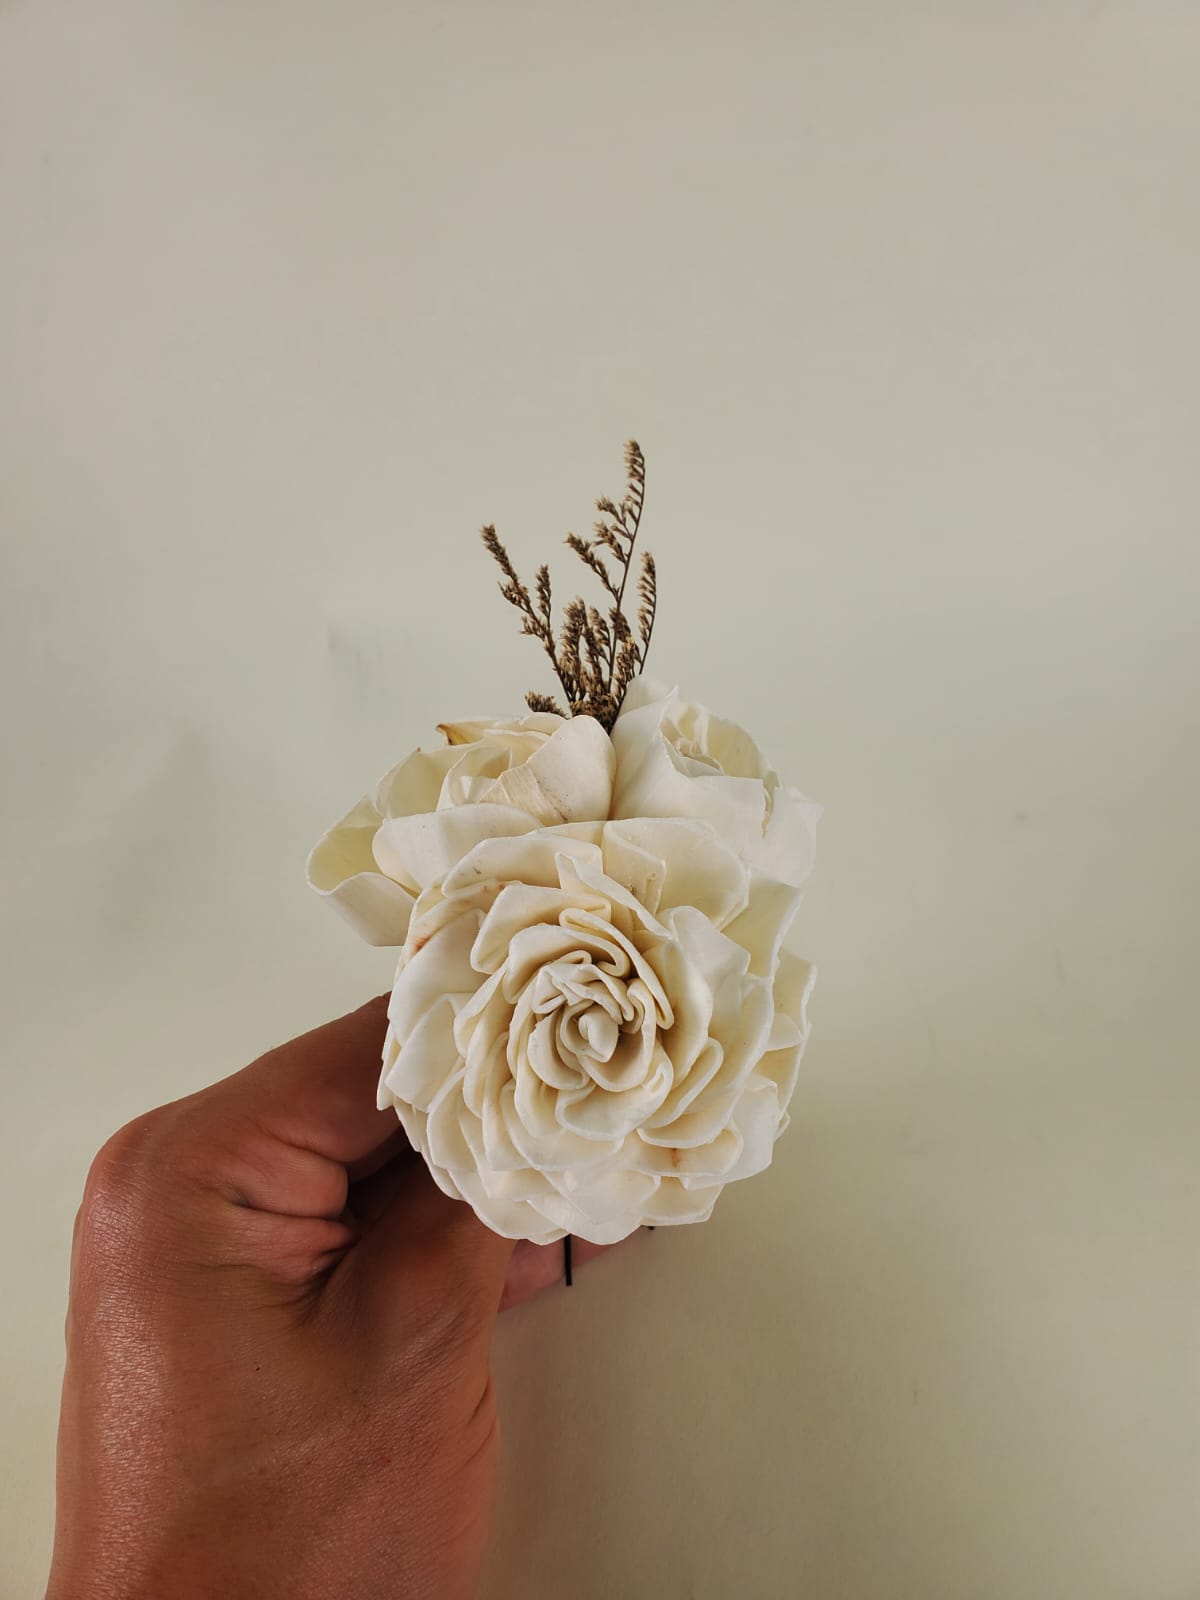
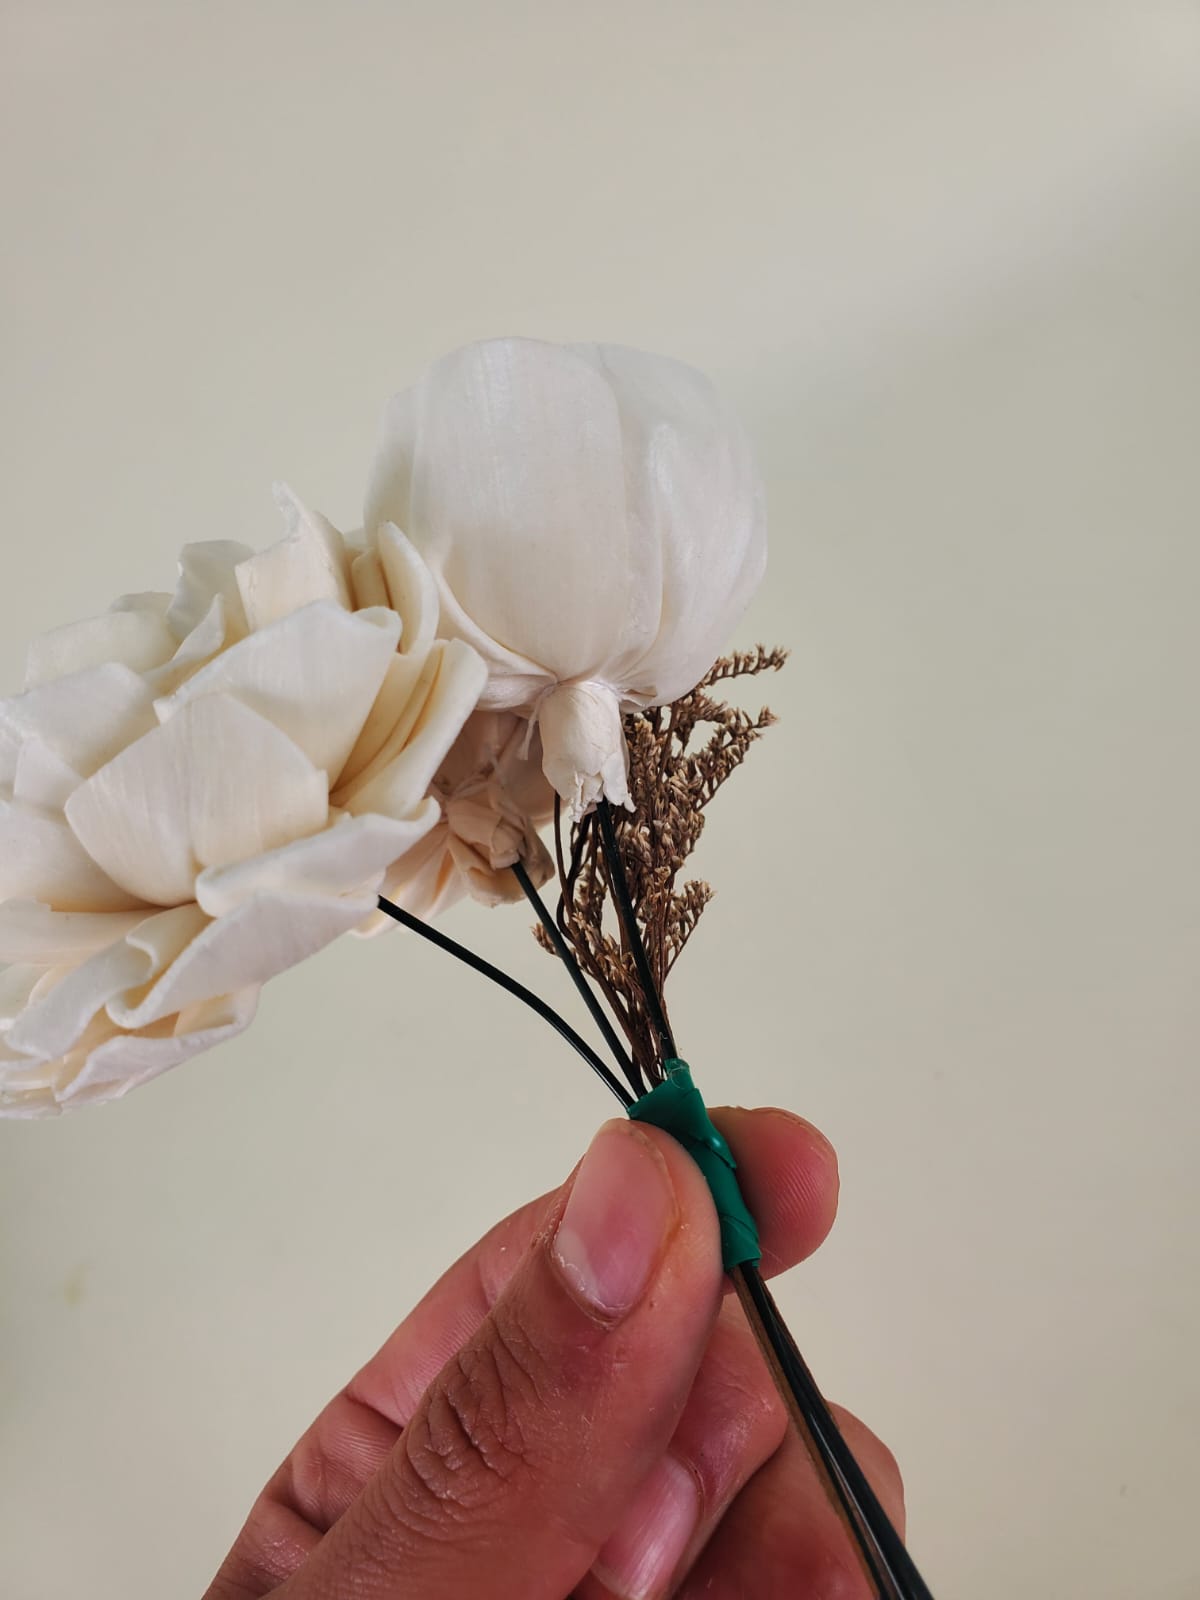
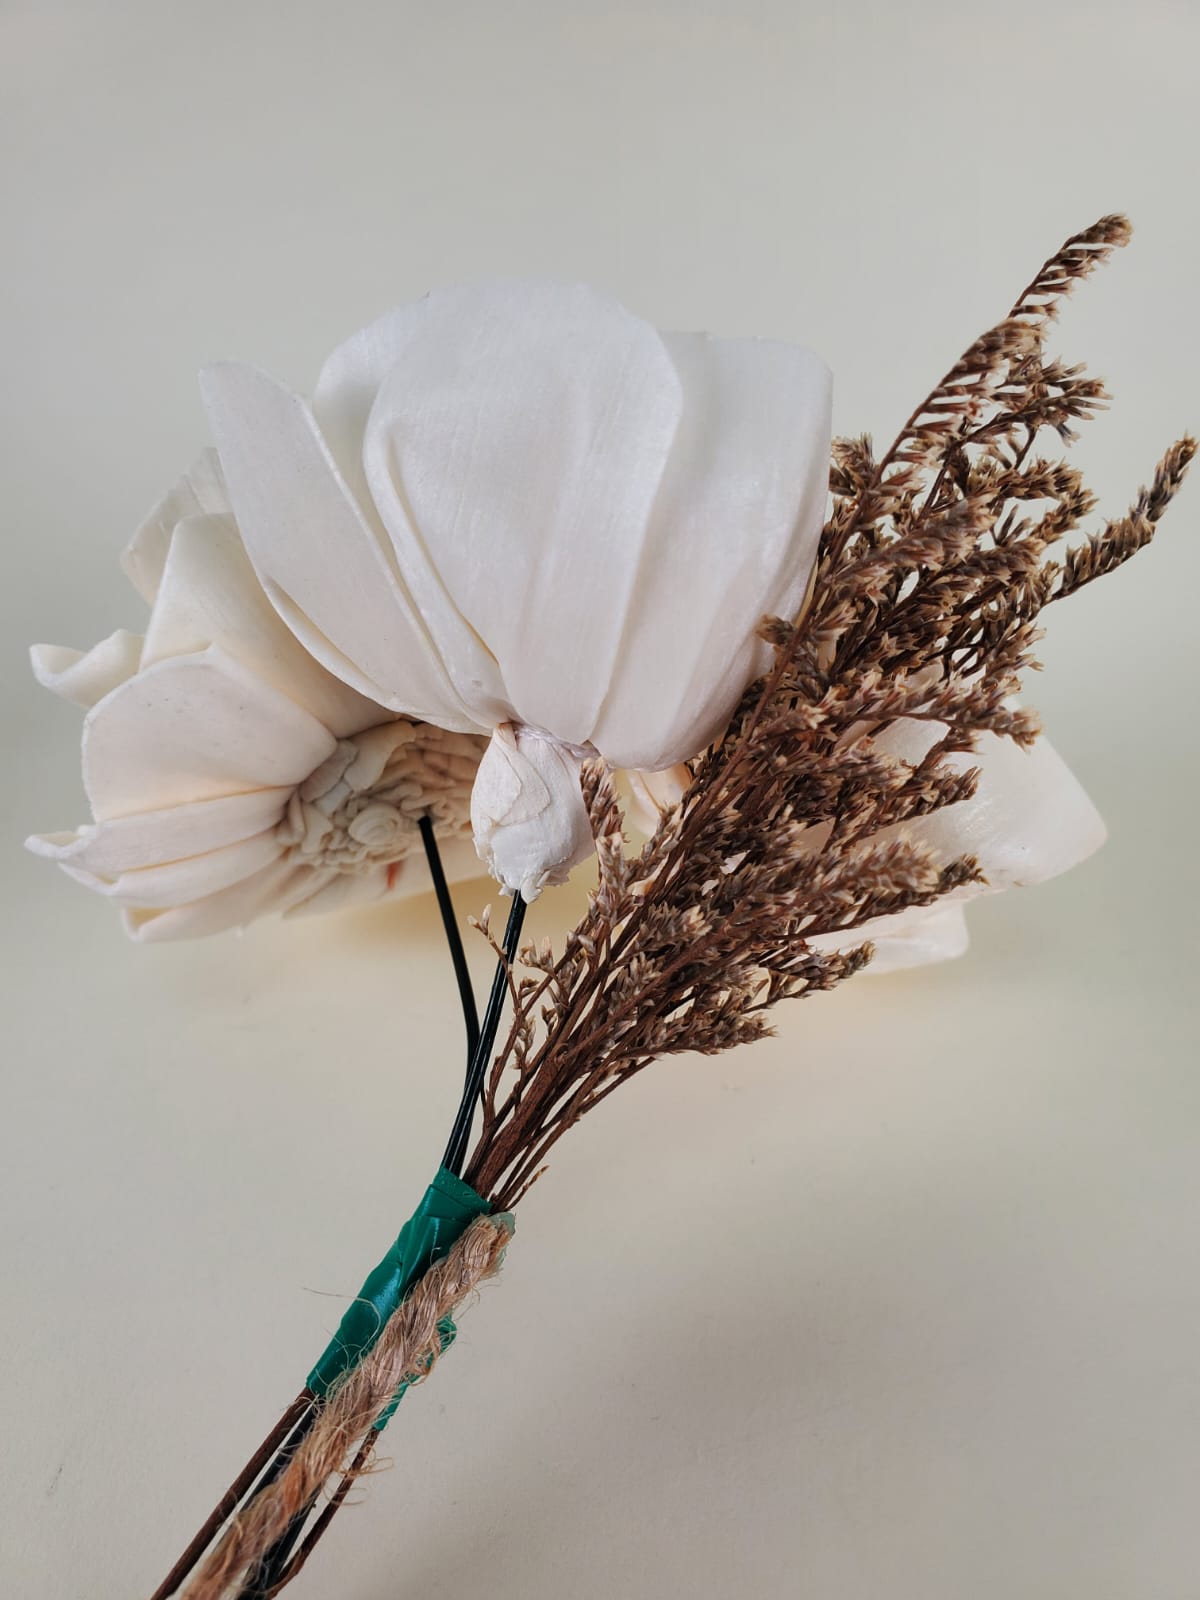
4. Assembling the Boutonniere
Flowers:
Choose one flower to be the front of your boutonniere (if you have 3” and 2” flowers, we suggest beginning with the biggest, if you only have a 3” dahlia use the process as mentioned just ignore the next two steps in this “flowers” category) and tilt the top of the wire steam slightly forward to create a focal point.

Arrange the remaining flowers behind the front one, a little higher so that they are also noticeable from the front. Adjust until you’re happy with the look.
Secure everything together with your fingers to add the greenery.
Greenery:
Place the greenery behind the flowers a bit higher so that it peeks out and covers the back of the boutonniere. Now it's time for the floral tape to keep everything in place.
Greenery with leaves: Willow Eucalyptus, Silver Dollar Eucalyptus, Leather Leaf, and Salal. (It is recommended to focus on the branches from the bottom up. Separating from the bottom will help divide more easily, and then start breaking down the pieces that have a lot of greenery at the top.)
Spike greenery: Bunny Tails, Lavender, Triticum Wheat Grass, and Mini Pampas. (It is recommended to position one or three stems together in each space to decorate with this greenery. It separates easily.)
Fluffy greenery: Baby Breath Sparkle, Baby Breath, Preserved Caspia, and Mini Gyp. (It is recommended to position a bundle about the width of a finger in each space to decorate with this greenery. It takes more time to separate.)
Stiff greenery: Boxwood Greenery, and Satin Washed Eucalyptus - Kelly Green. (It is recommended to follow the same advice as for greenery with leaves and spikes, as this greenery has a very stiff trunk, and the leaves grow individually on each of these trunks.)
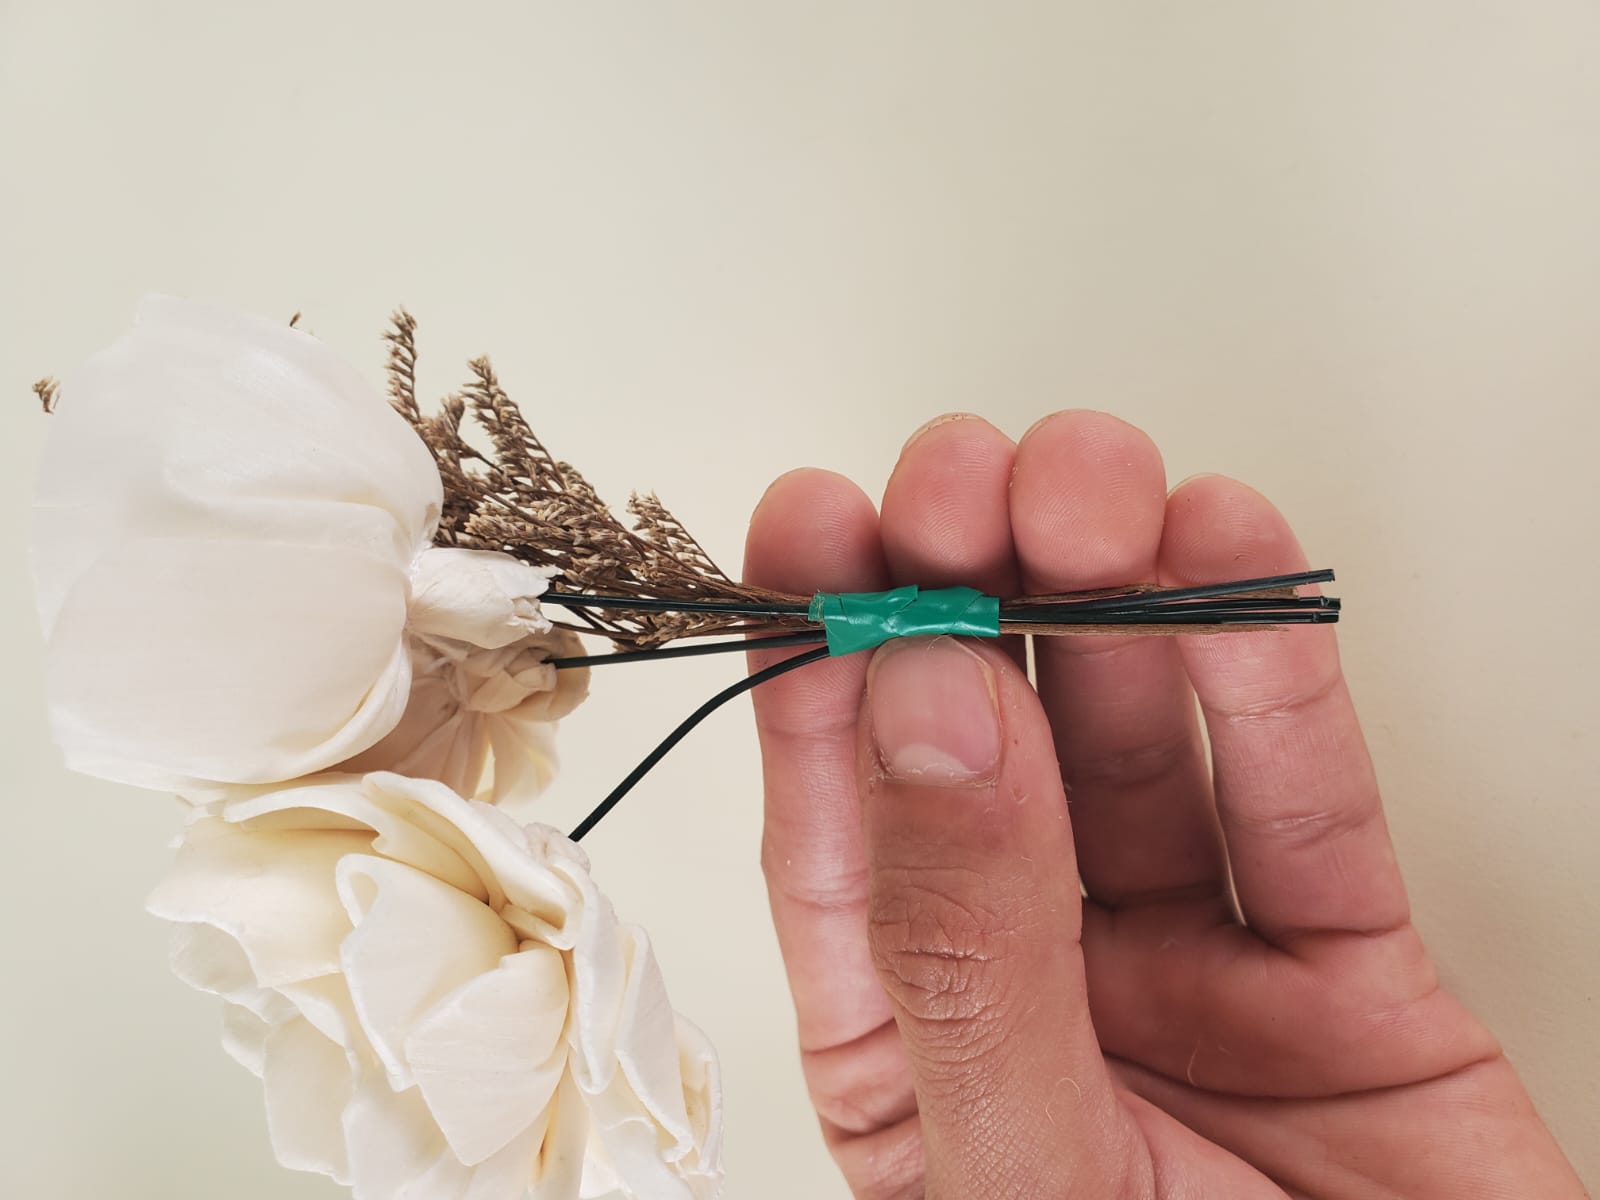
5. Securing the Boutonniere
Tie Together:
Floral tape helps keep everything neat and secure. So, once you're satisfied with how it looks, secure everything together. The adhesive activates with the heat of your fingers, so start by wrapping the first turn of the tape around the top of the boutonniere and press for a few seconds with your fingers to activate the glue. Continue wrapping down, keeping the tape taut to cover the rest of the wire stem.

Adjust the Shape:
If any flowers or greenery are out of place, gently adjust by pulling from the bottom or repositioning the flower and wire.
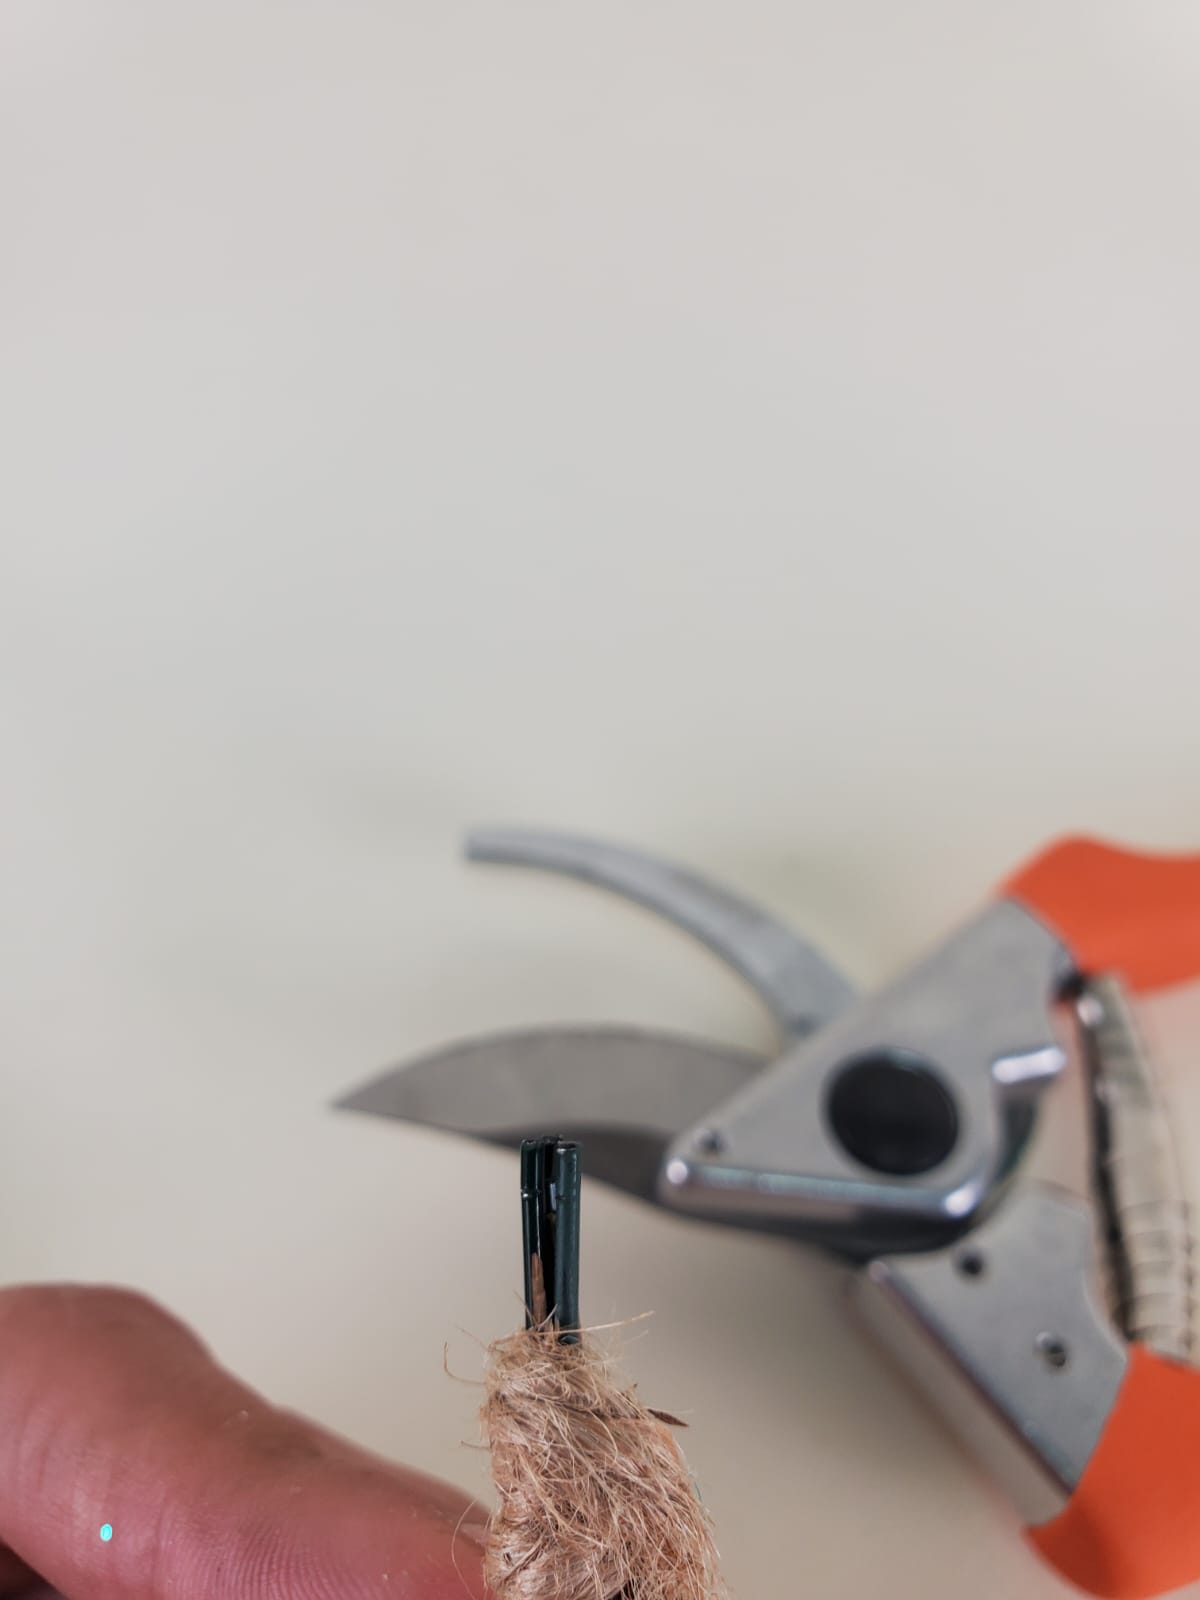
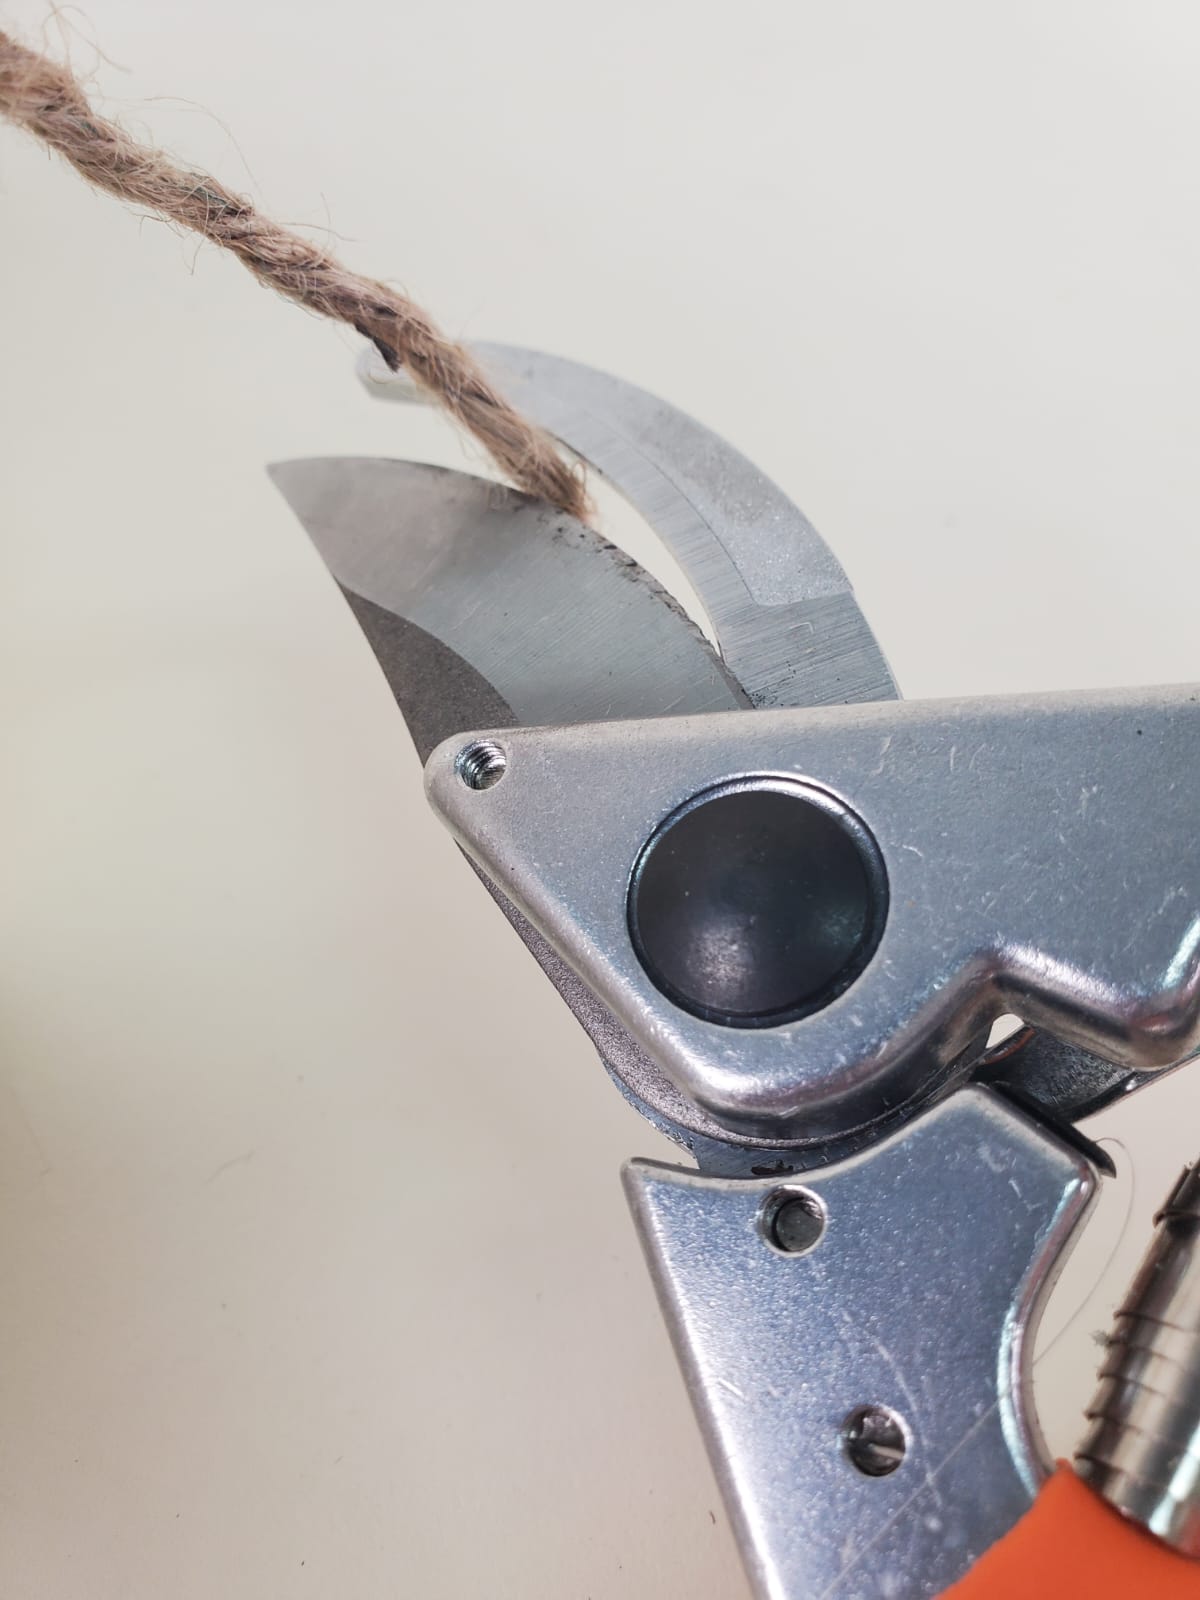
Adjust the Length:
Once the boutonniere is secured with tape, adjust all the stems to the same length (we suggest keeping a measurement between 2" and 3" inches for the base of the boutonniere).
Use garden scissors or wire cutters to cut the stems at an even length.
6. Final details
Final touch for the stems:
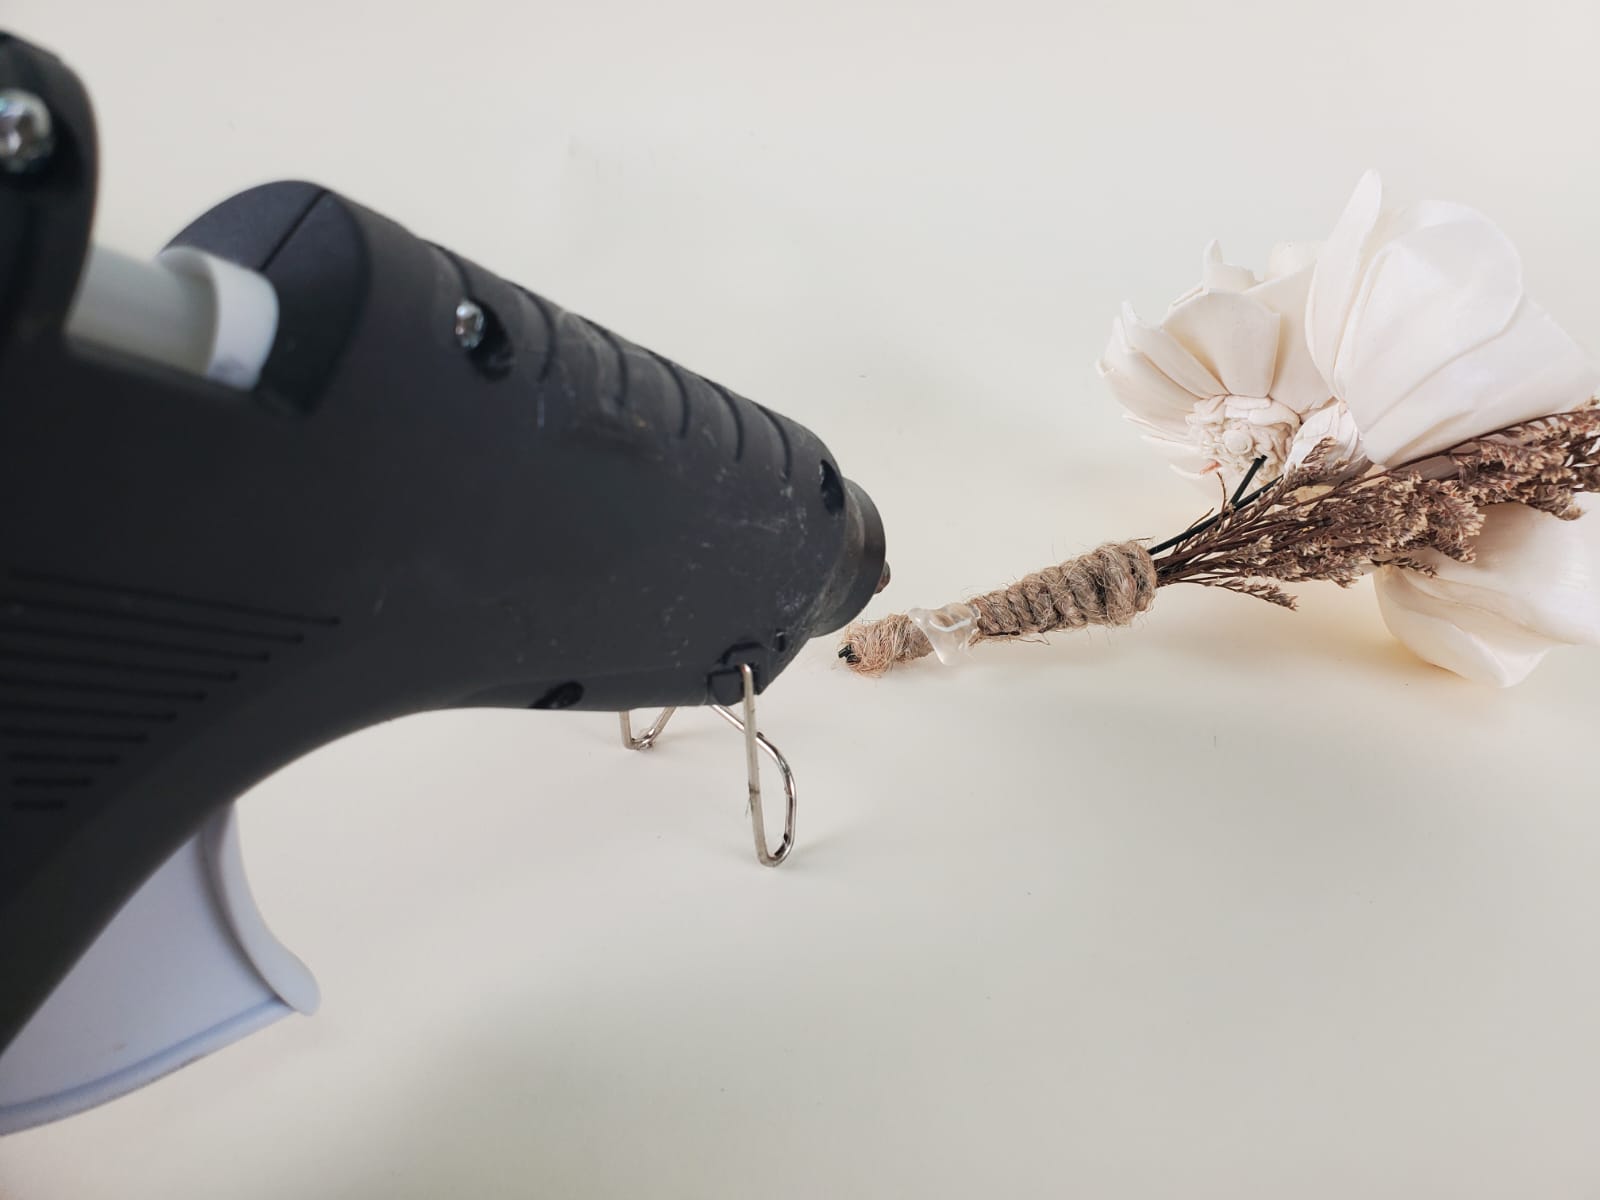
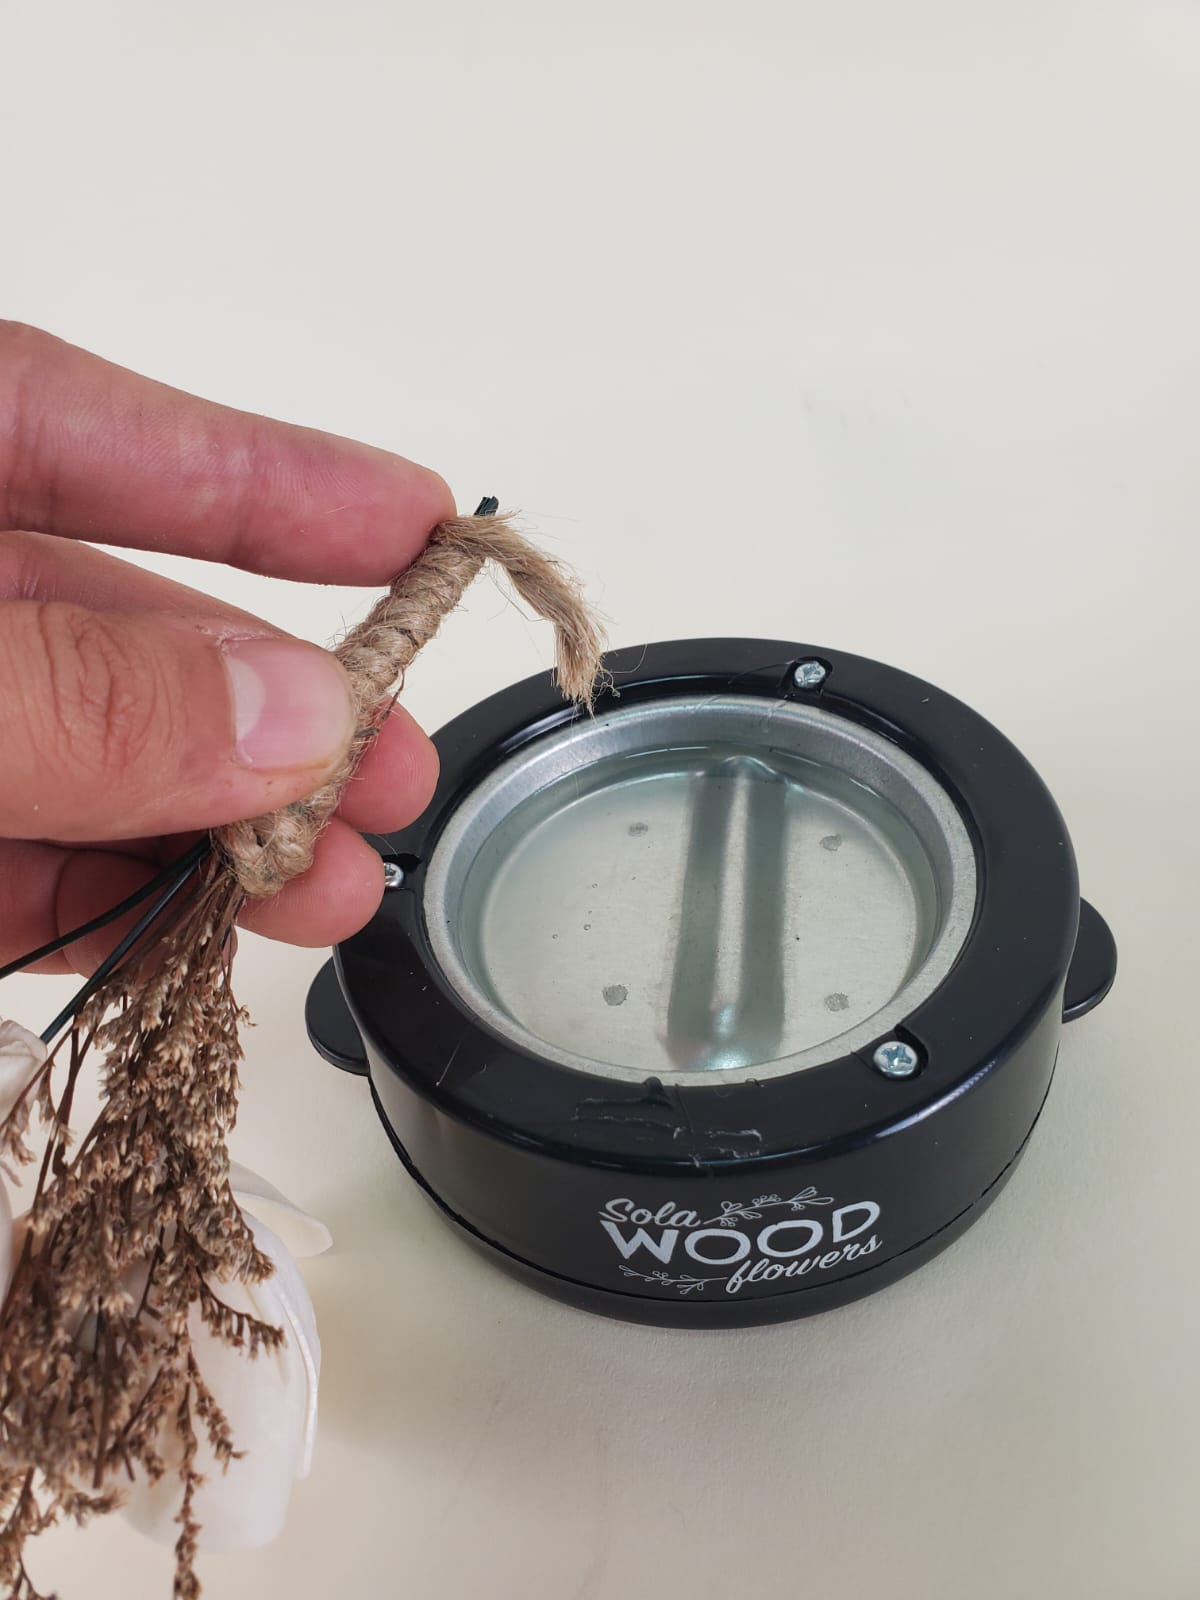
Hot Glue Pot:
Dip the tip of the jute twine (or chiffon ribbon) into the hot glue pot, place it in the top part of the back side of the boutonniere, wait till dry, then continue adding a line of glue with a stick in the top circumference and keep pasting the jute to secure the top part.
Hot Glue Gun:
Place a dot of glue on the top of the back side of the boutonniere and paste the tip of the jute twine (or chiffon ribbon); wait till dry, then continue adding a line of glue in the top circumference and keep pasting the jute to secure the top part.
Wait a few seconds for the glue to set, meanwhile press gently to secure it.
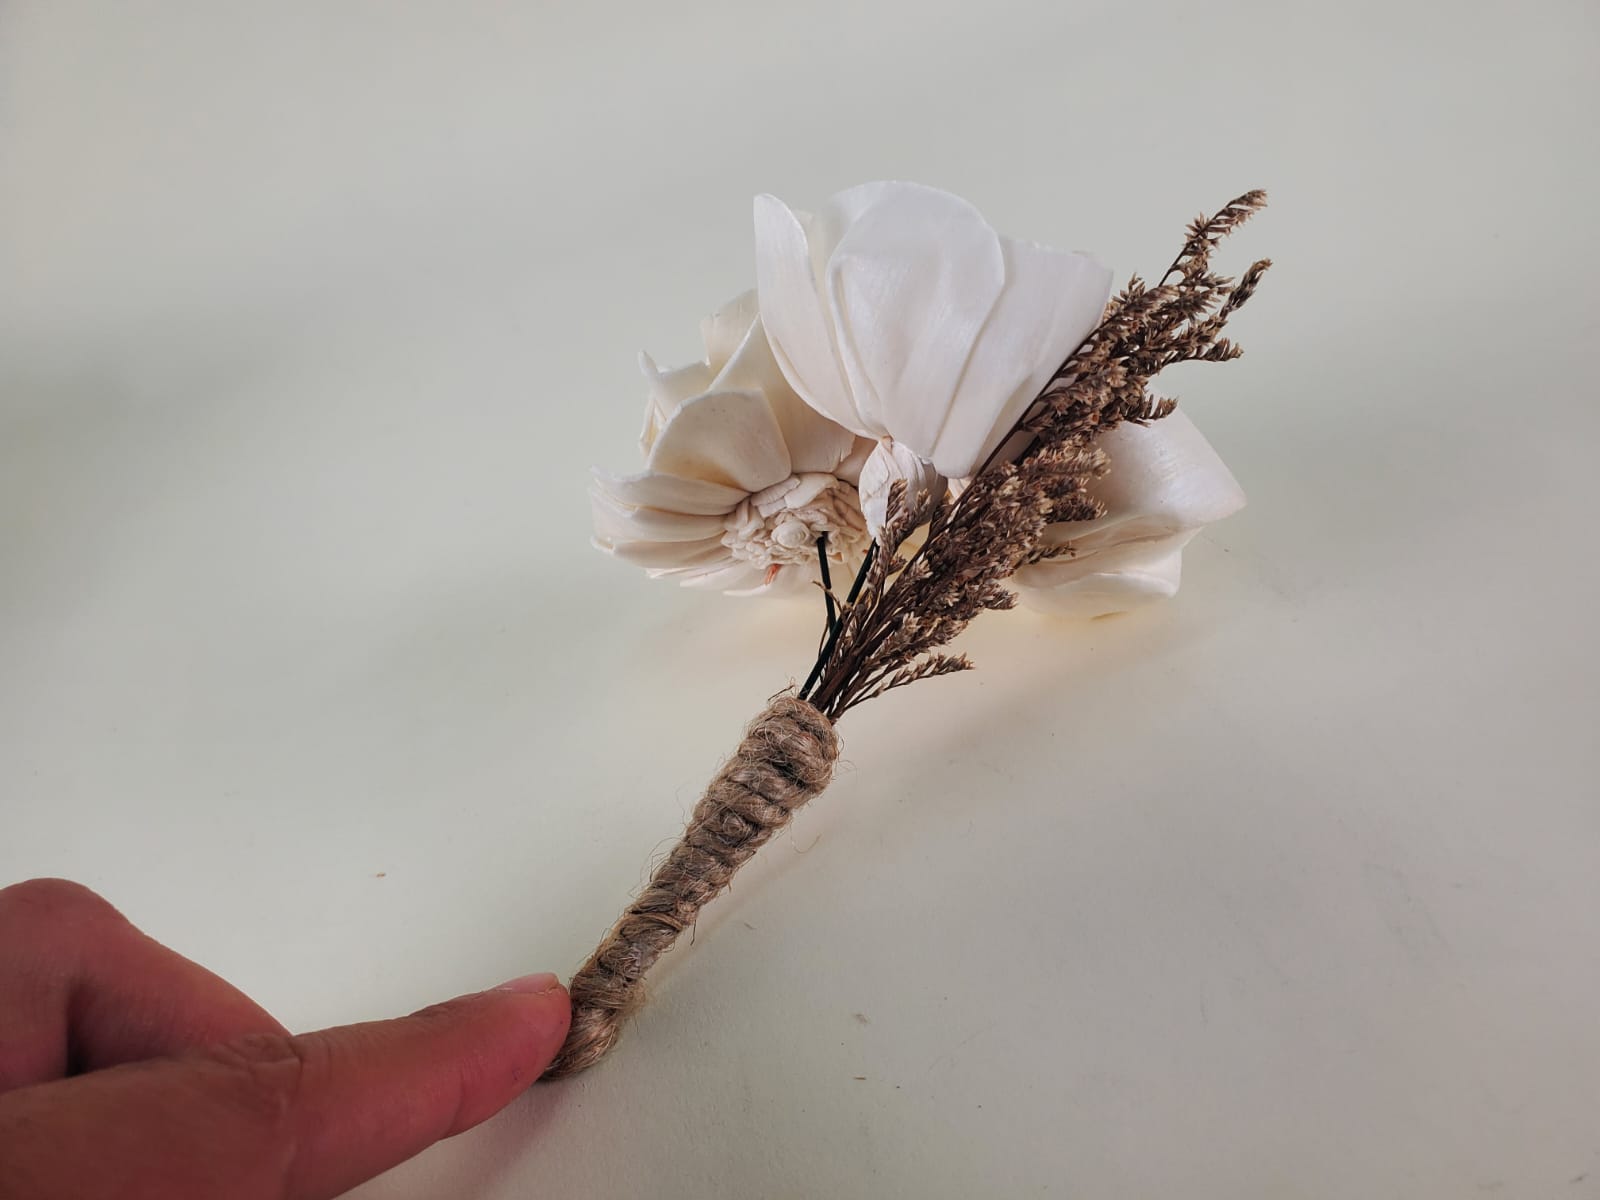
Continue wrapping the jute around the stems tightly to avoid gaps.
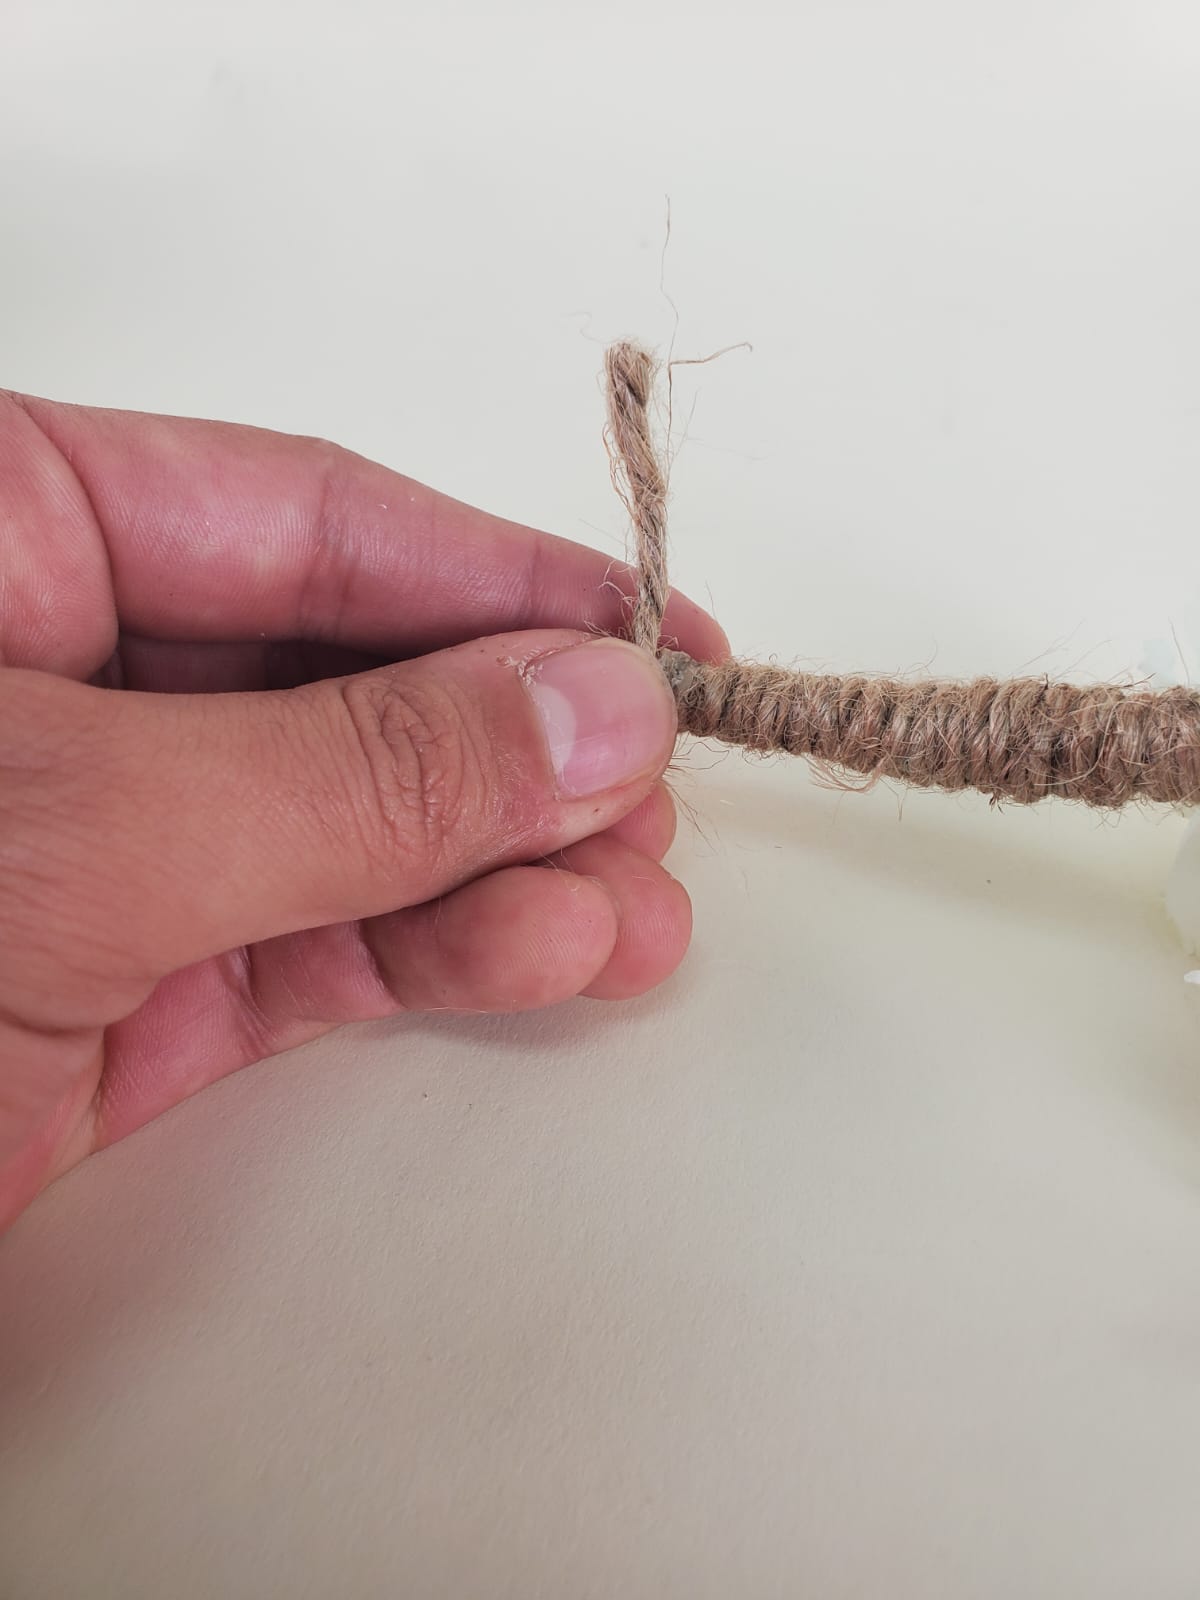
When you reach the end, cut the jute to the right length and repeat the beginning process:
Dip the bottom tip into the glue or add a small dab of glue to the tip, wait a few seconds for the glue to improve the temperature and press to secure.
Check stability:
Make sure all the flowers are securely attached and the boutonniere has the shape and volume you want.
Adjust any details as needed.
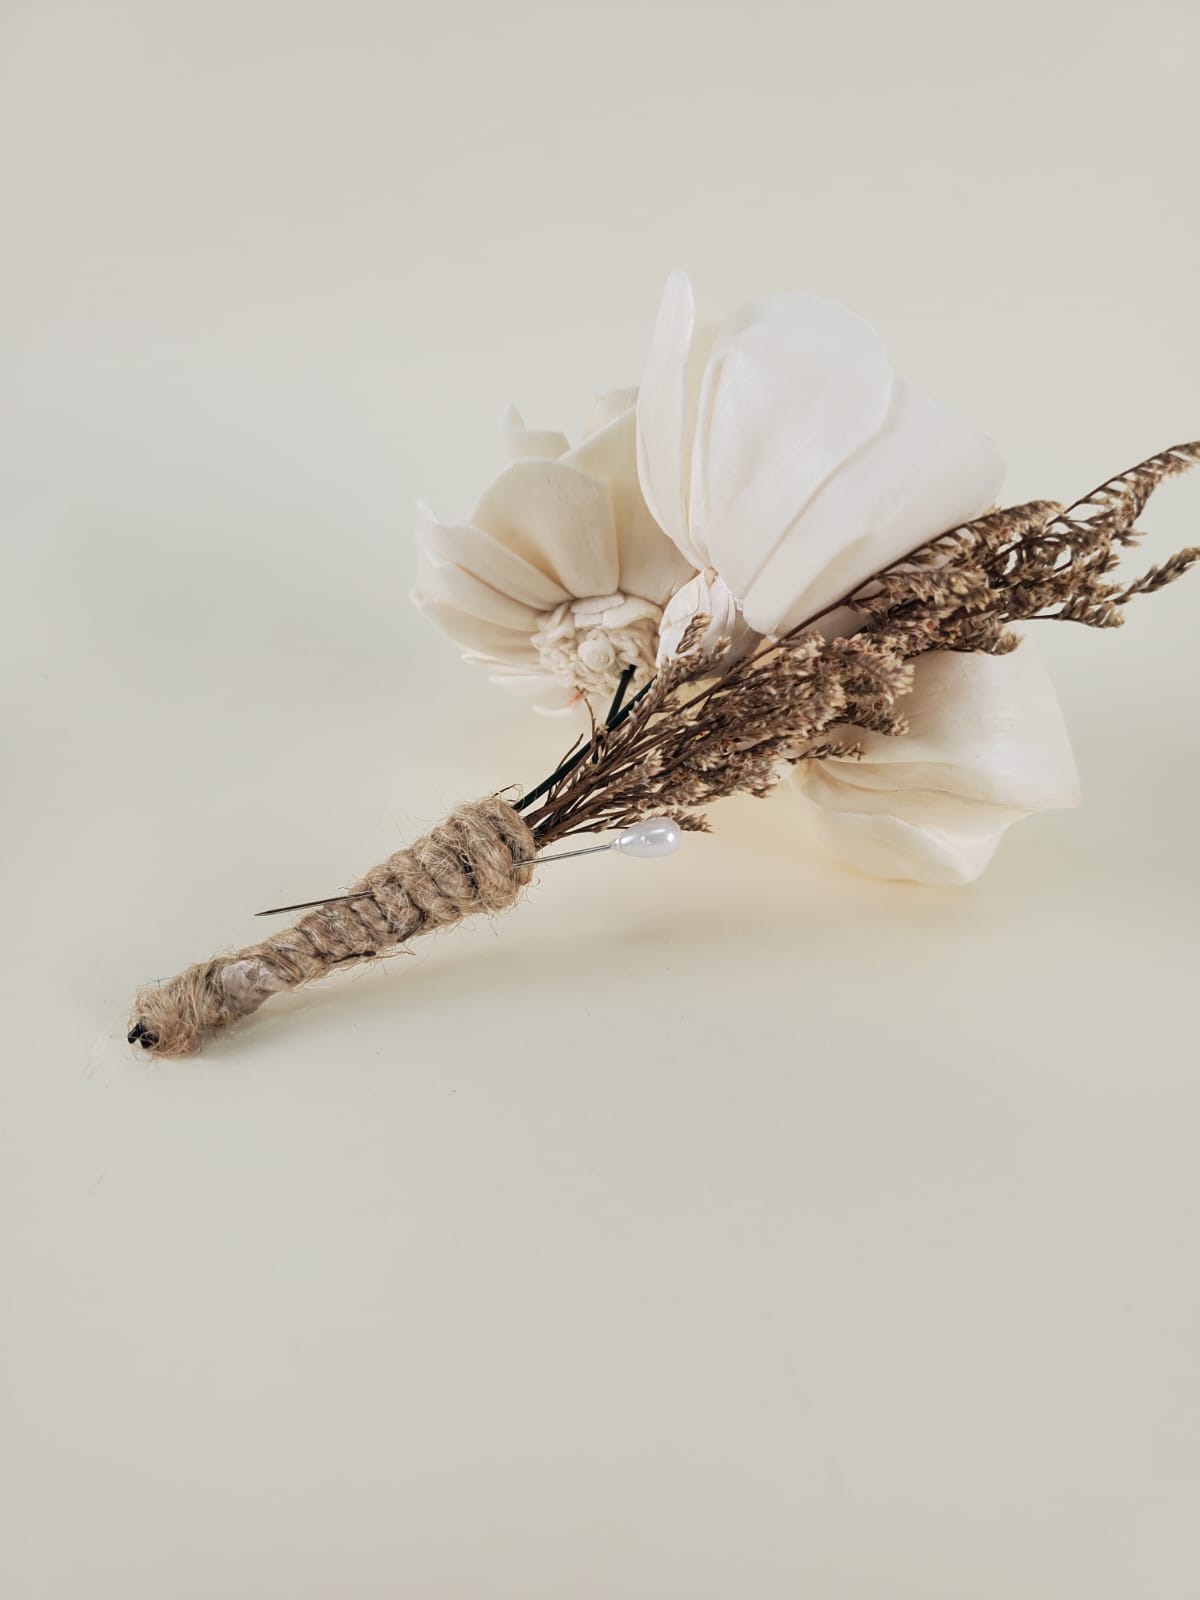
Secure with a Pin:
Insert a pin into the back of the boutonniere through the jute twine (or chiffon) base so it’s ready to attach to your lapel.
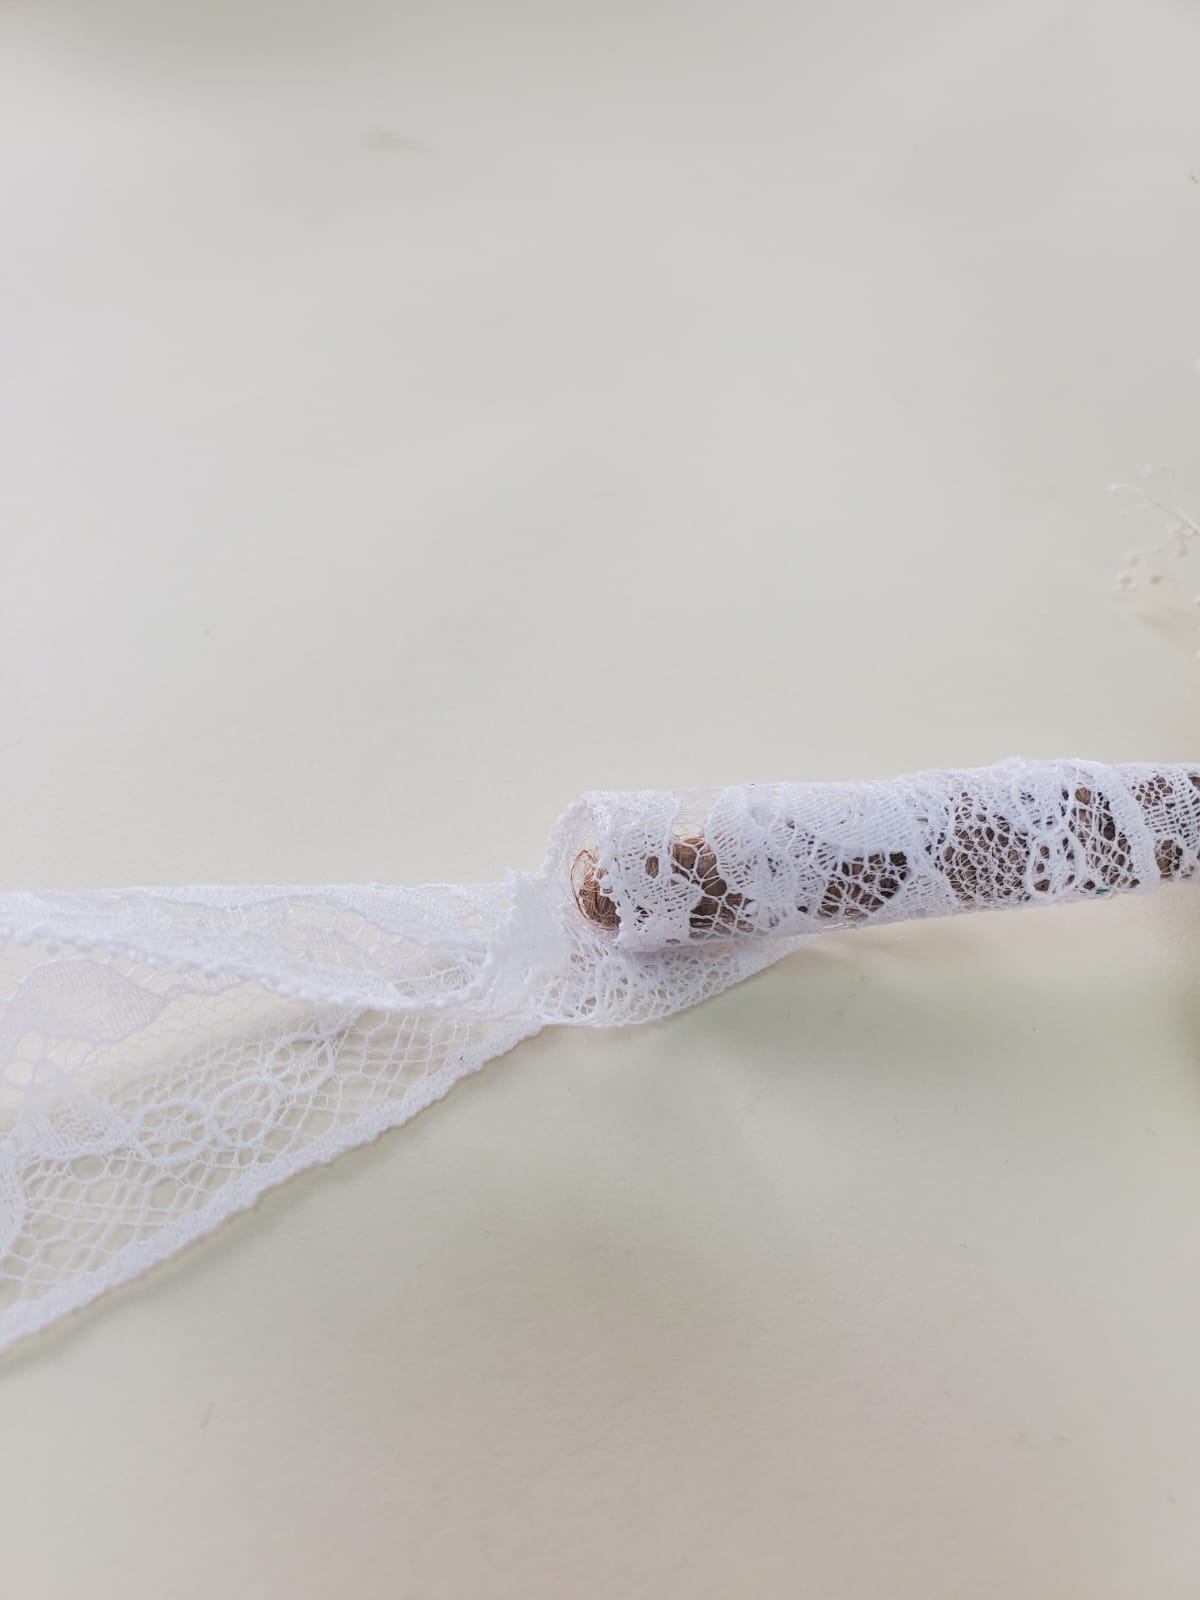
7. Optional: Presentation
As we mention in steps 5 and 6, you can change the jute twine material to chiffon ribbon or any other ribbon or fabric for a more elaborated look, this gives you the opportunity to personalize as much as you want in color, texture or look. (use your color palette shades, the fabric in your tablecloths, etc.)
You can also add extra touches like pearls, bows, butterflies, or personalized decorations to make it as unique as you.
Tips:
-
Ask for help: If you have any questions, the Sola Wood Flowers Team is always here to help. Call our service number at (801) 797-1037 to schedule an appointment with a professional.
-
Patience: If it's your first time, remember that, like any skill, it gets better with practice. Repeat the steps as many times as needed to get the result you want. You’ve got this!
-
Additional decoration: The great thing about sola flowers is that your creativity has no limits—feel free to add as many colors, textures, and elements as you like to make the boutonnieres truly reflect you and this special moment. Add leaves, twigs, glitter, bows, feathers or any other details to make the boutonniere yours.
-
Plus for realism: You can even add your favorite scent to the flowers, making them smell just how you want. The sola flowers material acts like a diffuser because of how absorbent they are, so adding a scent can make you enjoy your florals even more.